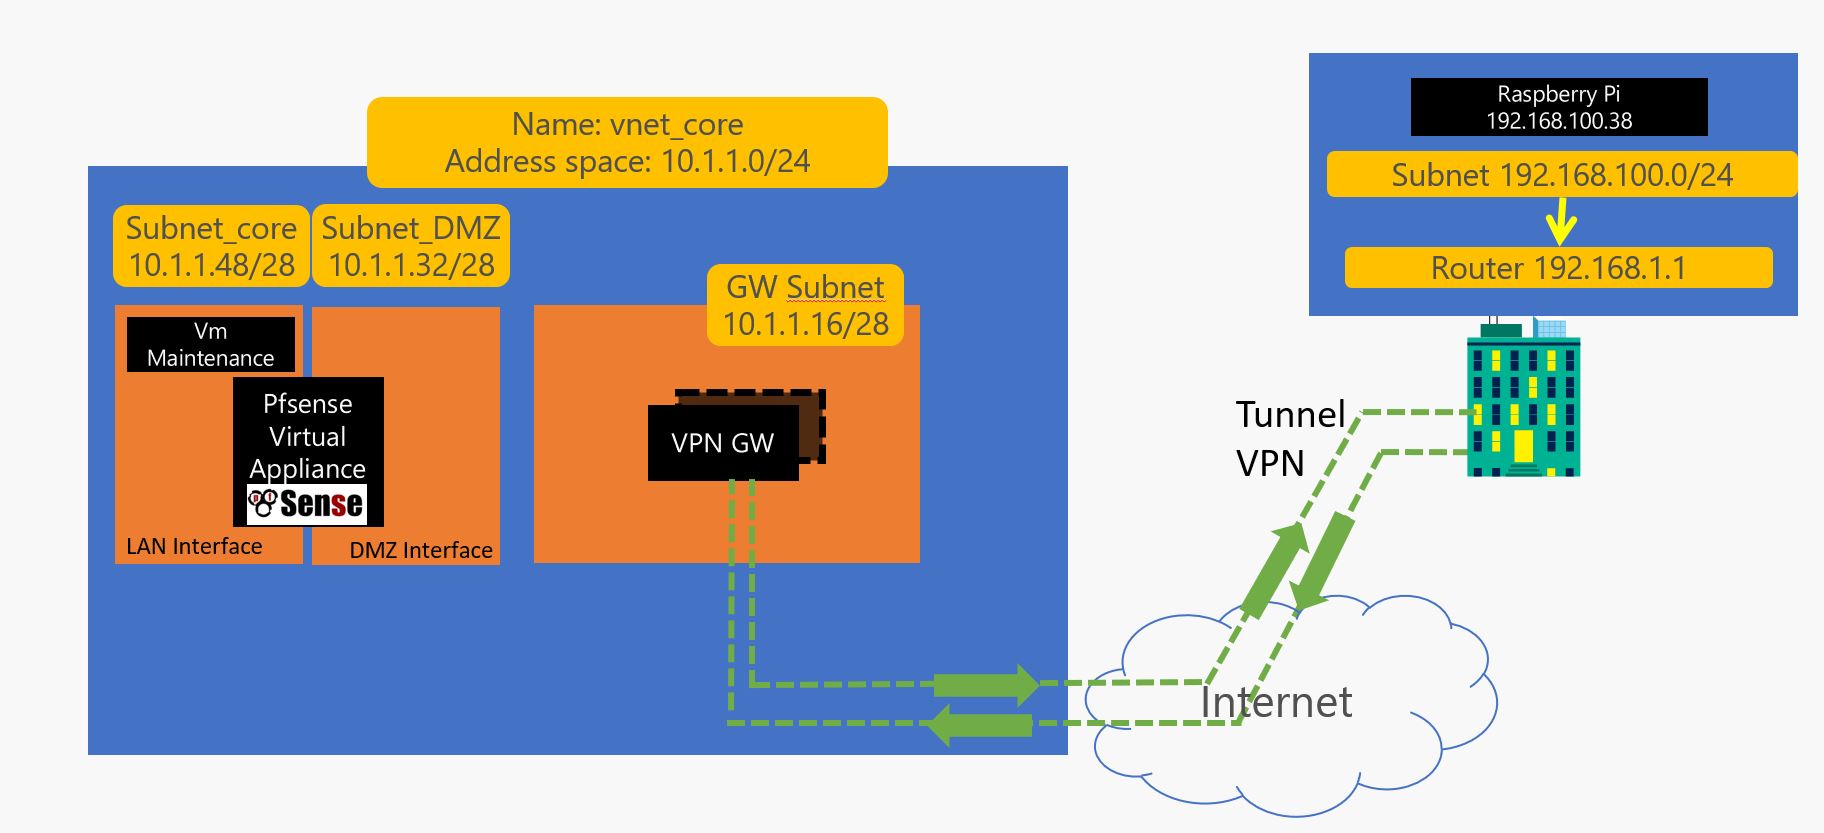
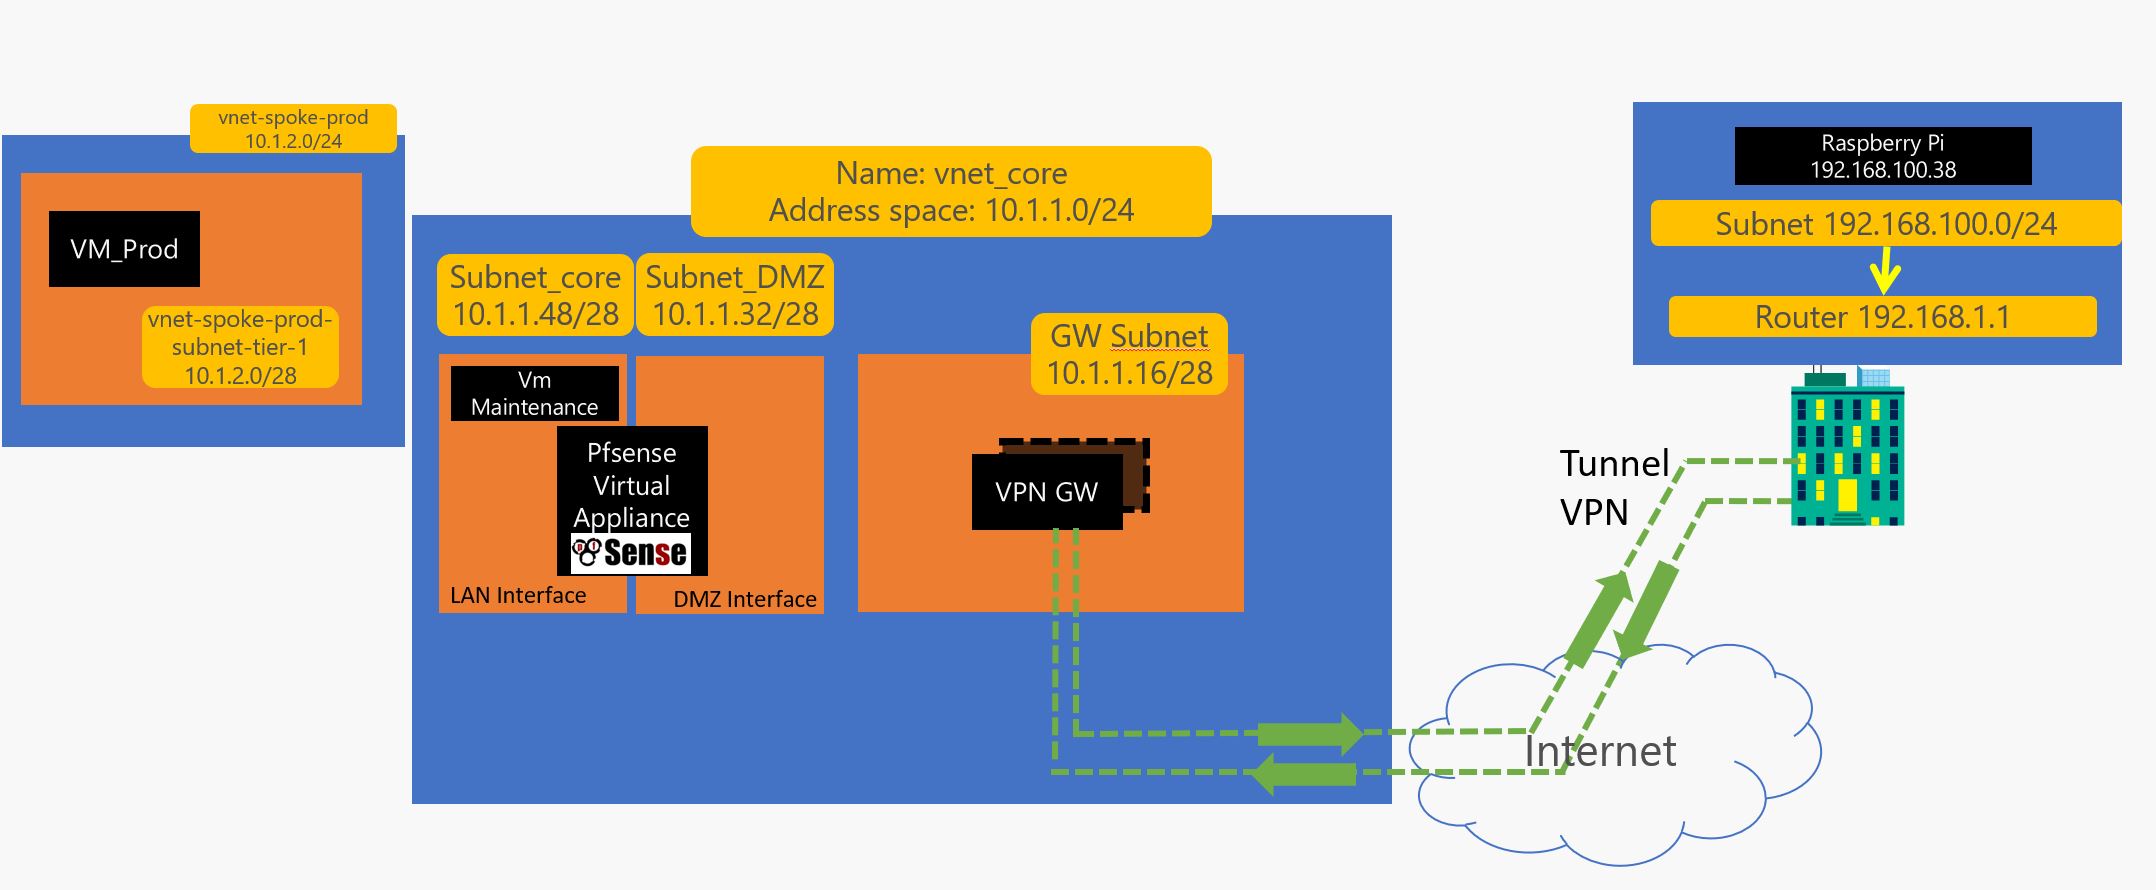
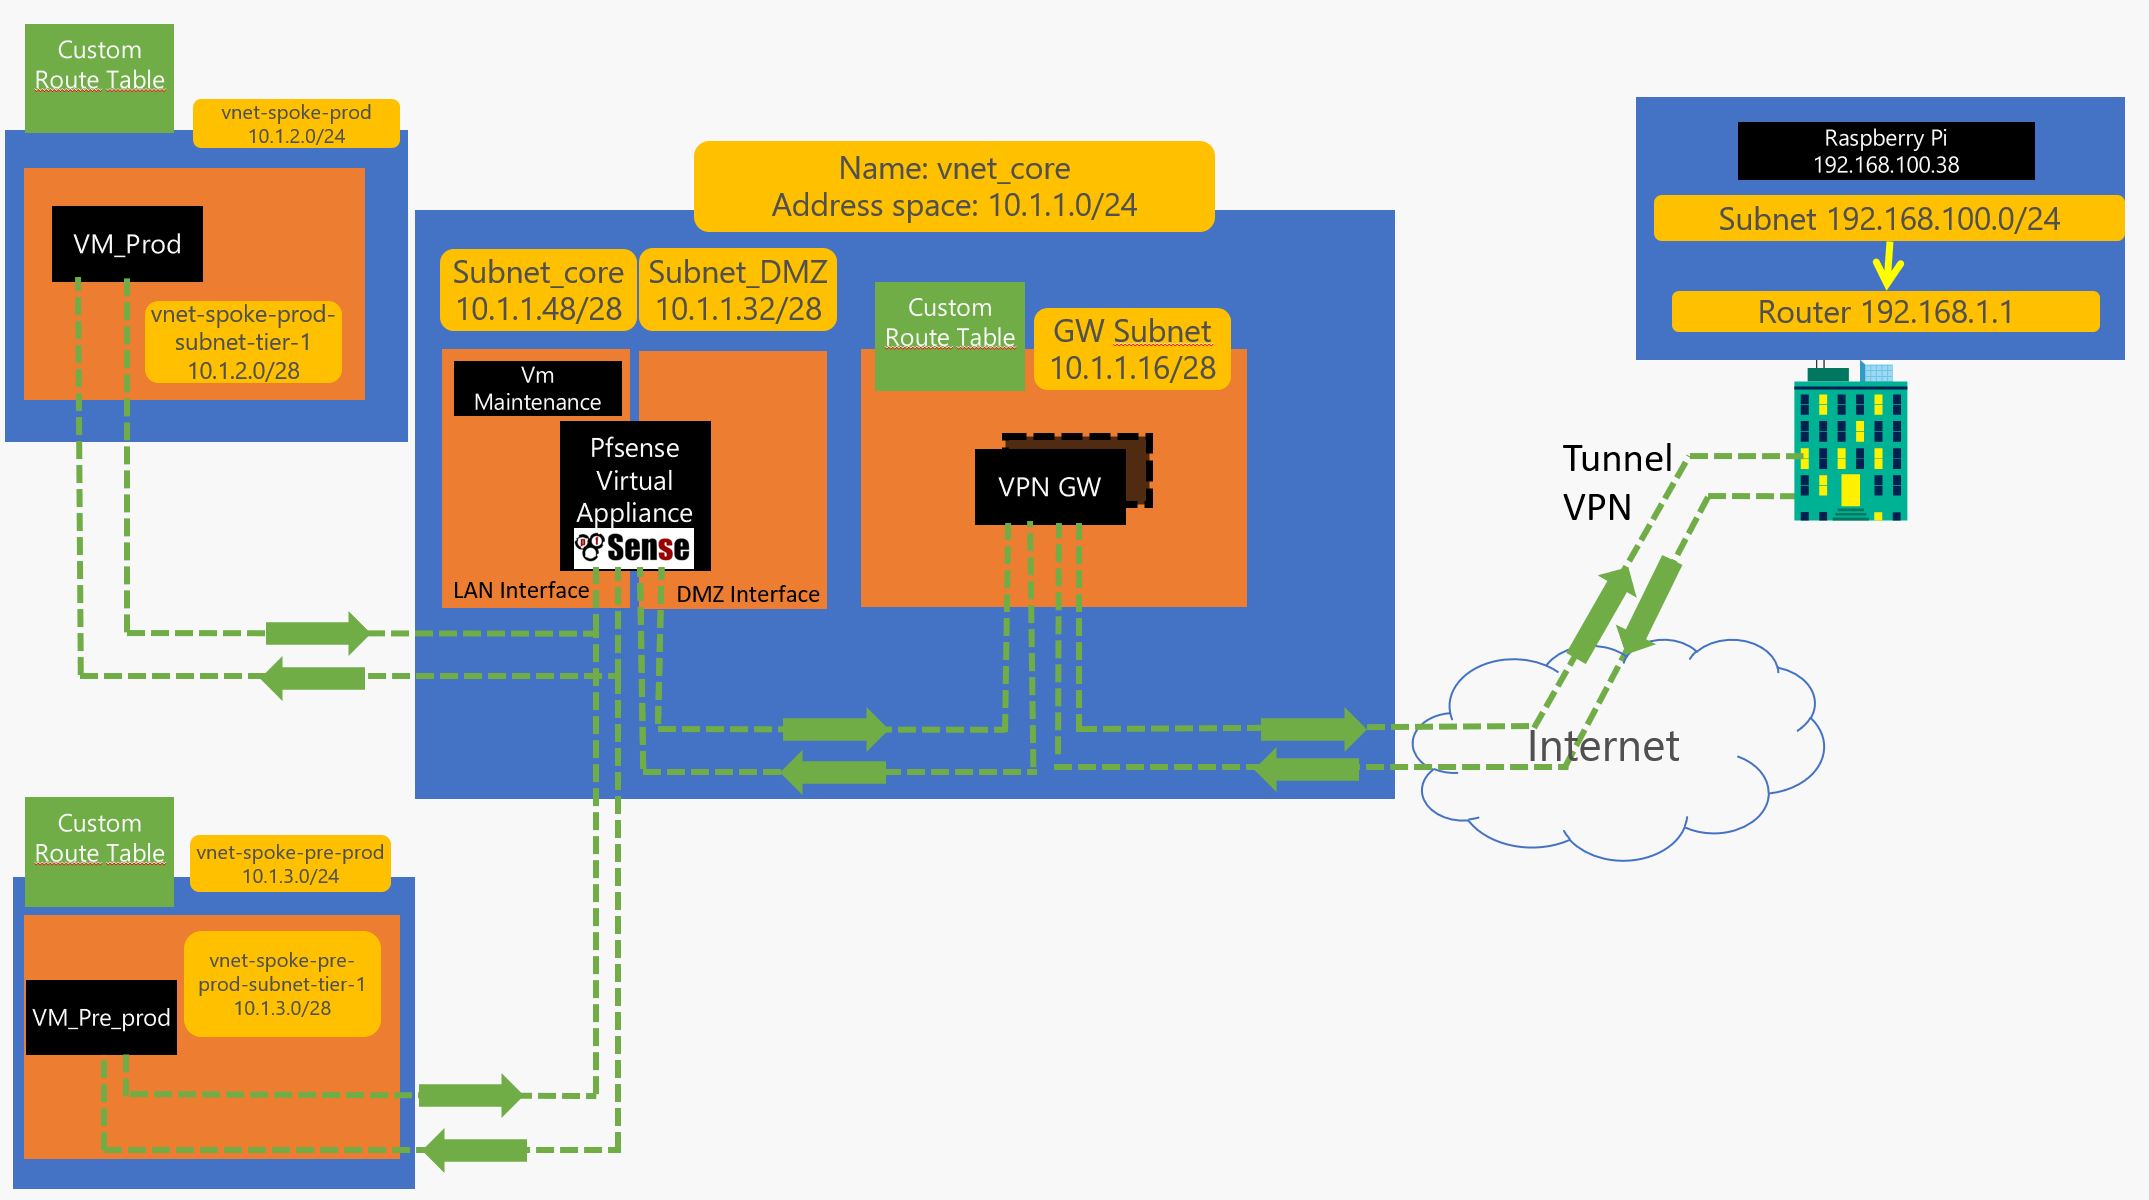
In this thread we are going to discuss how to setup a Hub and Spoke architecture on azure using connection thru VPN, PFsense Router and other tools like azure routes. Here is the target topology :

in a preview article, we saw how to create a VPN sessions (here)
We will review part of it here…
1 – 1 First lest build the shared environment on azure ( RG, Vnet and storage for logs etc..) :
#HUB_SHARED_CORE_INFRA
az group create --resource-group RG_CORE_INFRA --location westeurope
az network vnet create --resource-group RG_CORE_INFRA --location westeurope --name vnet_core --address-prefix 10.1.1.0/24
az storage account create --location westeurope --name moustorcoreinfra --resource-group RG_CORE_INFRA --sku Standard_LRS
1 – 2 Let’s split the Vnet :
#HUB_SHARED_CORE_INFRA
az network vnet subnet create --address-prefix 10.1.1.0/28 --name default --resource-group RG_CORE_INFRA --vnet-name vnet_core
az network vnet subnet create --address-prefix 10.1.1.16/28 --name GatewaySubnet --resource-group RG_CORE_INFRA --vnet-name vnet_core
az network vnet subnet create --address-prefix 10.1.1.32/28 --name subnet_DMZ --resource-group RG_CORE_INFRA --vnet-name vnet_core
az network vnet subnet create --address-prefix 10.1.1.48/28--name subnet_core --resource-group RG_CORE_INFRA --vnet-name vnet_core
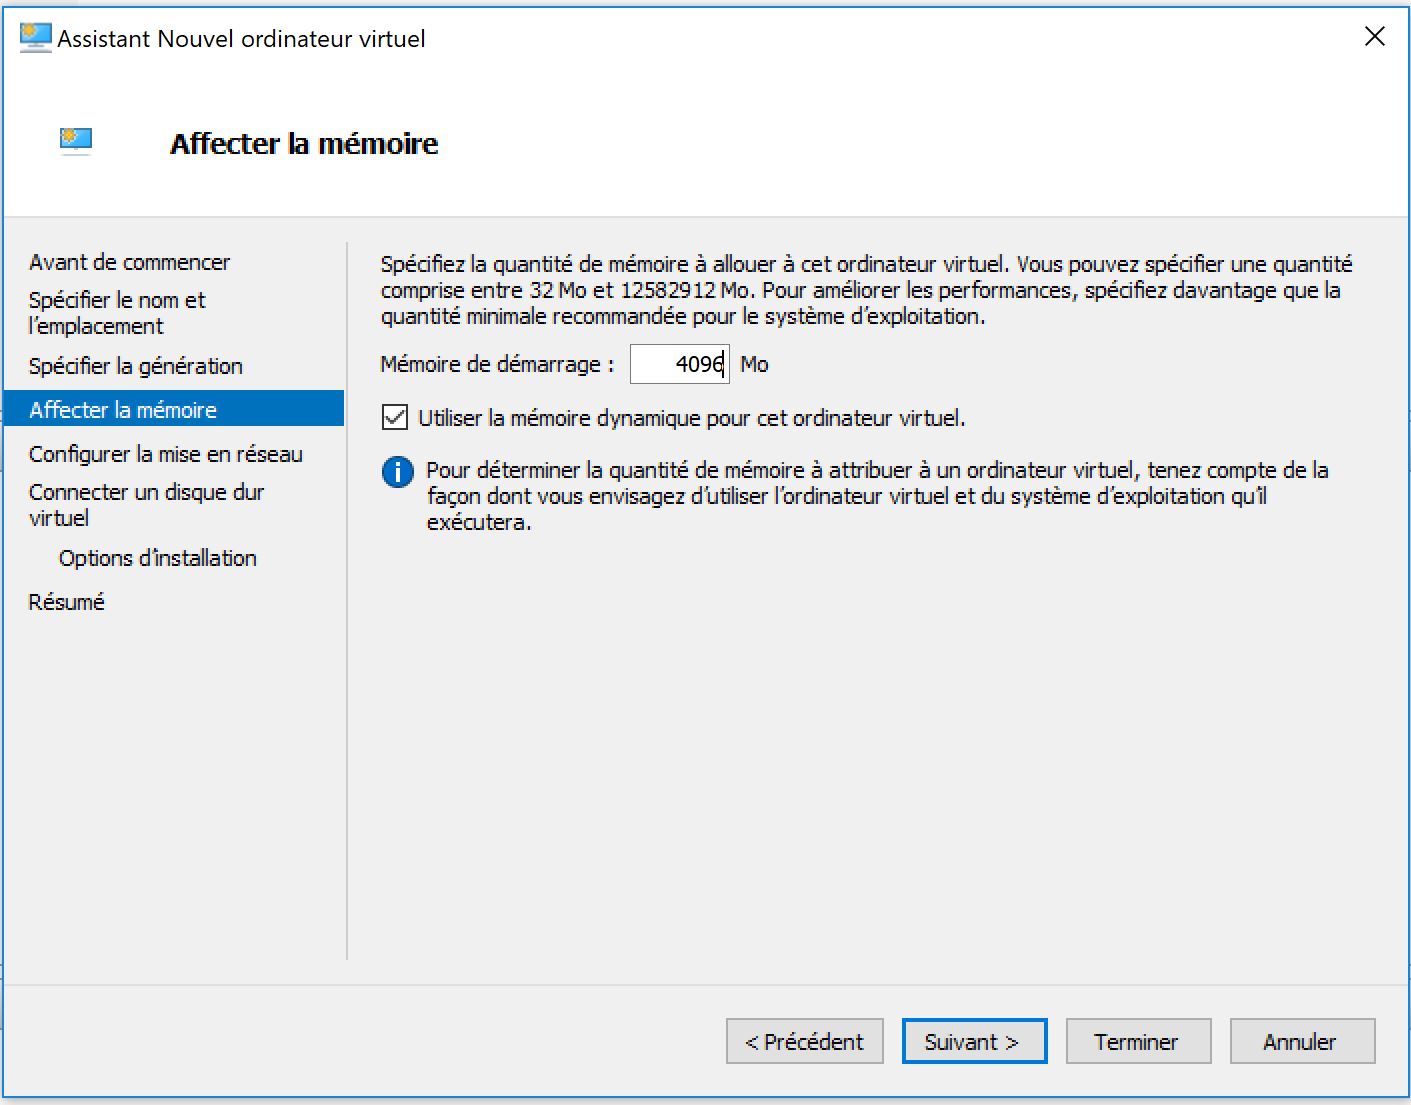
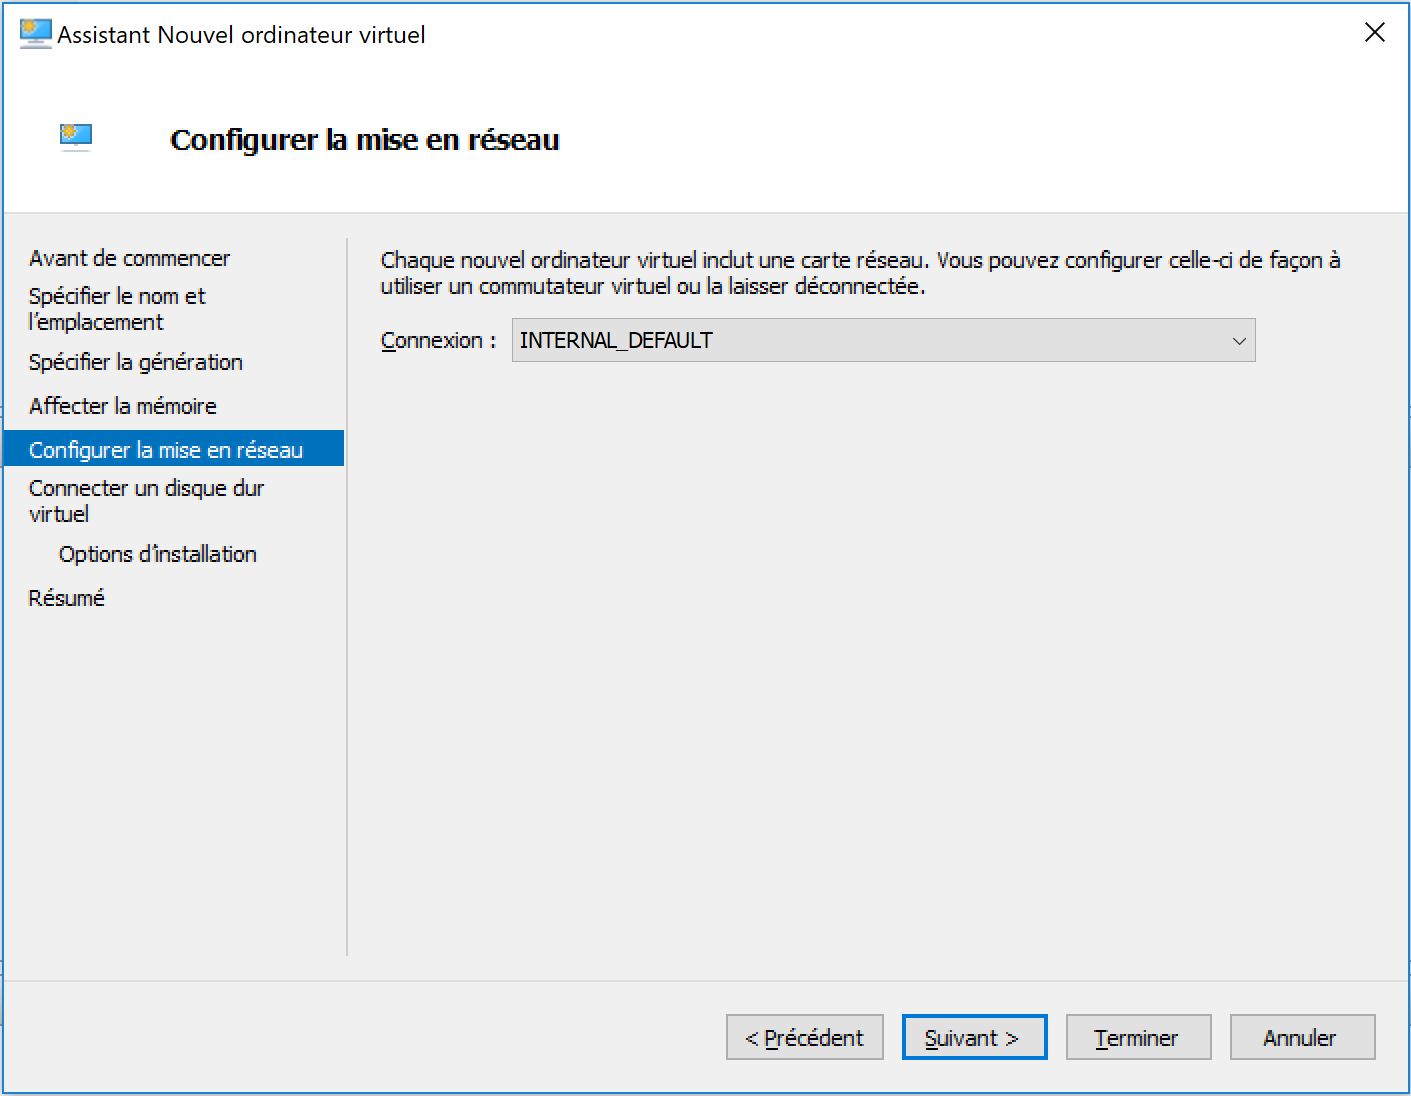
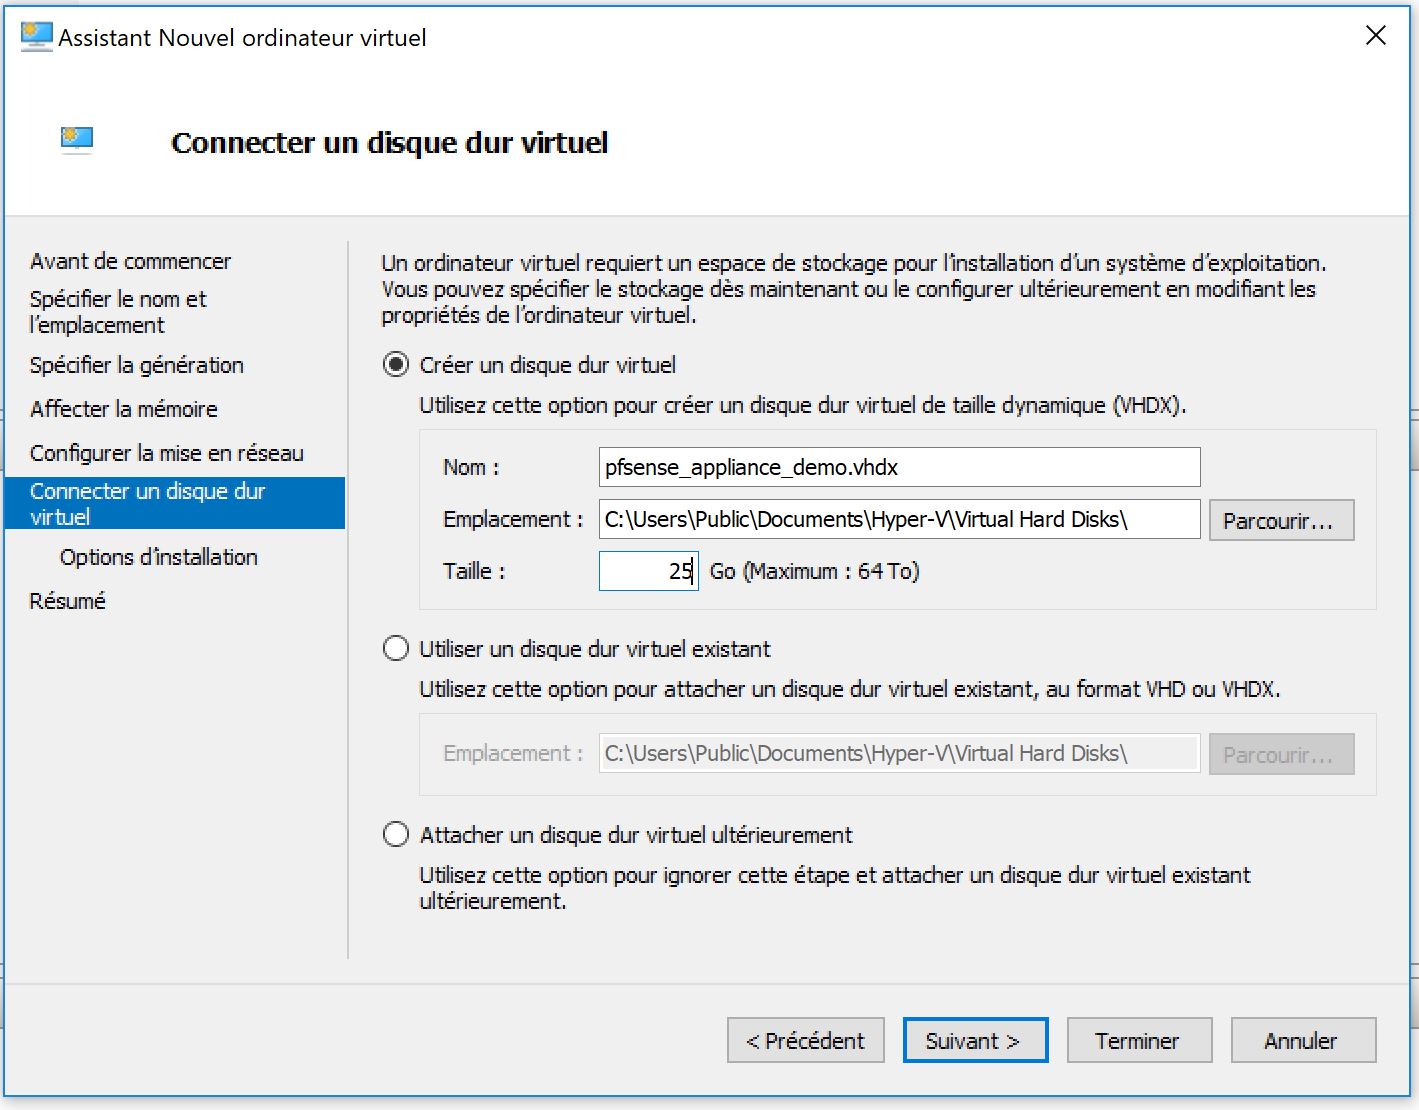
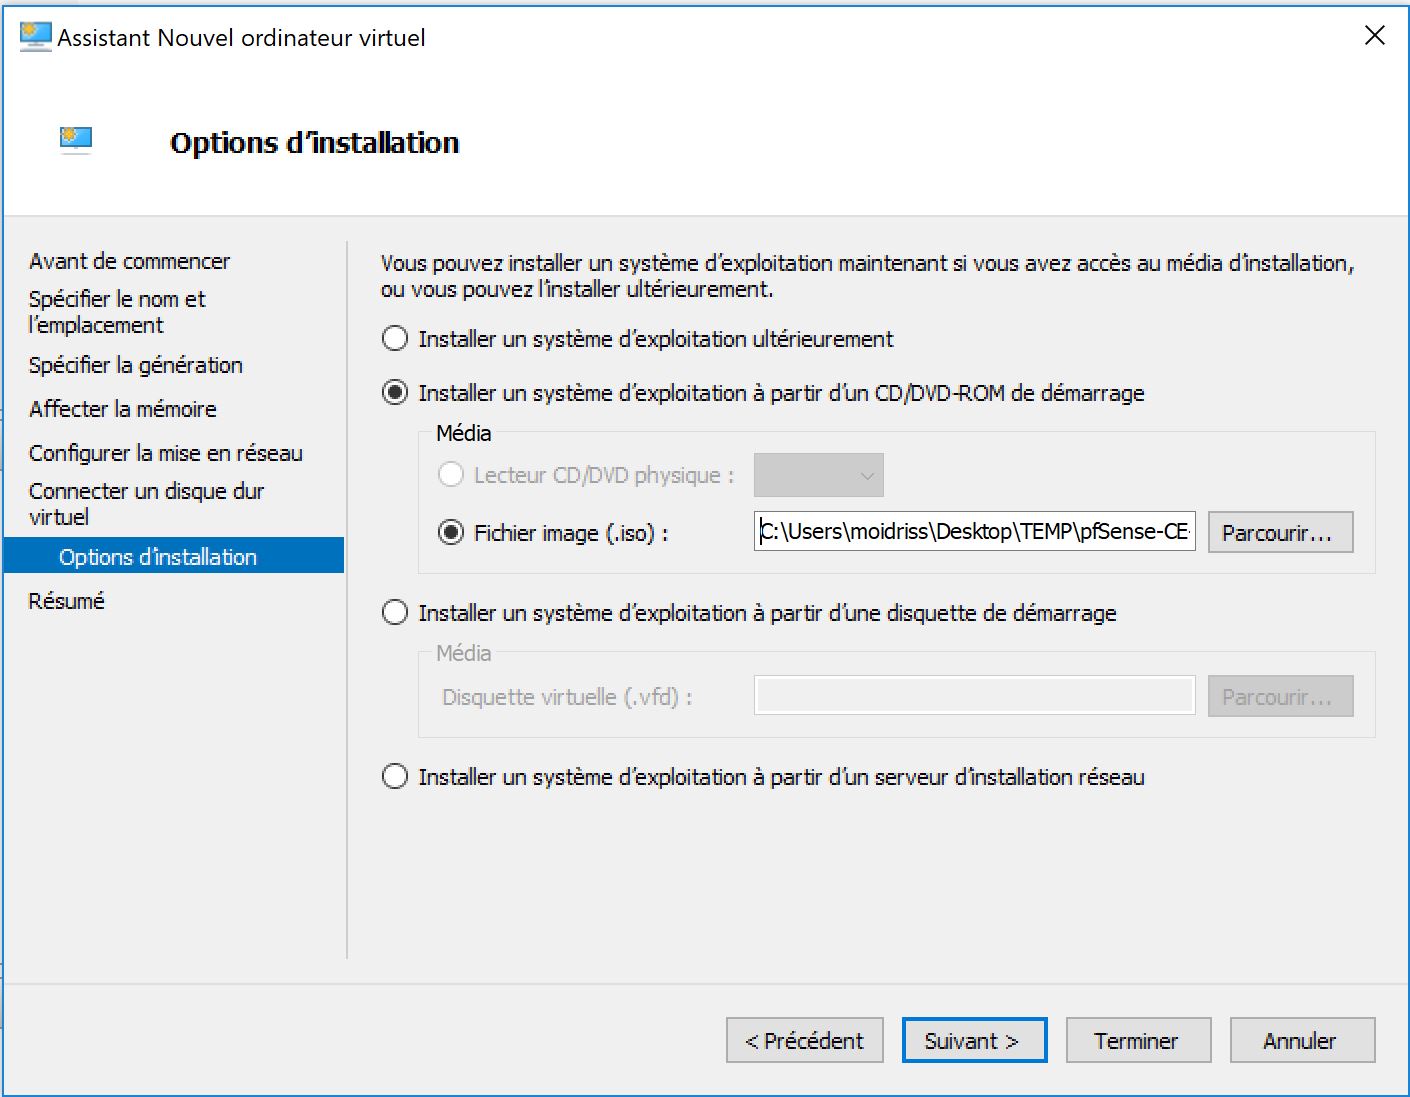
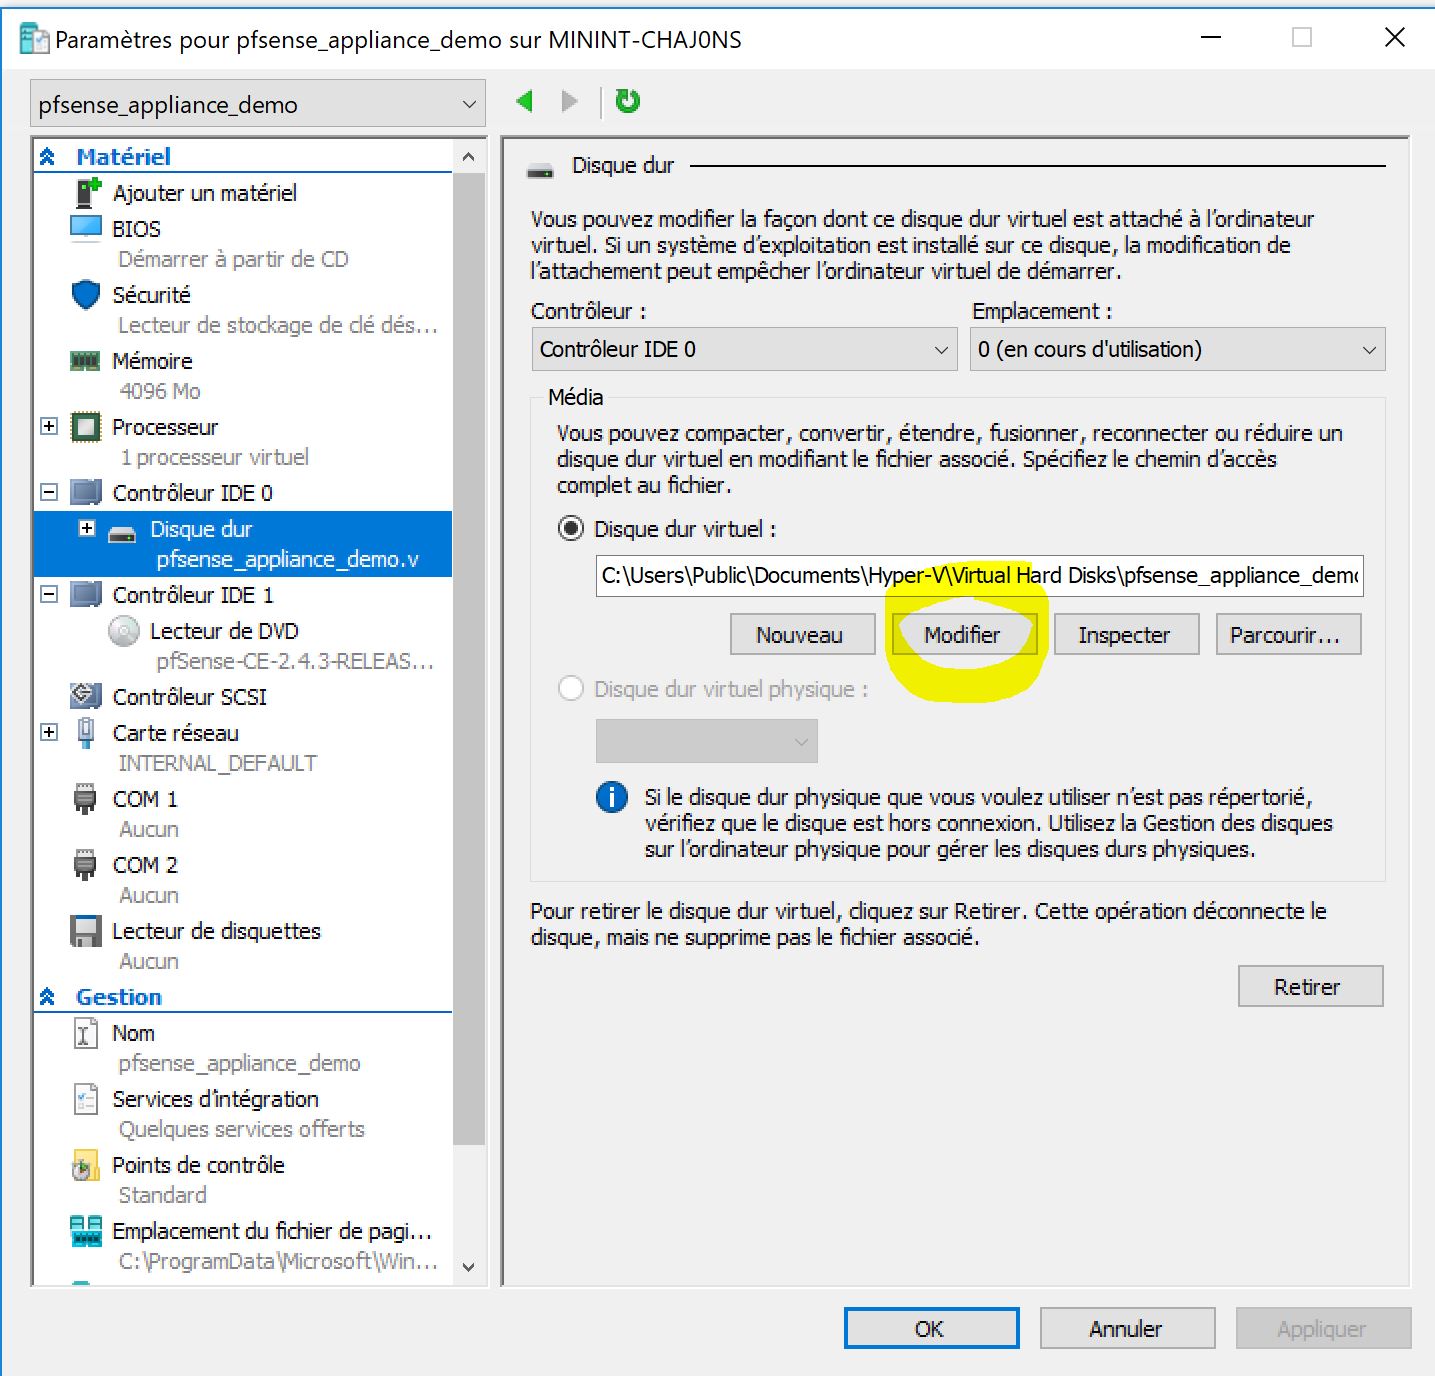
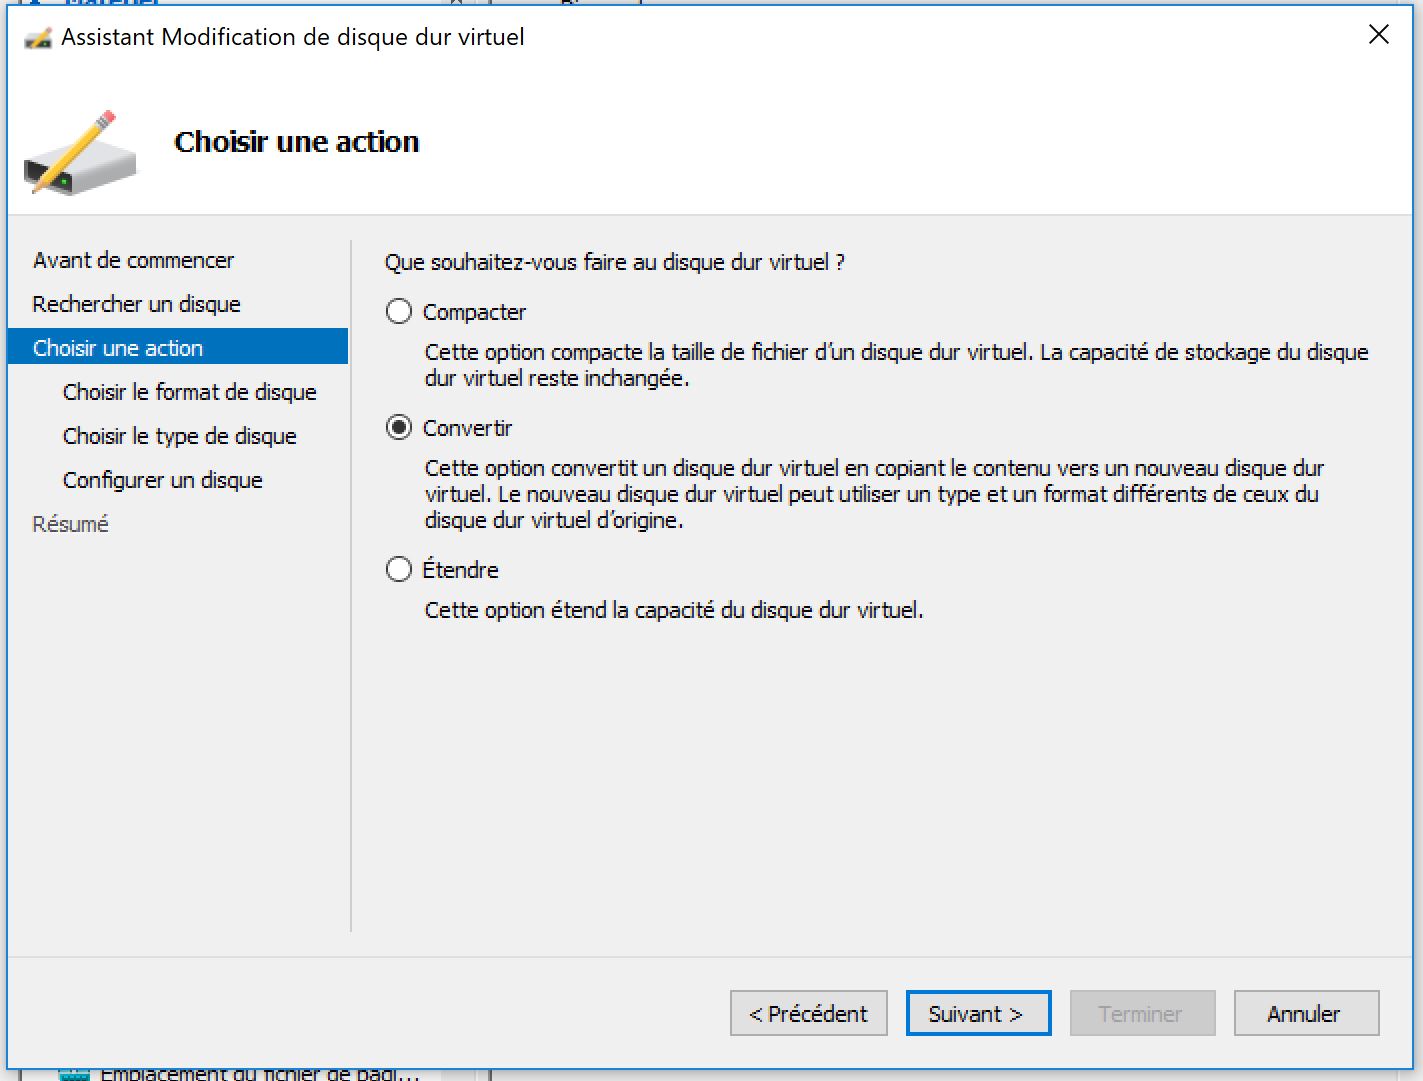
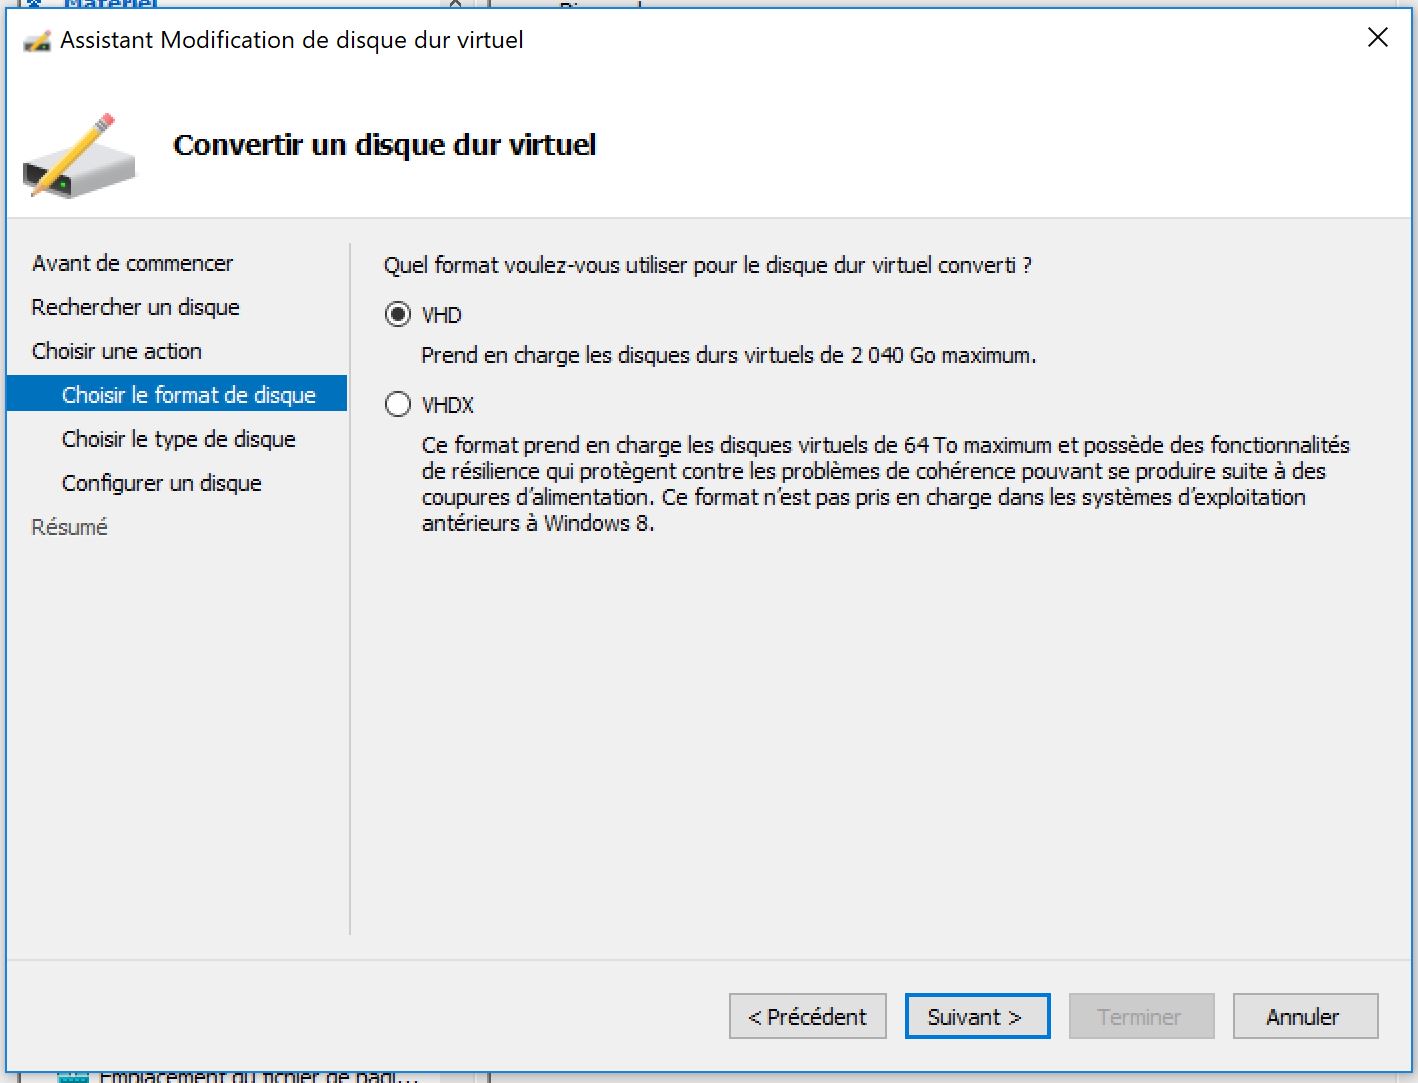
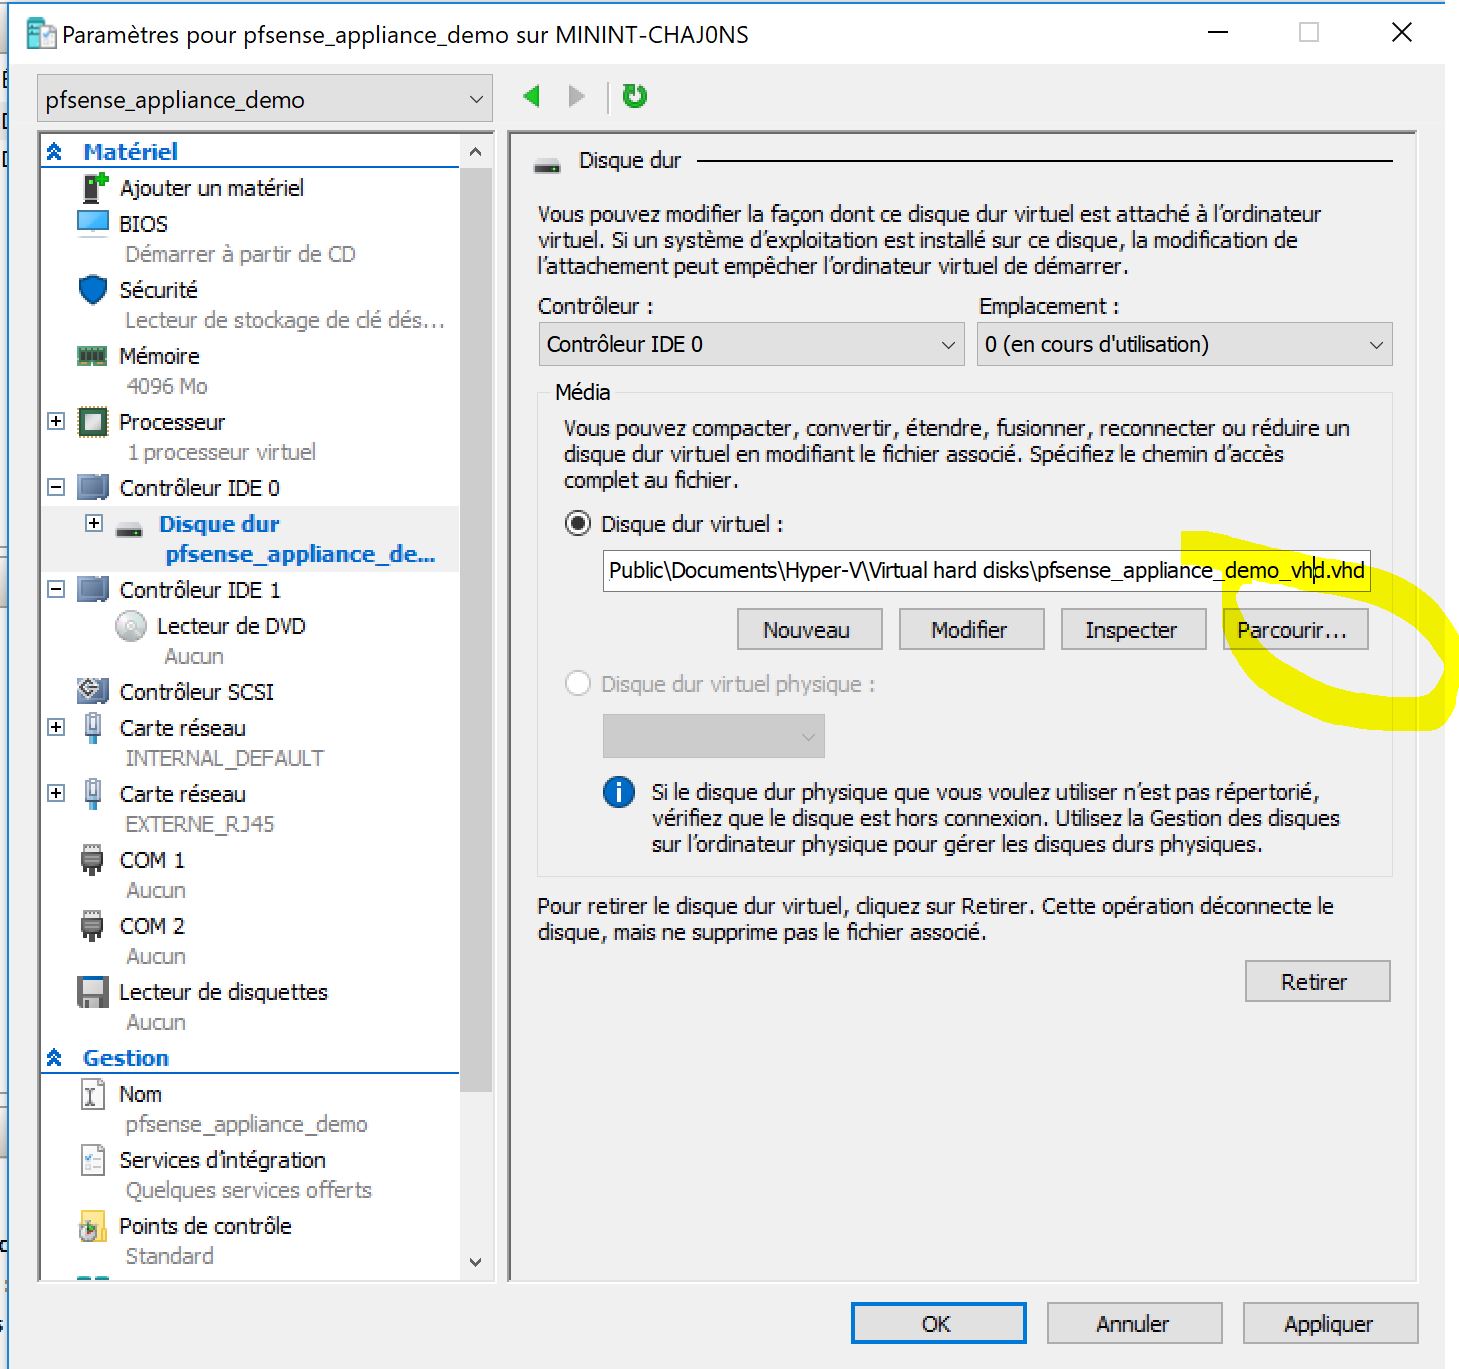
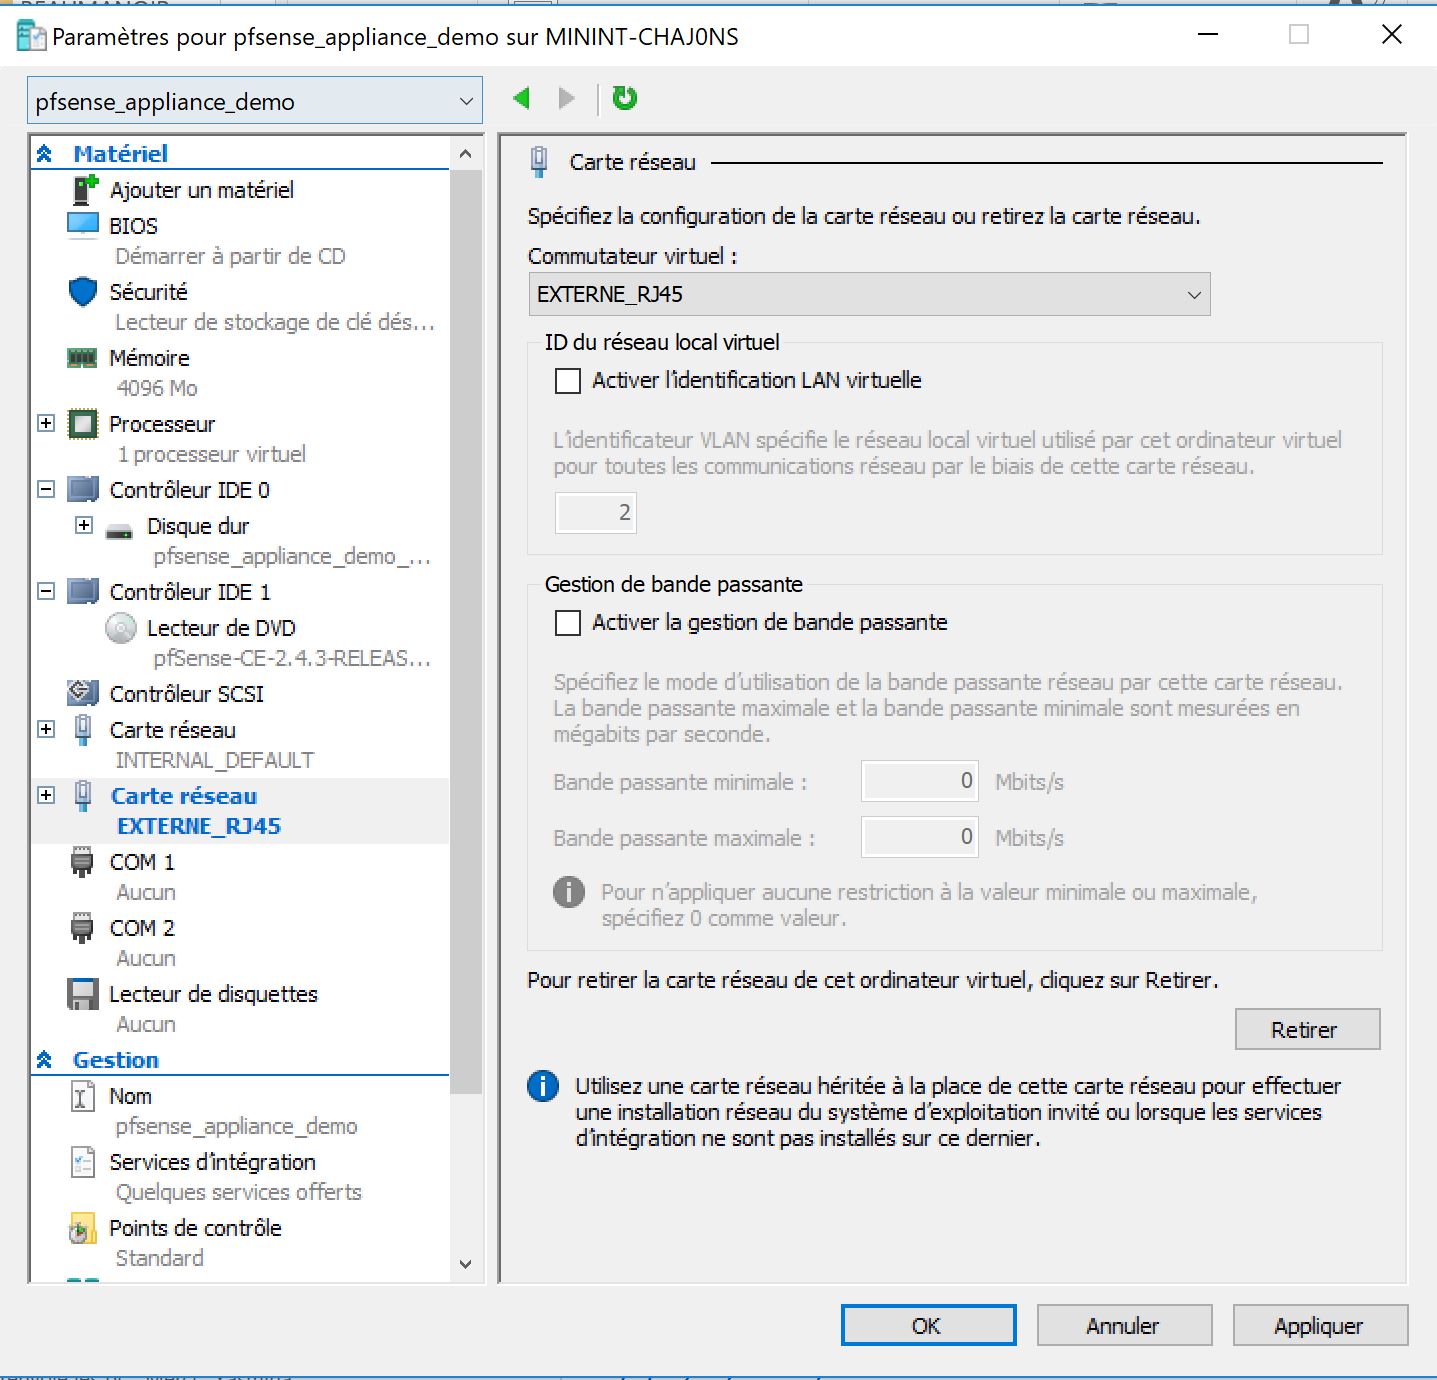
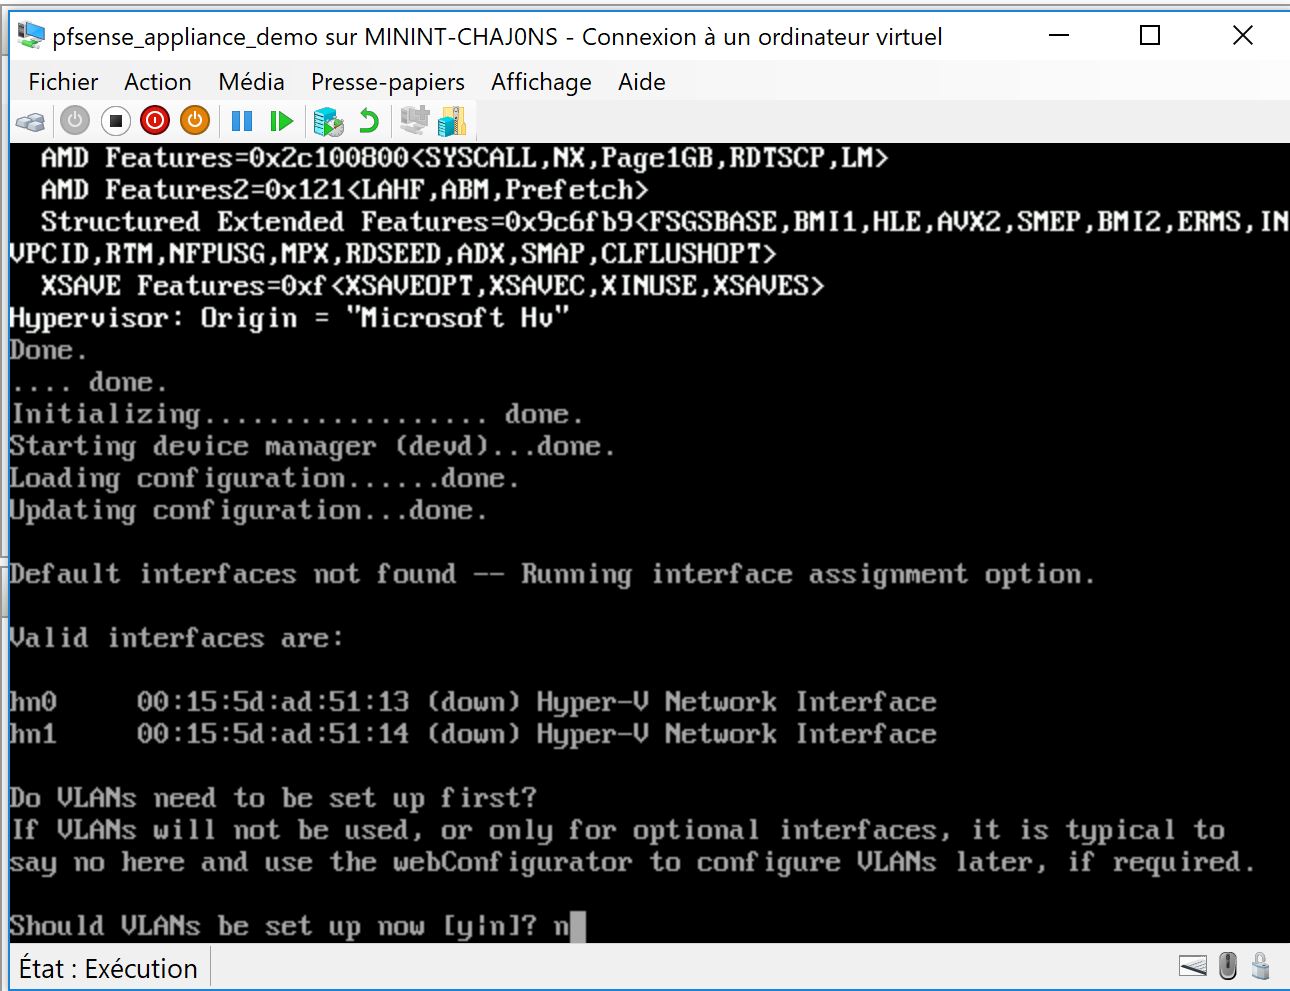
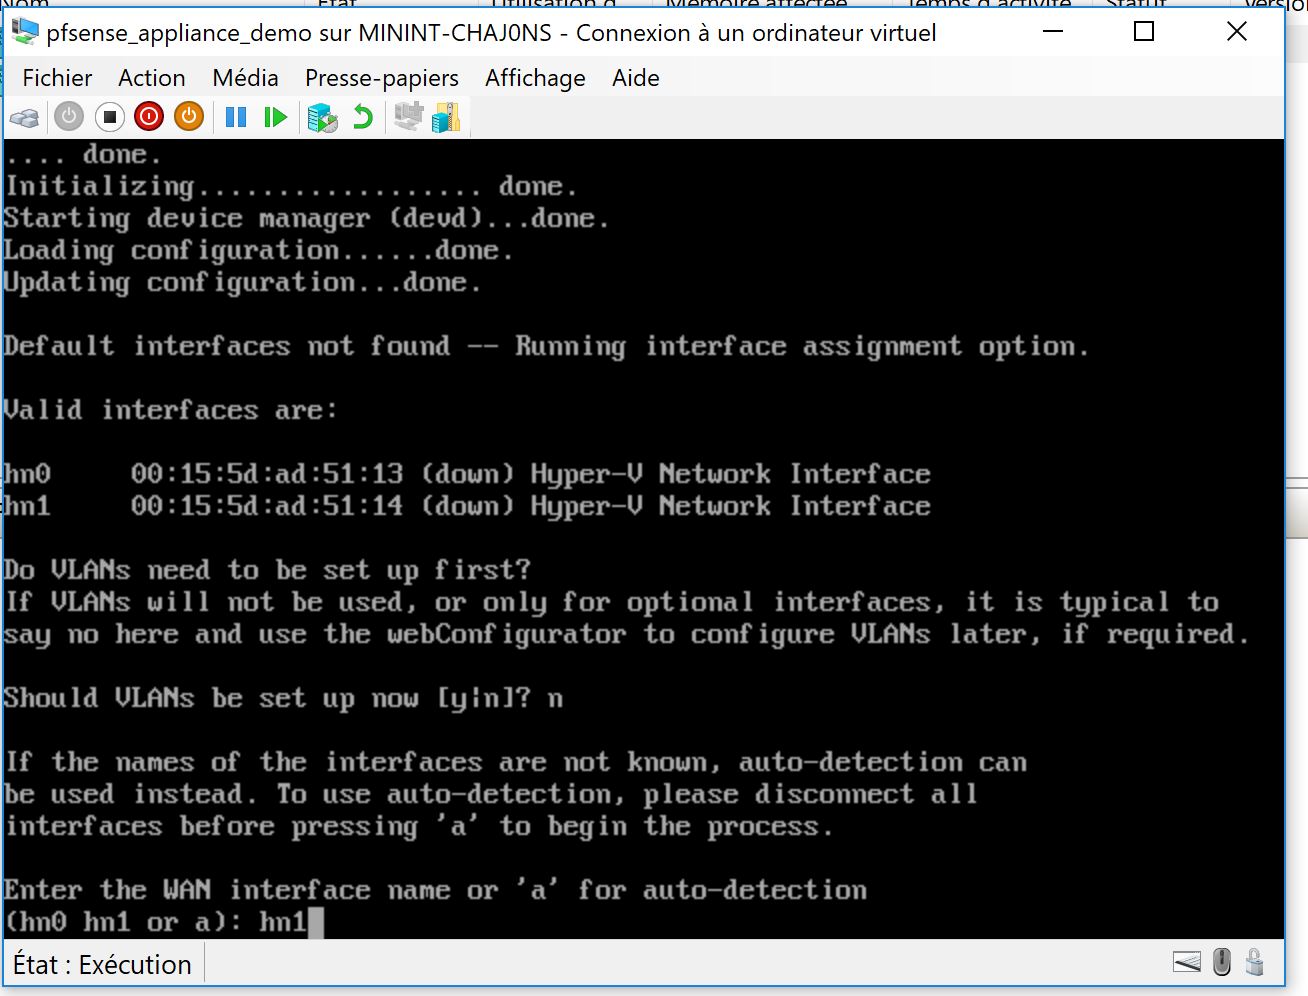
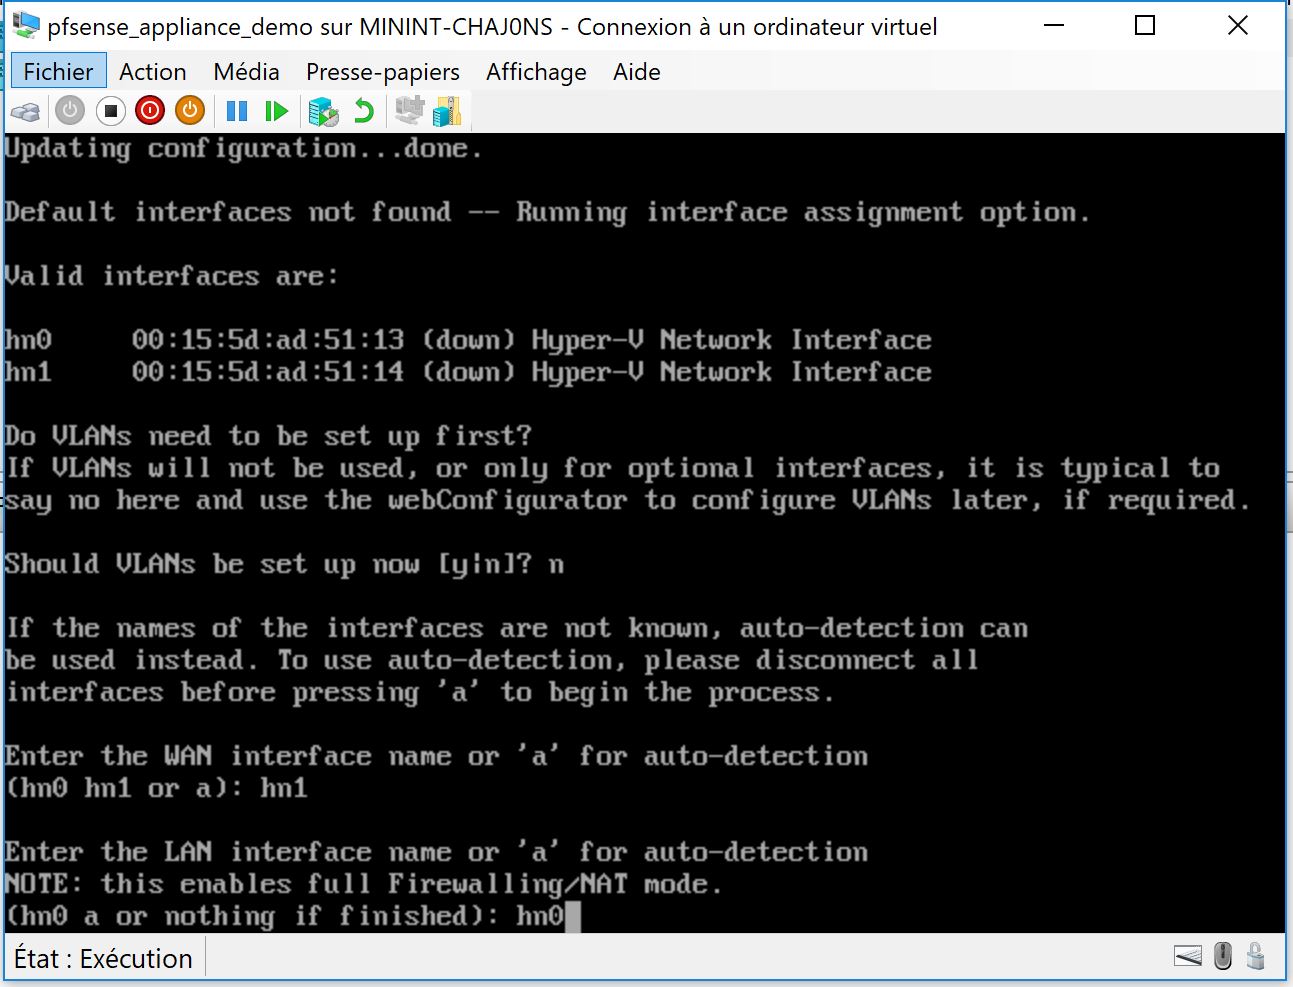
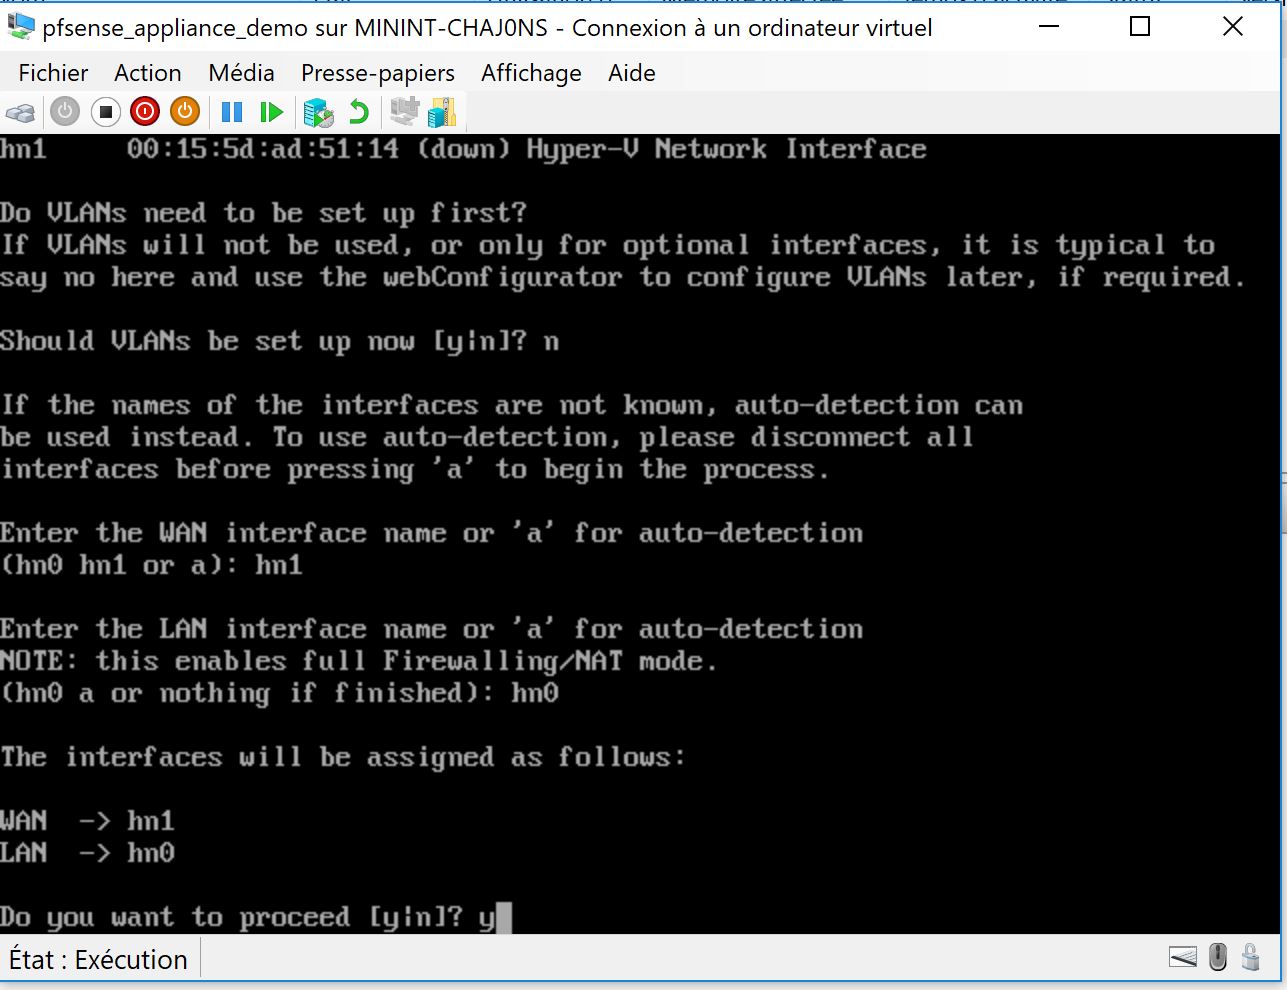
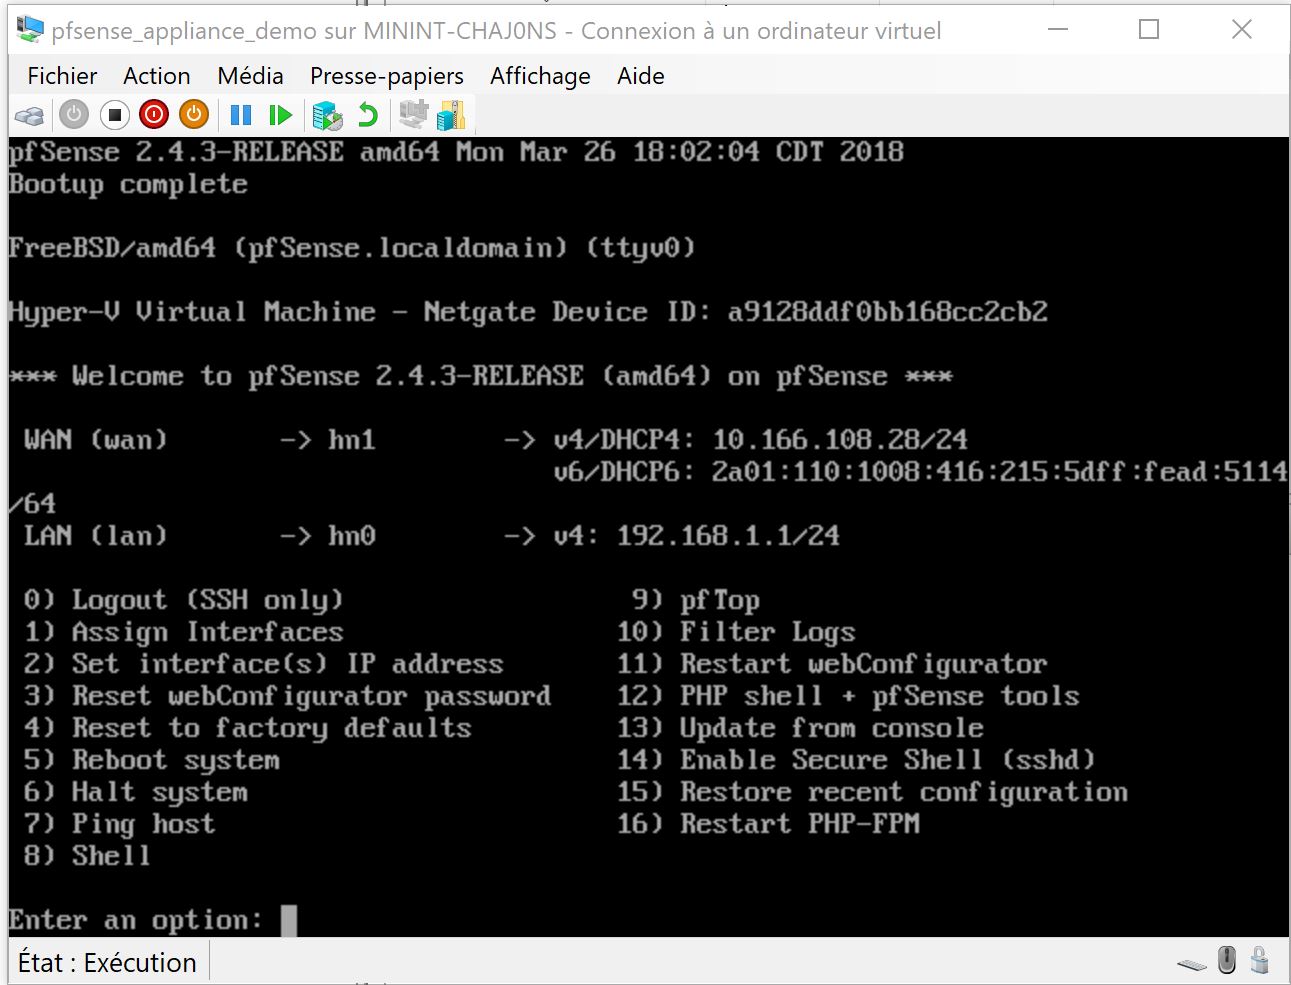
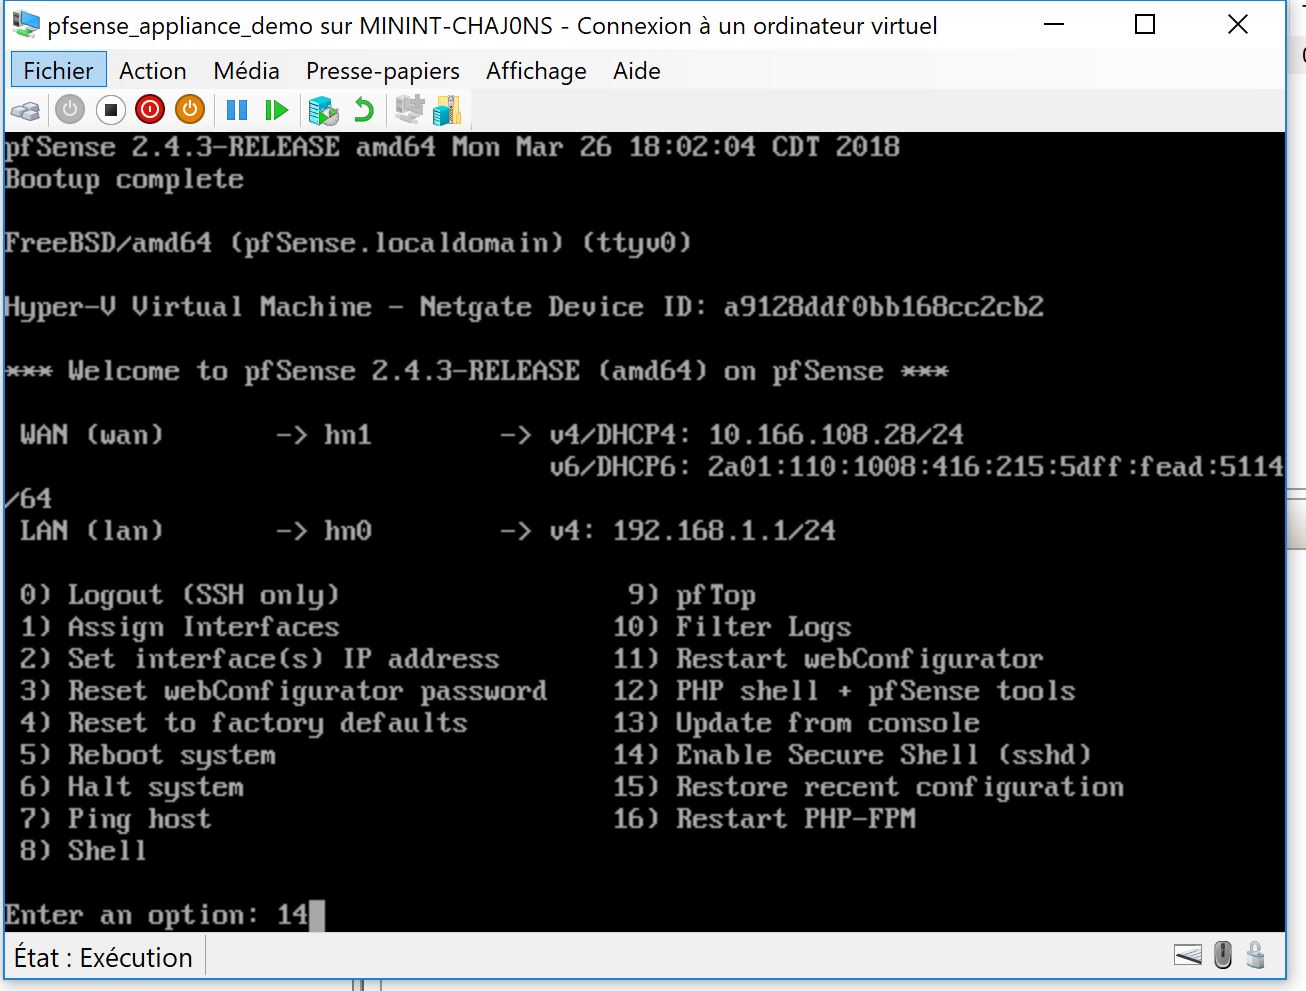
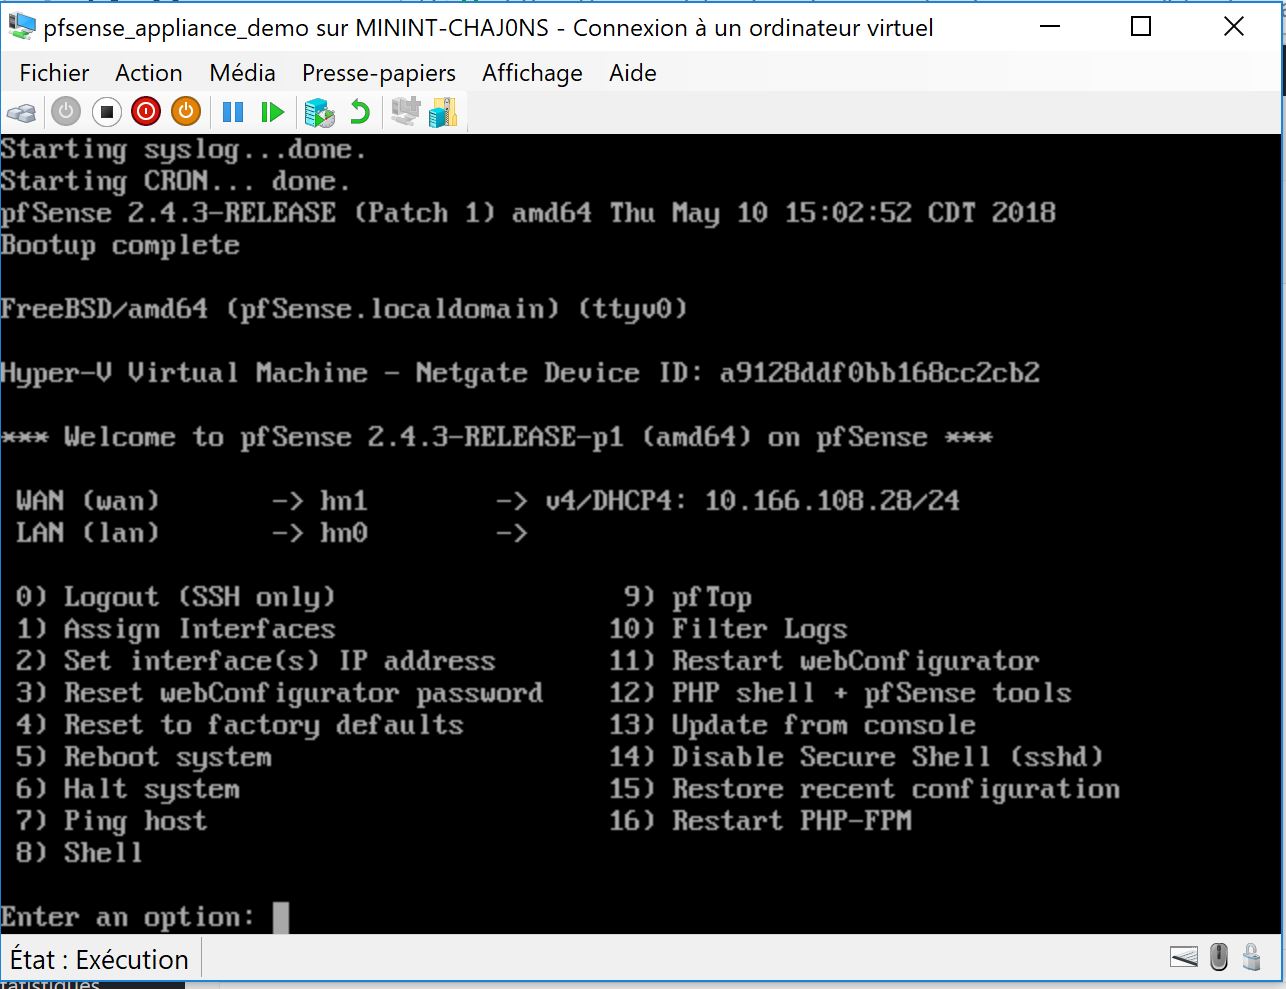
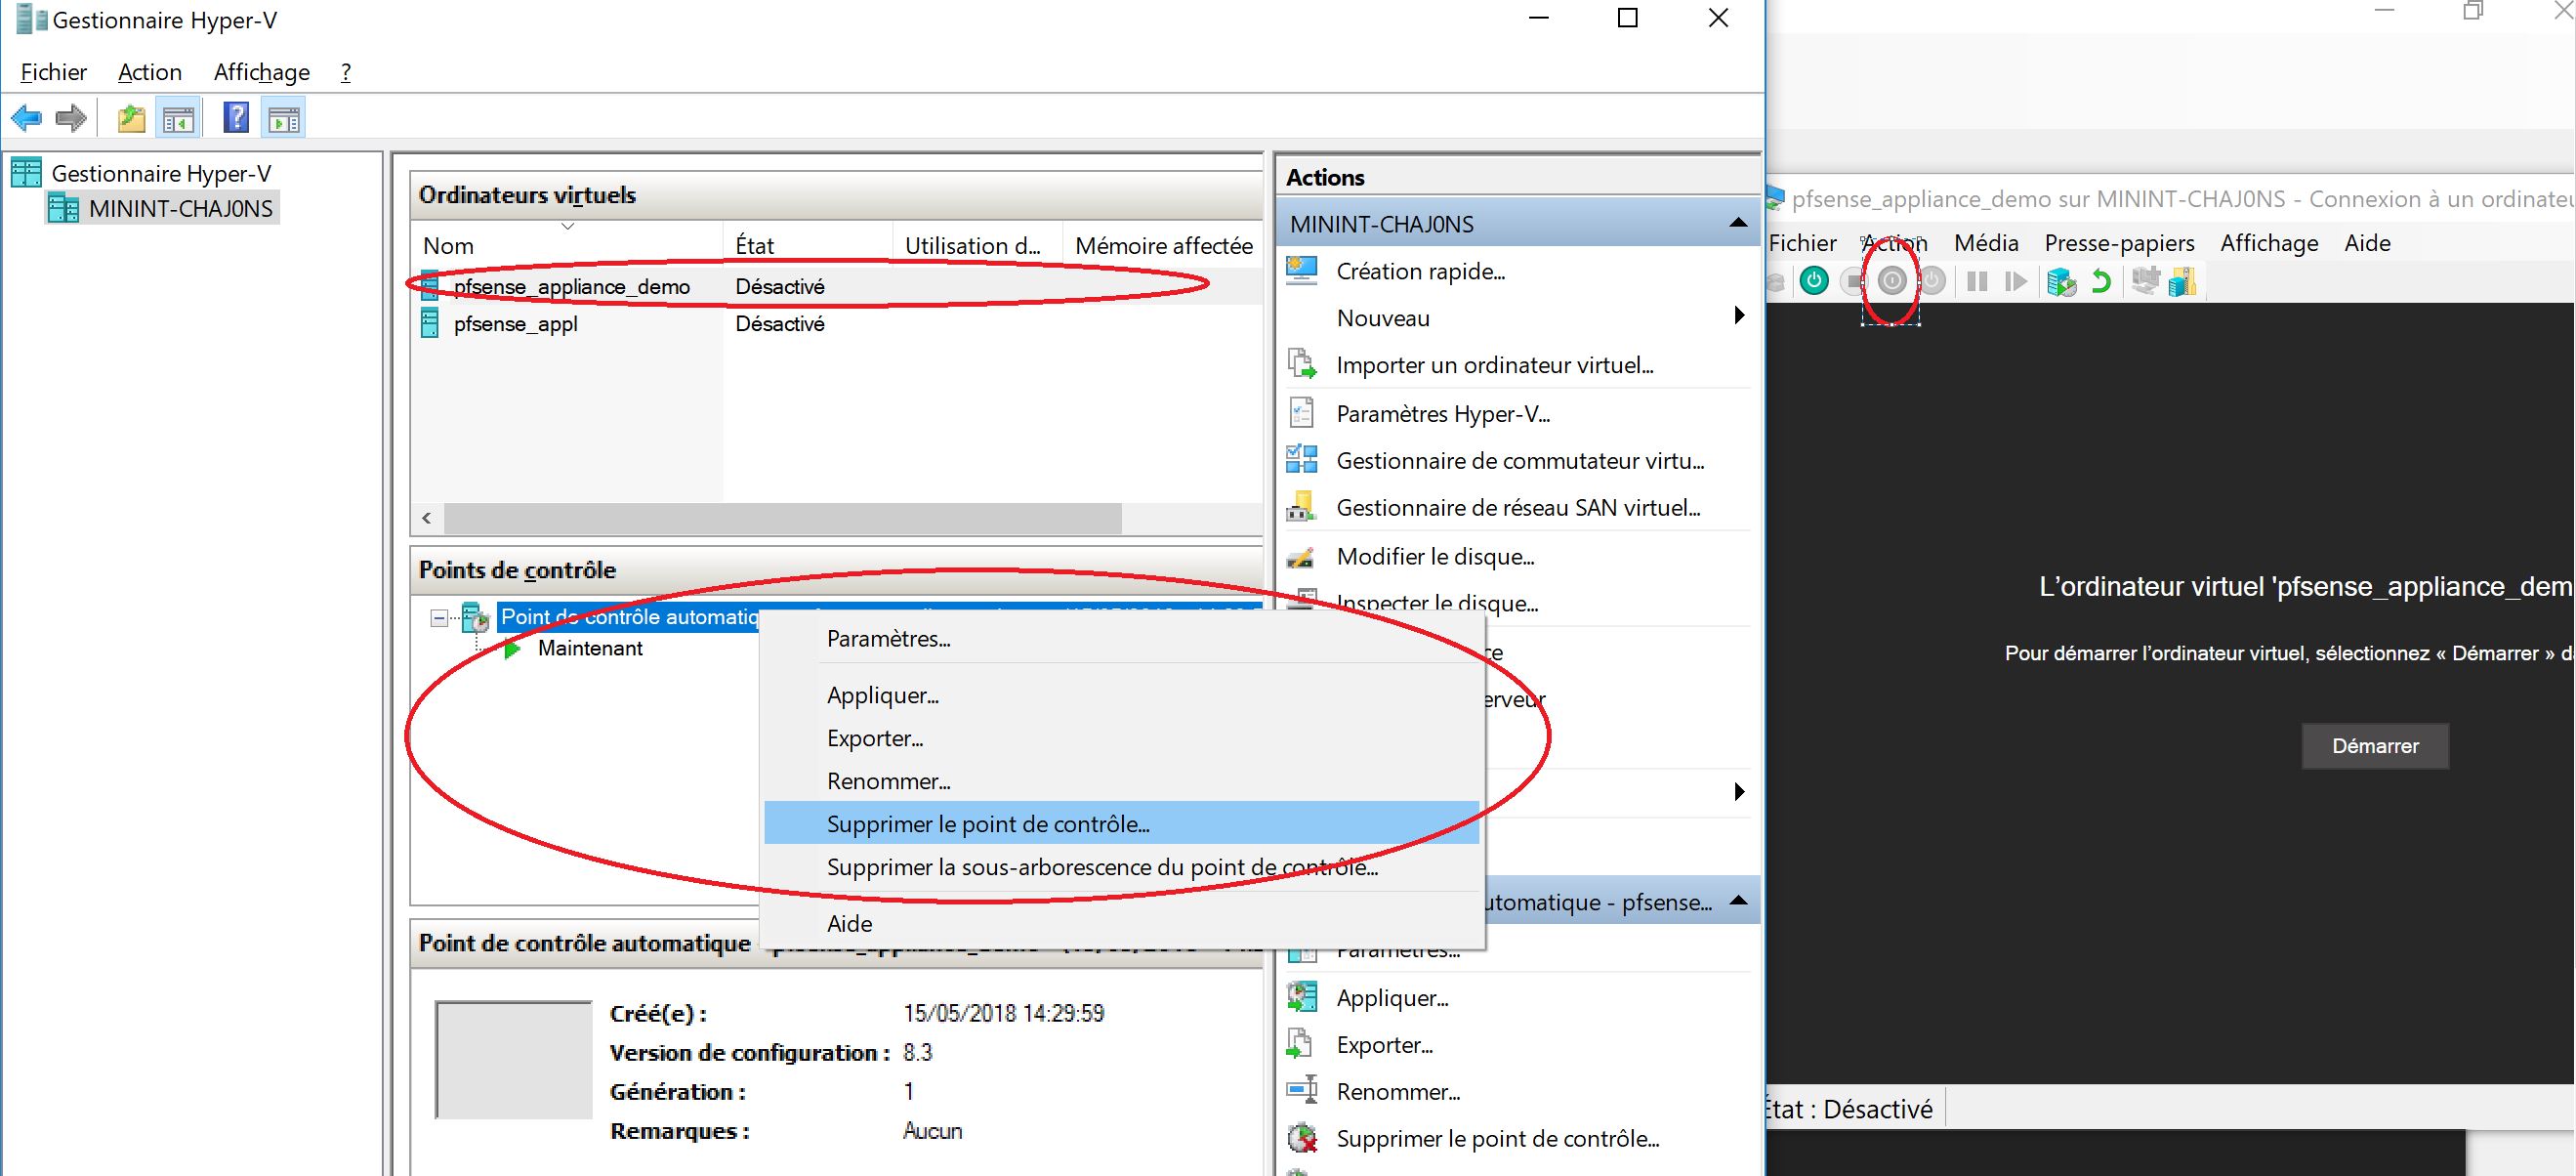
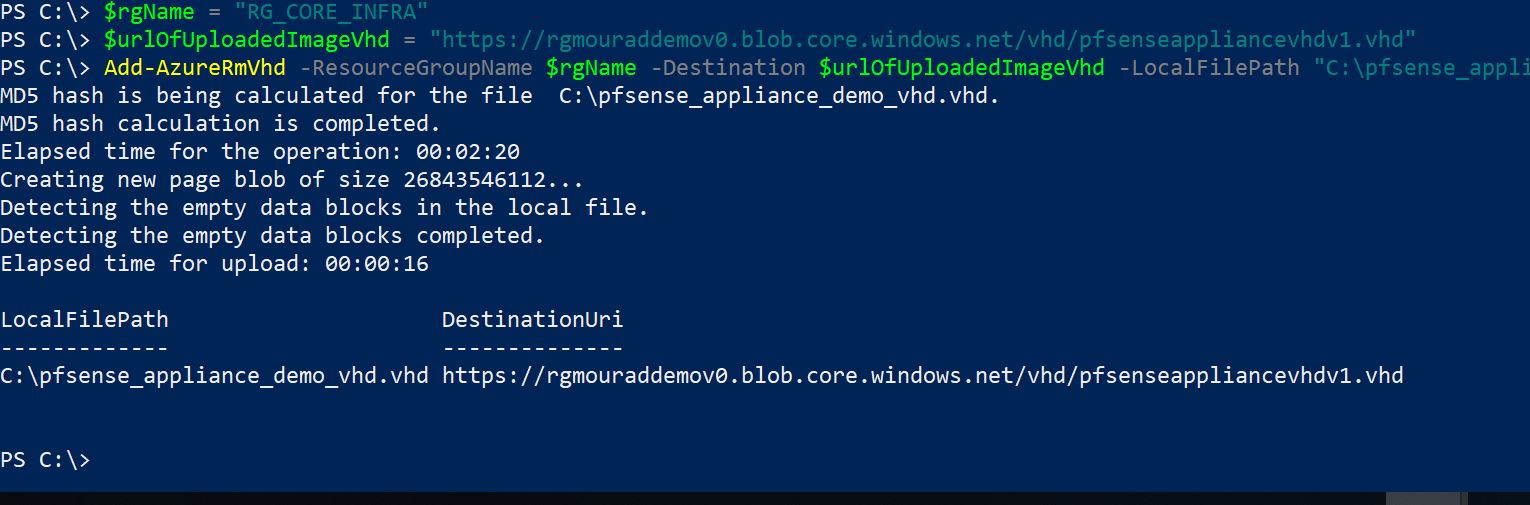
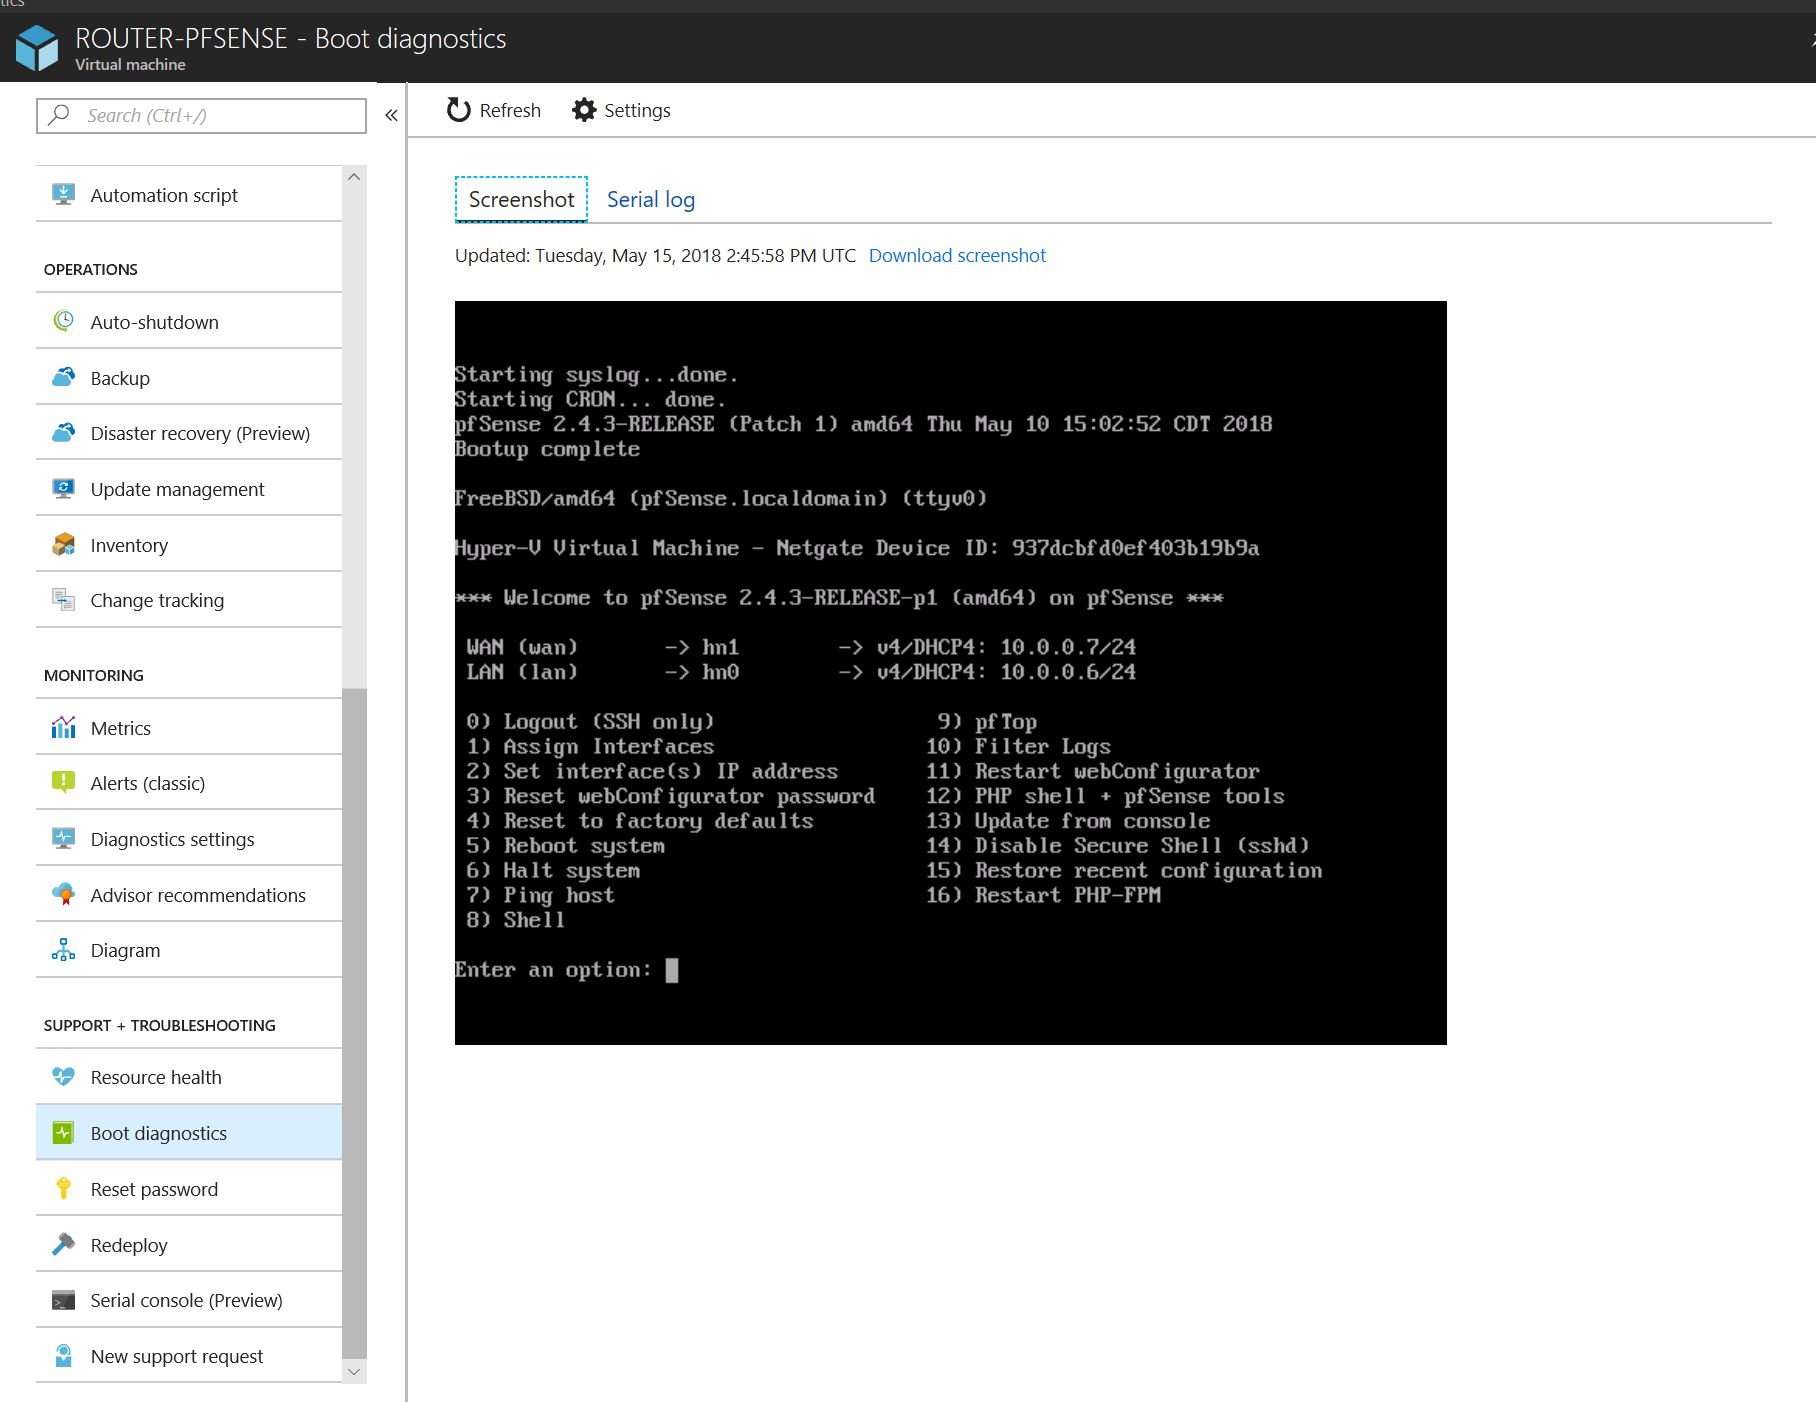
1 – 3 Build the NVA using a PFSENSE Image I created in the last step of this thread ( default login/psswd is admin/pfsense) :
AdminPassword="M@nP@ssw@rd!"
az network nic create --resource-group RG_CORE_INFRA --name pf-sense-nva-2-nic-2 --vnet-name vnet_core --subnet subnet_DMZ --ip-forwarding true --private-ip-address 10.1.1.37
az network nic create --resource-group RG_CORE_INFRA --name pf-sense-nva-2-nic-1 --vnet-name vnet_core --subnet subnet_core --ip-forwarding true --private-ip-address 10.1.1.53
az vm create --resource-group RG_CORE_INFRA --name pf-sense-nva-2 --admin-password $AdminPassword --admin-username demo --nics pf-sense-nva-2-nic-1 pf-sense-nva-2-nic-2 --image PFSENSE-IMAGE --size Standard_DS2_v2 --os-disk-size-gb 32 --no-wait
az vm boot-diagnostics enable --resource-group RG_CORE_INFRA --name pf-sense-nva-2 --storage https://moustorcoreinfra.blob.core.windows.net
1 – 4 Create a VM in the Core area to configure and maintain :
AdminPassword="M@nP@ssw@rd!"
az network nic create --resource-group RG_CORE_INFRA --name win2k-16-maint-nic-1 --vnet-name vnet_core --subnet subnet_core --ip-forwarding true --private-ip-address 10.1.1.52
az vm create --resource-group RG_CORE_INFRA --name win2k-16-maint --image win2016datacenter --admin-username demo --admin-password $AdminPassword --nics win2k-16-maint-nic-1 --size Standard_DS2_v2
az vm boot-diagnostics enable --resource-group RG_CORE_INFRA --name win2k-16-maint --storage https://moustorcoreinfra.blob.core.windows.net
1 – 5 Create the VPN Gateway and tunnel ( it takes something like 20 mins in the background ) :
#CREATE VPN GATEWAY ET VPN
az network public-ip create --resource-group RG_CORE_INFRA --name PuIPVPNGW --dns-name publicipvnpconnexionaddress --allocation-method Dynamic
az network local-gateway create --gateway-ip-address 88.88.88.88 --name Site2 --resource-group RG_CORE_INFRA --local-address-prefixes 192.168.0.0/16
az network vnet-gateway create --resource-group RG_CORE_INFRA --name SPOCKVPNGW --public-ip-address PuIPVPNGW --vnet vnet_core --gateway-type Vpn --vpn-type RouteBased --sku Basic --no-wait
az network vpn-connection create --resource-group RG_CORE_INFRA --name hometoAzure --vnet-gateway1 SPOCKVPNGW -l westeurope --shared-key PasswordToBeChanged --local-gateway2 Site2
1 – 6 On the onprem router, create the VPN too (it will work for ubiquiti and generally speaking for any strongswann based vpn like VyOS) :
configure
set vpn ipsec auto-firewall-nat-exclude enable
set vpn ipsec ike-group FOO0 key-exchange ikev2
set vpn ipsec ike-group FOO0 lifetime 28800
set vpn ipsec ike-group FOO0 proposal 1 dh-group 2
set vpn ipsec ike-group FOO0 proposal 1 encryption aes256
set vpn ipsec ike-group FOO0 proposal 1 hash sha1
set vpn ipsec esp-group FOO0 lifetime 27000
set vpn ipsec esp-group FOO0 pfs disable
set vpn ipsec esp-group FOO0 proposal 1 encryption aes256
set vpn ipsec esp-group FOO0 proposal 1 hash sha1
set vpn ipsec site-to-site peer 7.7.7.7 authentication mode pre-shared-secret
set vpn ipsec site-to-site peer 7.7.7.7 authentication pre-shared-secret <PASSW>
set vpn ipsec site-to-site peer 7.7.7.7 connection-type respond
set vpn ipsec site-to-site peer 7.7.7.7 description ipsec
set vpn ipsec site-to-site peer 7.7.7.7 local-address 192.168.1.1
set vpn ipsec site-to-site peer 7.7.7.7 ike-group FOO0
set vpn ipsec site-to-site peer 7.7.7.7 vti bind vti0
set vpn ipsec site-to-site peer 7.7.7.7 vti esp-group FOO0
set interfaces vti vti0
set firewall options mss-clamp interface-type vti
set firewall options mss-clamp mss 1350
set protocols static interface-route 10.1.0.0/16 next-hop-interface vti0
commit ; save
2 – 1 Create Shared services for spoke Production :
#SPOKE_PROD
az group create --resource-group SPOKE_PROD --location westeurope
az network vnet create --resource-group SPOKE_PROD --location westeurope --name vnet-spoke-prod --address-prefix 10.1.2.0/24
az storage account create --location westeurope --name moustorprod --resource-group RG_CORE_INFRA --sku Standard_LRS
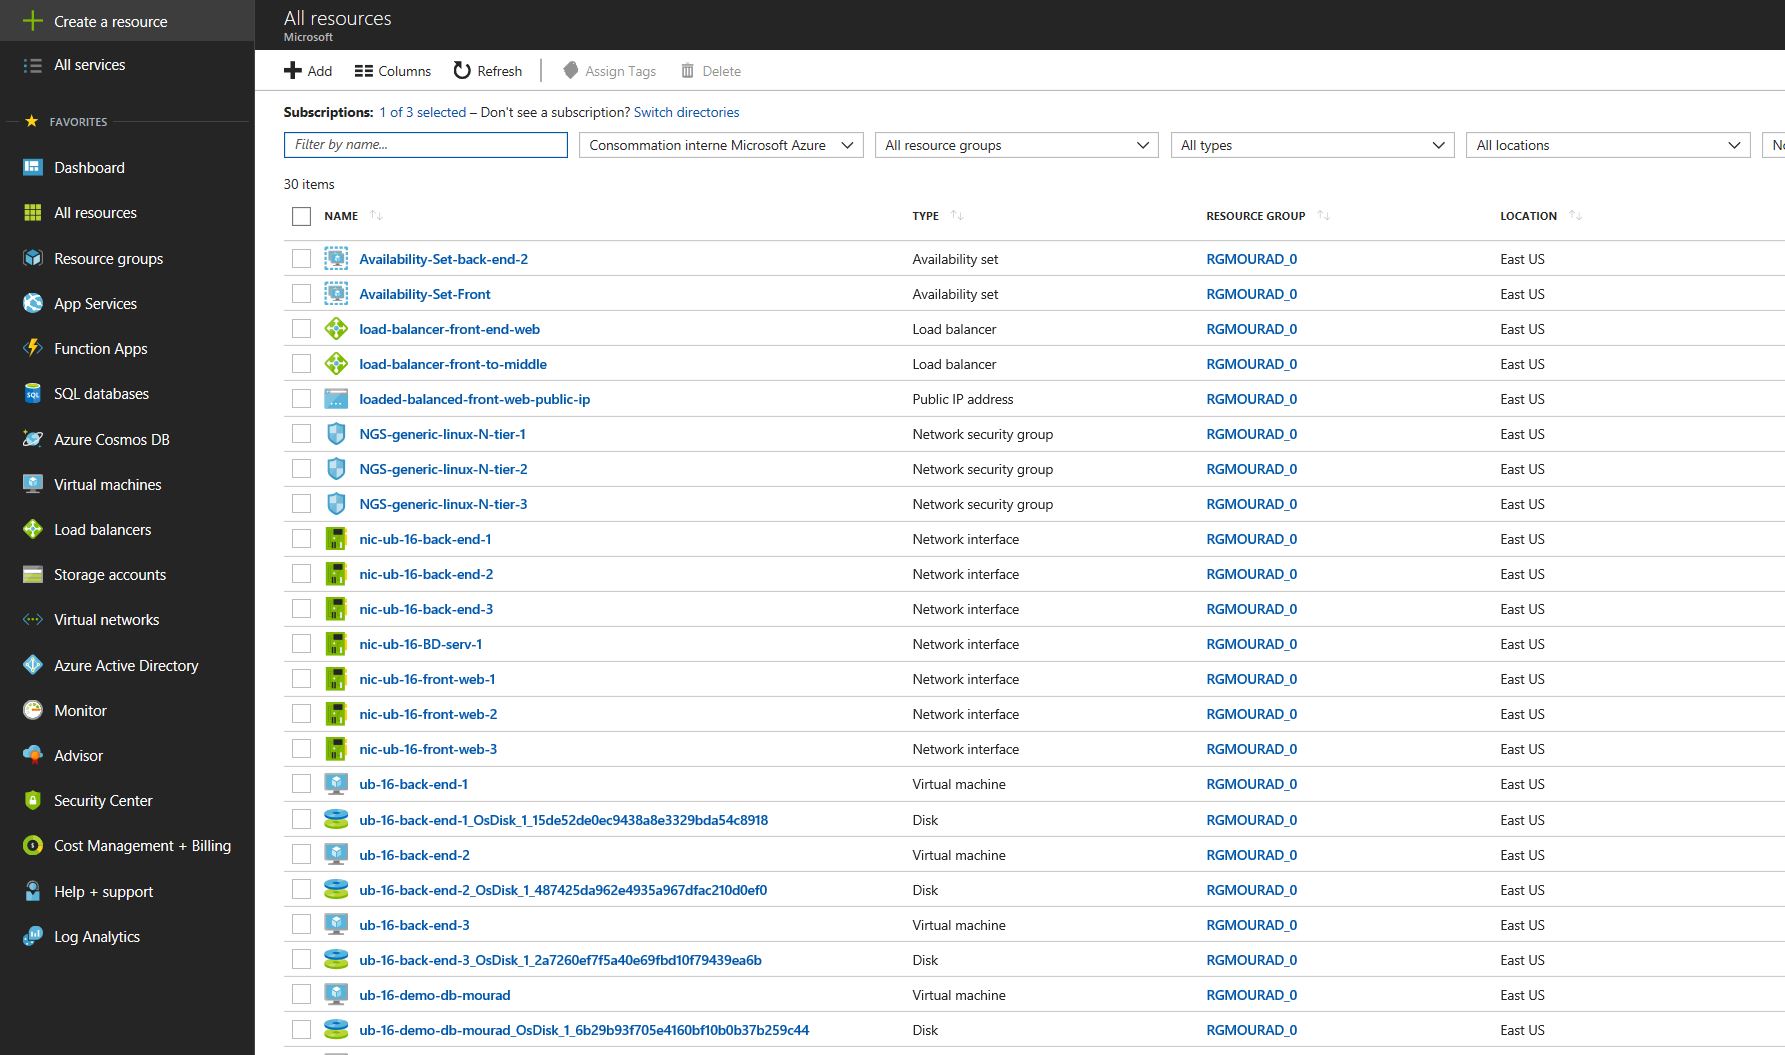
2 – 2 Create the Production environment ( let’s assume this is a basic Apache server for now), we create an NSG ( optional), Load Balancer, Vnet subnet and 2 VMs loadbalanced
#PROD_FRONT
#CREATE_NSG_OPTIONNAL_SINCE_ FIREWALLING_CAN_BE_MANAGE_FROM_NVA
az network nsg create --resource-group SPOKE_PROD --name NGS-generic-linux-N-tier-1
az network nsg rule create --resource-group SPOKE_PROD --nsg-name NGS-generic-linux-N-tier-1 --name NGS-generic-linux-N-tier-1-rule-22_inbound --protocol tcp --direction inbound --source-address-prefix '*' --source-port-range '*' --destination-address-prefix '*' --destination-port-range 22 --access allow --priority 1000
az network nsg rule create --resource-group SPOKE_PROD --nsg-name NGS-generic-linux-N-tier-1 --name NGS-generic-linux-N-tier-1-rule-80_inbound --protocol tcp --direction inbound --source-address-prefix '*' --source-port-range '*' --destination-address-prefix '*' --destination-port-range 80 --access allow --priority 1001
az network nsg rule create --resource-group SPOKE_PROD --nsg-name NGS-generic-linux-N-tier-1 --name NGS-generic-linux-N-tier-1-rule-8080_inbound --protocol tcp --direction inbound --source-address-prefix '*' --source-port-range '*' --destination-address-prefix '*' --destination-port-range 8080 --access allow --priority 1002
az network nsg rule create --resource-group SPOKE_PROD --nsg-name NGS-generic-linux-N-tier-1 --name NGS-generic-linux-N-tier-1-rule-3306_inbound --protocol tcp --direction inbound --source-address-prefix '*' --source-port-range '*' --destination-address-prefix '*' --destination-port-range 3306 --access allow --priority 1003
#CREATE_SUBNET_AND_LOAD_BALANCER
az network vnet subnet create --address-prefix 10.1.2.0/28 --name vnet-spoke-prod-subnet-tier-1 --resource-group SPOKE_PROD --vnet-name vnet-spoke-prod --network-security-group NGS-generic-linux-N-tier-1
az network lb create --resource-group SPOKE_PROD --name load-balancer-front-end-web --private-ip-address 10.1.2.4 --subnet vnet-spoke-prod-subnet-tier-1 --vnet-name vnet-spoke-prod --backend-pool-name demo-front-from-tier-1-to-backend-pool
az network lb probe create --resource-group SPOKE_PROD --lb-name load-balancer-front-end-web --name health-prob-1-22 --protocol tcp --port 22
az network lb probe create --resource-group SPOKE_PROD --lb-name load-balancer-front-end-web --name health-prob-1-80 --protocol tcp --port 80
az network lb probe create --resource-group SPOKE_PROD --lb-name load-balancer-front-end-web --name health-prob-1-8080 --protocol tcp --port 8080
az network lb probe create --resource-group SPOKE_PROD --lb-name load-balancer-front-end-web --name health-prob-1-3306 --protocol tcp --port 3306
az network lb rule create --resource-group SPOKE_PROD --lb-name load-balancer-front-end-web --name load-balancer-rule-1-22 --protocol tcp --frontend-port 22 --backend-port 22 --backend-pool-name demo-front-from-tier-1-to-backend-pool --probe-name health-prob-1-22
az network lb rule create --resource-group SPOKE_PROD --lb-name load-balancer-front-end-web --name load-balancer-rule-1-80 --protocol tcp --frontend-port 80 --backend-port 80 --backend-pool-name demo-front-from-tier-1-to-backend-pool --probe-name health-prob-1-80
az network lb rule create --resource-group SPOKE_PROD --lb-name load-balancer-front-end-web --name load-balancer-rule-1-8080 --protocol tcp --frontend-port 8080 --backend-port 8080 --backend-pool-name demo-front-from-tier-1-to-backend-pool --probe-name health-prob-1-8080
az network lb rule create --resource-group SPOKE_PROD --lb-name load-balancer-front-end-web --name load-balancer-rule-1-3306 --protocol tcp --frontend-port 3306 --backend-port 3306 --backend-pool-name demo-front-from-tier-1-to-backend-pool --probe-name health-prob-1-3306
#CREATE_AVAILIBILITY_SET
az vm availability-set create --resource-group SPOKE_PROD --name Availability-Set-1 --platform-fault-domain-count 2 --platform-update-domain-count 2
#CREATE_2_VMs_LOAD_BALANCED
az network nic create --resource-group SPOKE_PROD --name ub-16-tier-1-vm-1-nic-1 --vnet-name vnet-spoke-prod --subnet vnet-spoke-prod-subnet-tier-1 --private-ip-address 10.1.2.5 --lb-name load-balancer-front-end-web --lb-address-pools demo-front-from-tier-1-to-backend-pool
az vm create --resource-group SPOKE_PROD --name ub-16-tier-1-vm-1 --admin-password $AdminPassword --admin-username demo --availability-set Availability-Set-1 --nics ub-16-tier-1-vm-1-nic-1 --image UbuntuLTS --size Standard_DS1_v2 --os-disk-size-gb 32
az vm boot-diagnostics enable --resource-group SPOKE_PROD --name ub-16-tier-1-vm-1 --storage https://moustorprod.blob.core.windows.net
az network nic create --resource-group SPOKE_PROD --name ub-16-tier-1-vm-2-nic-1 --vnet-name vnet-spoke-prod --subnet vnet-spoke-prod-subnet-tier-1 --private-ip-address 10.1.2.6 --lb-name load-balancer-front-end-web --lb-address-pools demo-front-from-tier-1-to-backend-pool
az vm create --resource-group SPOKE_PROD --name ub-16-tier-1-vm-2 --admin-password $AdminPassword --admin-username demo --availability-set Availability-Set-1 --nics ub-16-tier-1-vm-2-nic-1 --image UbuntuLTS --size Standard_DS1_v2 --os-disk-size-gb 32
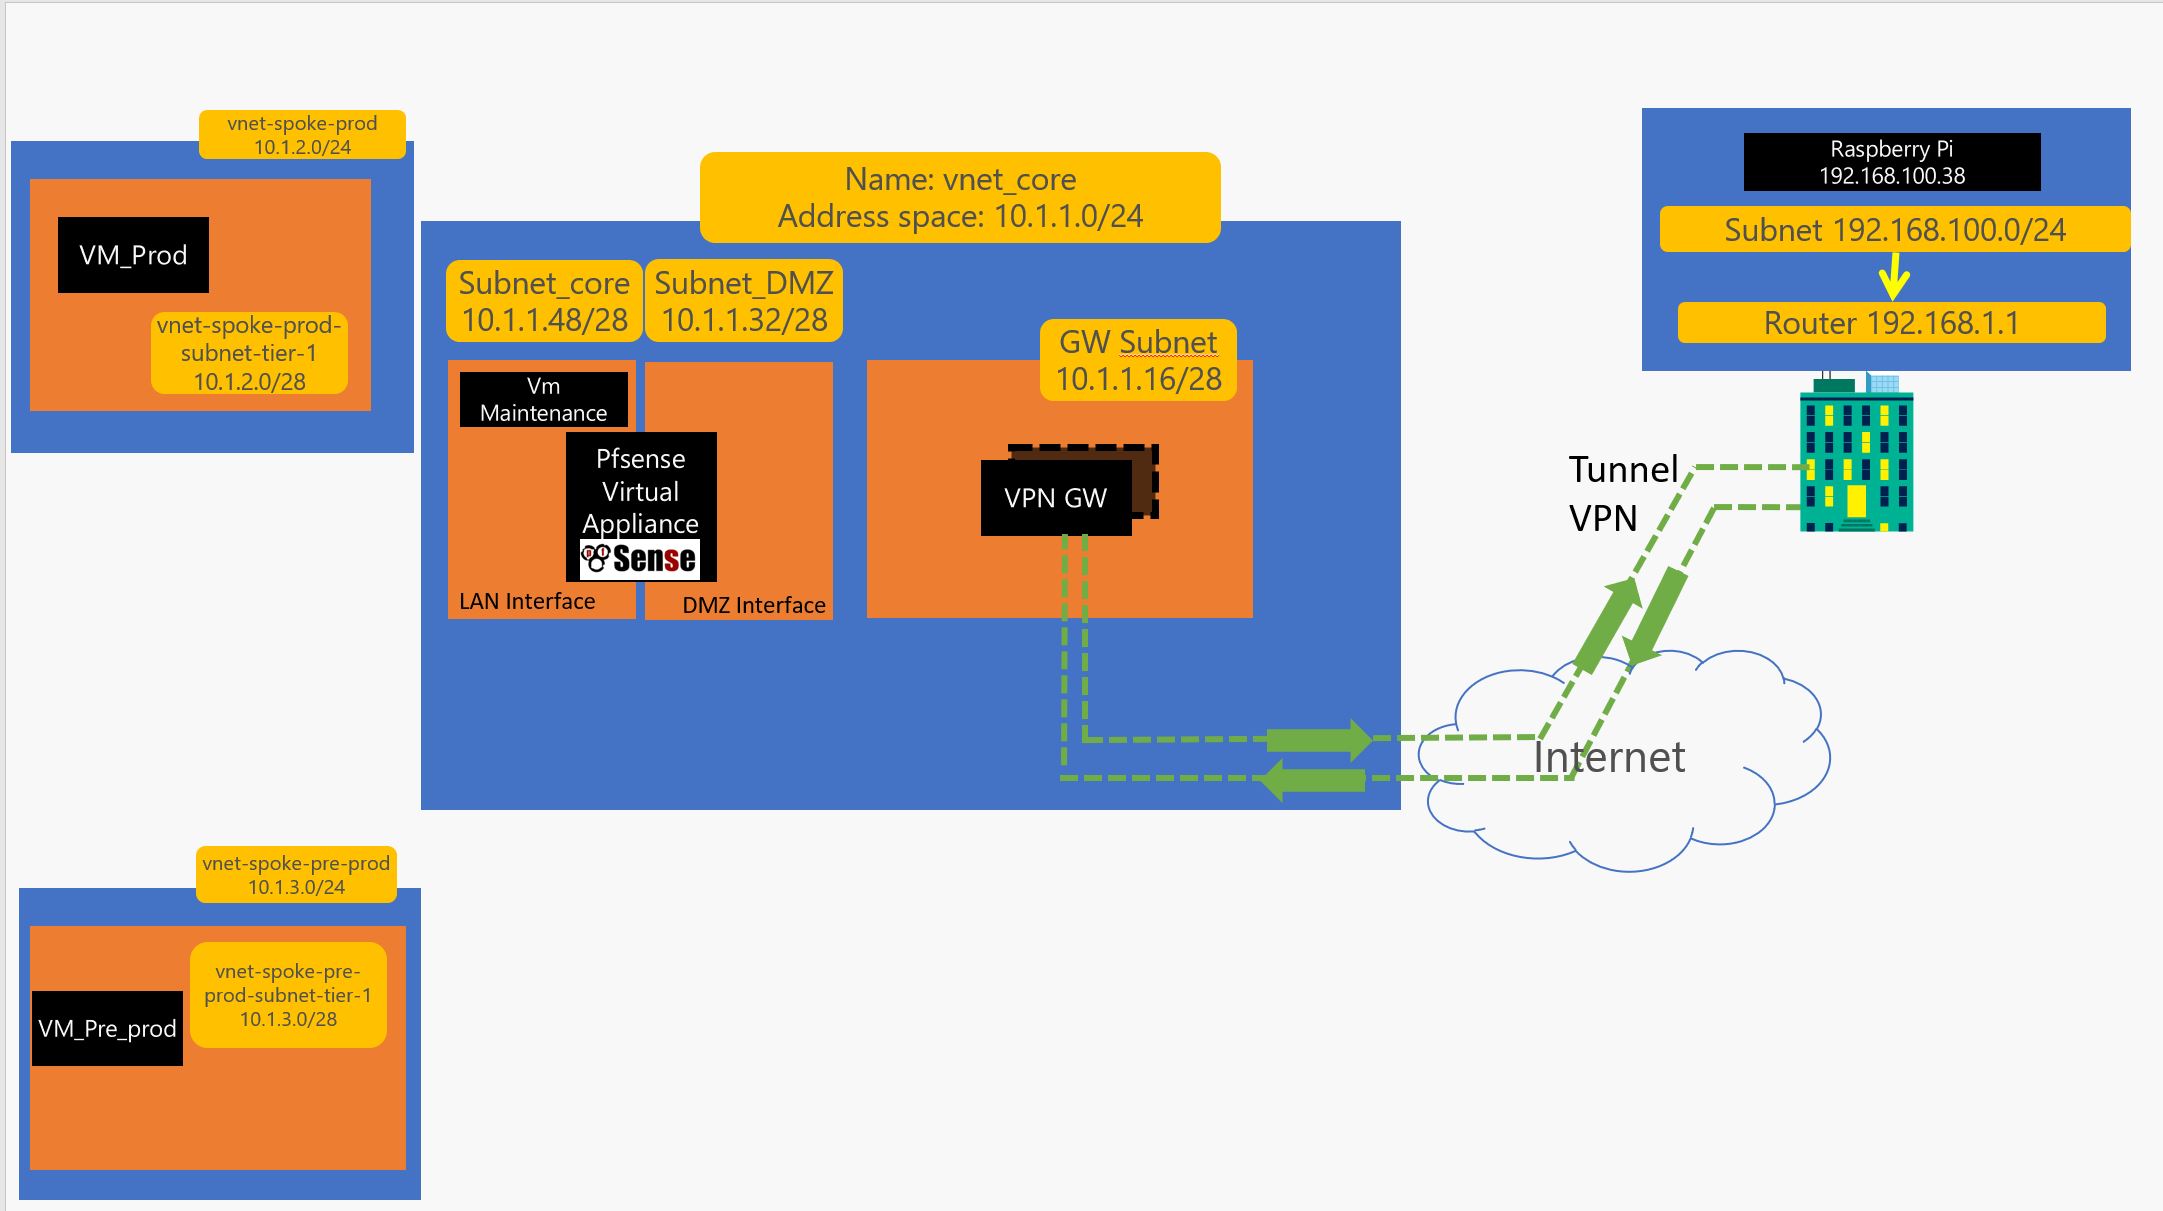
3 – 1 Let’s build the Pre Production spoke :
#SPOKE_PRE_PROD
az group create --resource-group SPOKE_PRE_PROD --location westeurope
az network vnet create --resource-group SPOKE_PRE_PROD --location westeurope --name vnet-spoke-pre-prod --address-prefix 10.1.3.0/24
az storage account create --location westeurope --name moustorpreprod --resource-group RG_CORE_INFRA --sku Standard_LRS
3 – 2 Create the Pre – Production environment ( let’s assume this is a basic Apache server for now), we create an NSG ( optional), Load Balancer, Vnet subnet and 2 VMs loadbalanced
#PRE_PROD_FRONT
#CREATE_NSG_OPTIONNAL_SINCE_ FIREWALLING_CAN_BE_MANAGE_FROM_NVA
az network nsg create --resource-group SPOKE_PRE_PROD --name NGS-generic-linux-N-tier-1
az network nsg rule create --resource-group SPOKE_PRE_PROD --nsg-name NGS-generic-linux-N-tier-1 --name NGS-generic-linux-N-tier-1-rule-22_inbound --protocol tcp --direction inbound --source-address-prefix '*' --source-port-range '*' --destination-address-prefix '*' --destination-port-range 22 --access allow --priority 1000
az network nsg rule create --resource-group SPOKE_PRE_PROD --nsg-name NGS-generic-linux-N-tier-1 --name NGS-generic-linux-N-tier-1-rule-80_inbound --protocol tcp --direction inbound --source-address-prefix '*' --source-port-range '*' --destination-address-prefix '*' --destination-port-range 80 --access allow --priority 1001
az network nsg rule create --resource-group SPOKE_PRE_PROD --nsg-name NGS-generic-linux-N-tier-1 --name NGS-generic-linux-N-tier-1-rule-8080_inbound --protocol tcp --direction inbound --source-address-prefix '*' --source-port-range '*' --destination-address-prefix '*' --destination-port-range 8080 --access allow --priority 1002
az network nsg rule create --resource-group SPOKE_PRE_PROD --nsg-name NGS-generic-linux-N-tier-1 --name NGS-generic-linux-N-tier-1-rule-3306_inbound --protocol tcp --direction inbound --source-address-prefix '*' --source-port-range '*' --destination-address-prefix '*' --destination-port-range 3306 --access allow --priority 1003
#CREATE_SUBNET_AND_LOAD_BALANCER
az network vnet subnet create --address-prefix 10.1.3.0/28 --name vnet-spoke-pre-prod-subnet-tier-1 --resource-group SPOKE_PRE_PROD --vnet-name vnet-spoke-pre-prod --network-security-group NGS-generic-linux-N-tier-1
az network lb create --resource-group SPOKE_PRE_PROD --name load-balancer-front-end-web-pre --private-ip-address 10.1.3.4 --subnet vnet-spoke-pre-prod-subnet-tier-1 --vnet-name vnet-spoke-pre-prod --backend-pool-name demo-front-from-tier-1-to-backend-pool
az network lb probe create --resource-group SPOKE_PRE_PROD --lb-name load-balancer-front-end-web-pre --name health-prob-1-22 --protocol tcp --port 22
az network lb probe create --resource-group SPOKE_PRE_PROD --lb-name load-balancer-front-end-web-pre --name health-prob-1-80 --protocol tcp --port 80
az network lb probe create --resource-group SPOKE_PRE_PROD --lb-name load-balancer-front-end-web-pre --name health-prob-1-8080 --protocol tcp --port 8080
az network lb probe create --resource-group SPOKE_PRE_PROD --lb-name load-balancer-front-end-web-pre --name health-prob-1-3306 --protocol tcp --port 3306
az network lb rule create --resource-group SPOKE_PRE_PROD --lb-name load-balancer-front-end-web-pre --name load-balancer-rule-1-22 --protocol tcp --frontend-port 22 --backend-port 22 --backend-pool-name demo-front-from-tier-1-to-backend-pool --probe-name health-prob-1-22
az network lb rule create --resource-group SPOKE_PRE_PROD --lb-name load-balancer-front-end-web-pre --name load-balancer-rule-1-80 --protocol tcp --frontend-port 80 --backend-port 80 --backend-pool-name demo-front-from-tier-1-to-backend-pool --probe-name health-prob-1-80
az network lb rule create --resource-group SPOKE_PRE_PROD --lb-name load-balancer-front-end-web-pre --name load-balancer-rule-1-8080 --protocol tcp --frontend-port 8080 --backend-port 8080 --backend-pool-name demo-front-from-tier-1-to-backend-pool --probe-name health-prob-1-8080
az network lb rule create --resource-group SPOKE_PRE_PROD --lb-name load-balancer-front-end-web-pre --name load-balancer-rule-1-3306 --protocol tcp --frontend-port 3306 --backend-port 3306 --backend-pool-name demo-front-from-tier-1-to-backend-pool --probe-name health-prob-1-3306
#CREATE_AVAILIBILITY_SET
az vm availability-set create --resource-group SPOKE_PRE_PROD --name Availability-Set-1 --platform-fault-domain-count 2 --platform-update-domain-count 2
#CREATE_1_VMs_LOAD_BALANCED
az network nic create --resource-group SPOKE_PRE_PROD --name ub-16-pre-tier-1-vm-1-nic-1 --vnet-name vnet-spoke-pre-prod --subnet vnet-spoke-pre-prod-subnet-tier-1 --lb-name load-balancer-front-end-web-pre --lb-address-pools demo-front-from-tier-1-to-backend-pool
az vm create --resource-group SPOKE_PRE_PROD --name ub-16-pre-tier-1-vm-1 --admin-password $AdminPassword --admin-username demo --availability-set Availability-Set-1 --nics ub-16-pre-tier-1-vm-1-nic-1 --image UbuntuLTS --size Standard_DS1_v2 --os-disk-size-gb 32 --no-wait
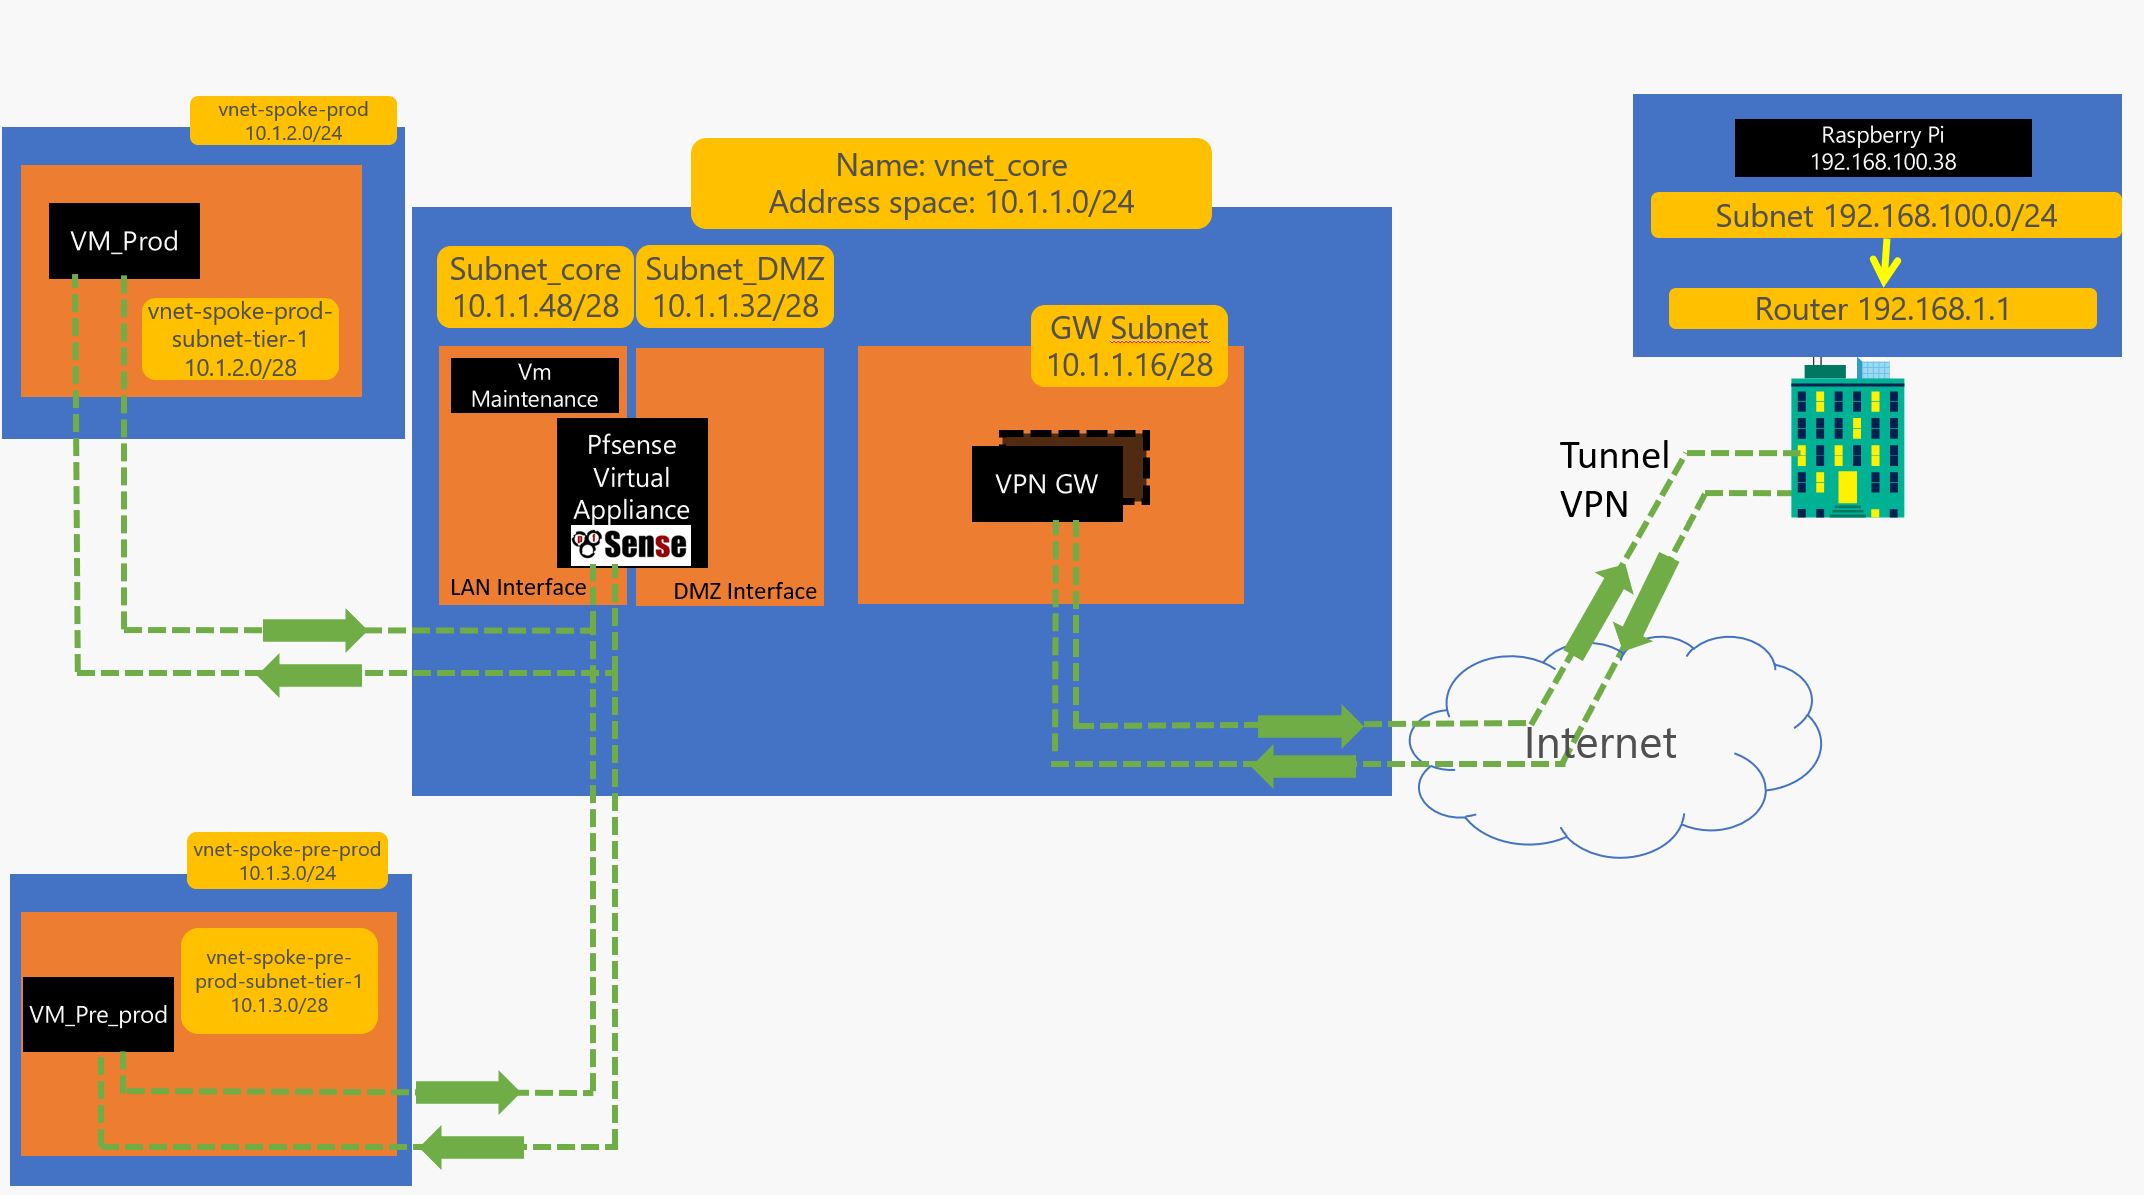
4 – 1 Now create the Vnet Peering :
#VNET_PEERING_CORE_TO_PROD
az network vnet peering create -g RG_CORE_INFRA -n PEERING_HUB_TO_PROD --vnet-name vnet_core --remote-vnet-id vnet-spoke-prod --allow-vnet-access
az network vnet peering create -g SPOKE_PROD -n PEERING_PROD_TO_HUB --vnet-name vnet-spoke-prod --remote-vnet-id vnet_core --allow-vnet-access
#VNET_PEERING_CORE_TO_PRE_PROD
az network vnet peering create -g RG_CORE_INFRA -n PEERING_HUB_TO_PRE_PROD --vnet-name vnet_core --remote-vnet-id vnet-spoke-pre-prod --allow-vnet-access
az network vnet peering create -g SPOKE_PRE_PROD -n PEERING_PRE_PROD_TO_HUB --vnet-name vnet-spoke-pre-prod --remote-vnet-id vnet_core --allow-vnet-access
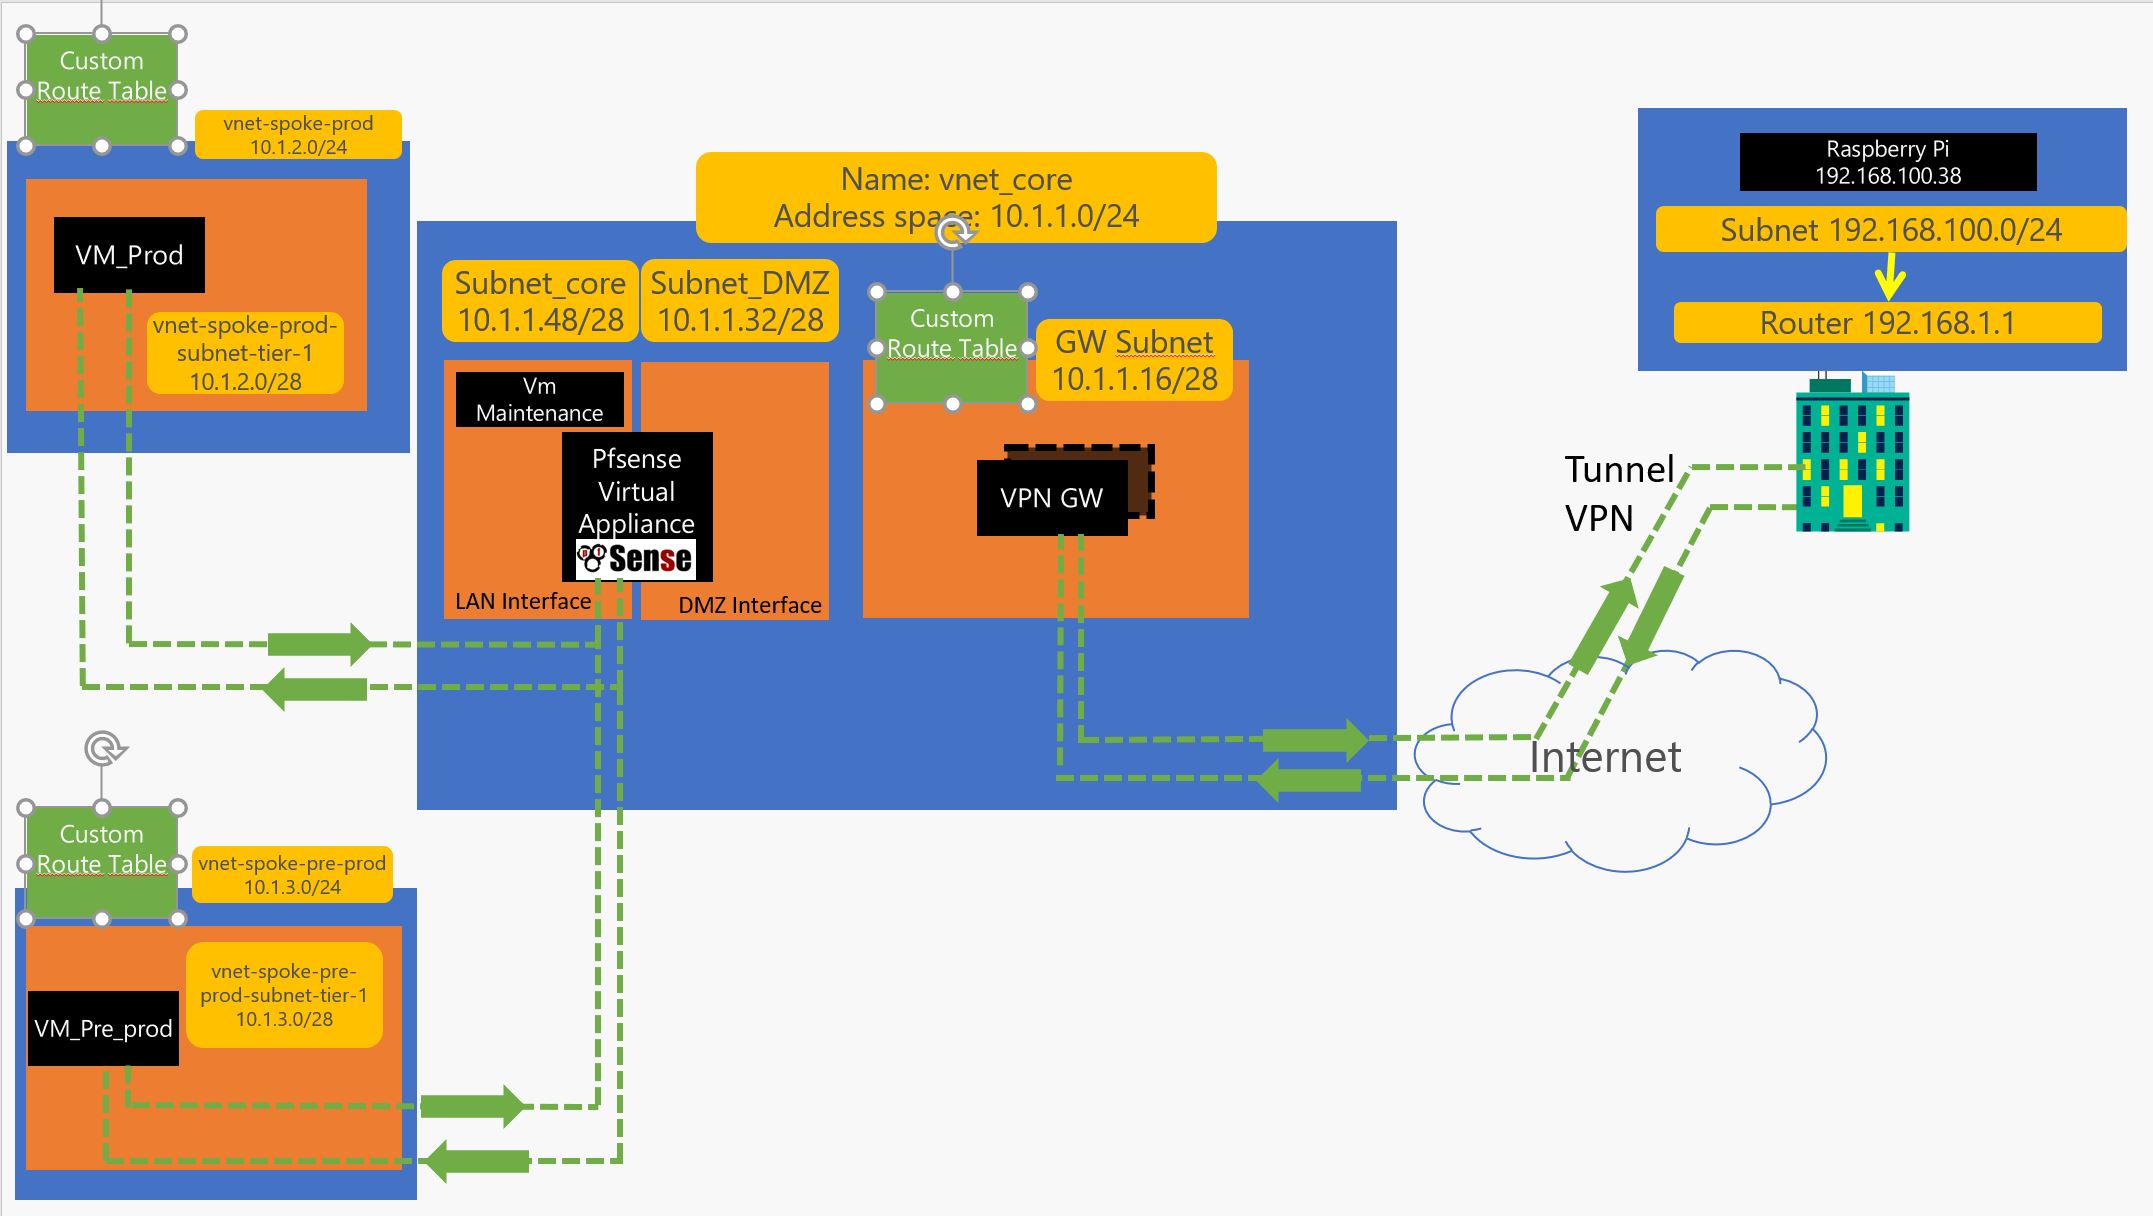
4 – 2 Create the UDR and Route tables :
#CREATE_ROUTE_TABLES
#CREATE_ROUTE_TABLE_HUB_TO_ONPREM
az network route-table create --resource-group RG_CORE_INFRA --name ROUTE_TABLE_HUB_TO_ONPREM
# Creates routes to force traffic from GatewaySubnet to 192.168.0.0/16 to go thru 10.1.1.37 ( INterface WAN of the Router )
az network route-table route create --name ROUTE_HUB_TO_ONPREM --resource-group RG_CORE_INFRA --route-table-name ROUTE_TABLE_HUB_TO_ONPREM --address-prefix 192.168.0.0/16 --next-hop-type VirtualAppliance --next-hop-ip-address 10.1.1.37
az network route-table route create --name ROUTE_HUB_TO_CORE --resource-group RG_CORE_INFRA --route-table-name ROUTE_TABLE_HUB_TO_ONPREM --address-prefix 10.1.1.48/28 --next-hop-type VirtualAppliance --next-hop-ip-address 10.1.1.37
az network route-table route create --name ROUTE_HUB_TO_PRE_PROD --resource-group RG_CORE_INFRA --route-table-name ROUTE_TABLE_HUB_TO_ONPREM --address-prefix 10.1.3.0/24 --next-hop-type VirtualAppliance --next-hop-ip-address 10.1.1.37
az network route-table route create --name ROUTE_HUB_TO_PROD --resource-group RG_CORE_INFRA --route-table-name ROUTE_TABLE_HUB_TO_ONPREM --address-prefix 10.1.2.0/24 --next-hop-type VirtualAppliance --next-hop-ip-address 10.1.1.37
# and update vnet so Traffic from GatewaySubnet will transit to the virtual appliance IP 10.1.1.36 which is in DMZ to reach 192.168.0.0/16 ( this is redundant traffic but in case you use your own gateway this is better )
az network vnet subnet update --vnet-name vnet_core --name GatewaySubnet --resource-group RG_CORE_INFRA --route-table ROUTE_TABLE_HUB_TO_ONPREM
#CREATE_ROUTE_TABLE_SPOKE_PRE_PROD
az network route-table create --resource-group RG_CORE_INFRA --name ROUTE_TABLE_SPOKE_PRE_PROD
# Creates routes to force traffic from vnet-spoke-pre-prod-subnet-tier-1 to 192.168.0.0/16 and 10.1.2.0/24 to go thru 10.1.1.53 ( INterface LAN of the Router )
az network route-table route create --name SPOKE_PRE_PROD_TO_ONPREM --resource-group RG_CORE_INFRA --route-table-name ROUTE_TABLE_SPOKE_PRE_PROD --address-prefix 192.168.0.0/16 --next-hop-type VirtualAppliance --next-hop-ip-address 10.1.1.53
az network route-table route create --name SPOKE_PRE_PROD_TO_PROD --resource-group RG_CORE_INFRA --route-table-name ROUTE_TABLE_SPOKE_PRE_PROD --address-prefix 10.1.2.0/24 --next-hop-type VirtualAppliance --next-hop-ip-address 10.1.1.53
az network route-table route create --name ROUTE_HUB_TO_DMZ --resource-group RG_CORE_INFRA --route-table-name ROUTE_TABLE_SPOKE_PRE_PROD --address-prefix 10.1.1.32/28 --next-hop-type VirtualAppliance --next-hop-ip-address 10.1.1.53
az network route-table route create --name ROUTE_HUB_TO_GWVPNSUBNET --resource-group RG_CORE_INFRA --route-table-name ROUTE_TABLE_SPOKE_PRE_PROD --address-prefix 10.1.1.16/28 --next-hop-type VirtualAppliance --next-hop-ip-address 10.1.1.53
# and update vnet so Traffic from vnet-spoke-pre-prod-subnet-tier-1 will transit to the virtual appliance IP 10.1.1.57 to reach 192.168.0.0/16 and 10.1.2.0/24
az network vnet subnet update --vnet-name vnet-spoke-pre-prod --name vnet-spoke-pre-prod-subnet-tier-1 --resource-group RG_CORE_INFRA --route-table ROUTE_TABLE_HUB_TO_ONPREM
#CREATE_ROUTE_TABLE_SPOKE_PROD
az network route-table create --resource-group RG_CORE_INFRA --name ROUTE_TABLE_SPOKE_PROD
# Creates routes to force traffic from vnet-spoke-prod-subnet-tier-1 to 192.168.0.0/16 and 10.1.3.0/24 to go thru 10.1.1.53 ( INterface LAN of the Router )
az network route-table route create --name ROUTE_SPOKE_PROD_TO_ONPREM --resource-group RG_CORE_INFRA --route-table-name ROUTE_TABLE_SPOKE_PROD --address-prefix 192.168.0.0/16 --next-hop-type VirtualAppliance --next-hop-ip-address 10.1.1.53
az network route-table route create --name SPOKE_PROD_TO_PRE_PROD --resource-group RG_CORE_INFRA --route-table-name ROUTE_TABLE_SPOKE_PROD --address-prefix 10.1.3.0/24 --next-hop-type VirtualAppliance --next-hop-ip-address 10.1.1.53
az network route-table route create --name ROUTE_HUB_TO_DMZ --resource-group RG_CORE_INFRA --route-table-name ROUTE_TABLE_SPOKE_PROD --address-prefix 10.1.1.32/28 --next-hop-type VirtualAppliance --next-hop-ip-address 10.1.1.53
az network route-table route create --name ROUTE_HUB_TO_GWVPNSUBNET --resource-group RG_CORE_INFRA --route-table-name ROUTE_TABLE_SPOKE_PROD --address-prefix 10.1.1.16/28 --next-hop-type VirtualAppliance --next-hop-ip-address 10.1.1.53
# and update vnet so Traffic from vnet-spoke-pre-prod-subnet-tier-1 will transit to the virtual appliance IP 10.1.1.57 to reach 192.168.0.0/16 and 10.1.3.0/24
az network vnet subnet update --vnet-name vnet-spoke-prod --name vnet-spoke-prod-subnet-tier-1 --resource-group RG_CORE_INFRA --route-table ROUTE_TABLE_HUB_TO_ONPREM
Now the azure part is done… We will make the network flow go thru the DMZ to LAN and add some controle on it :
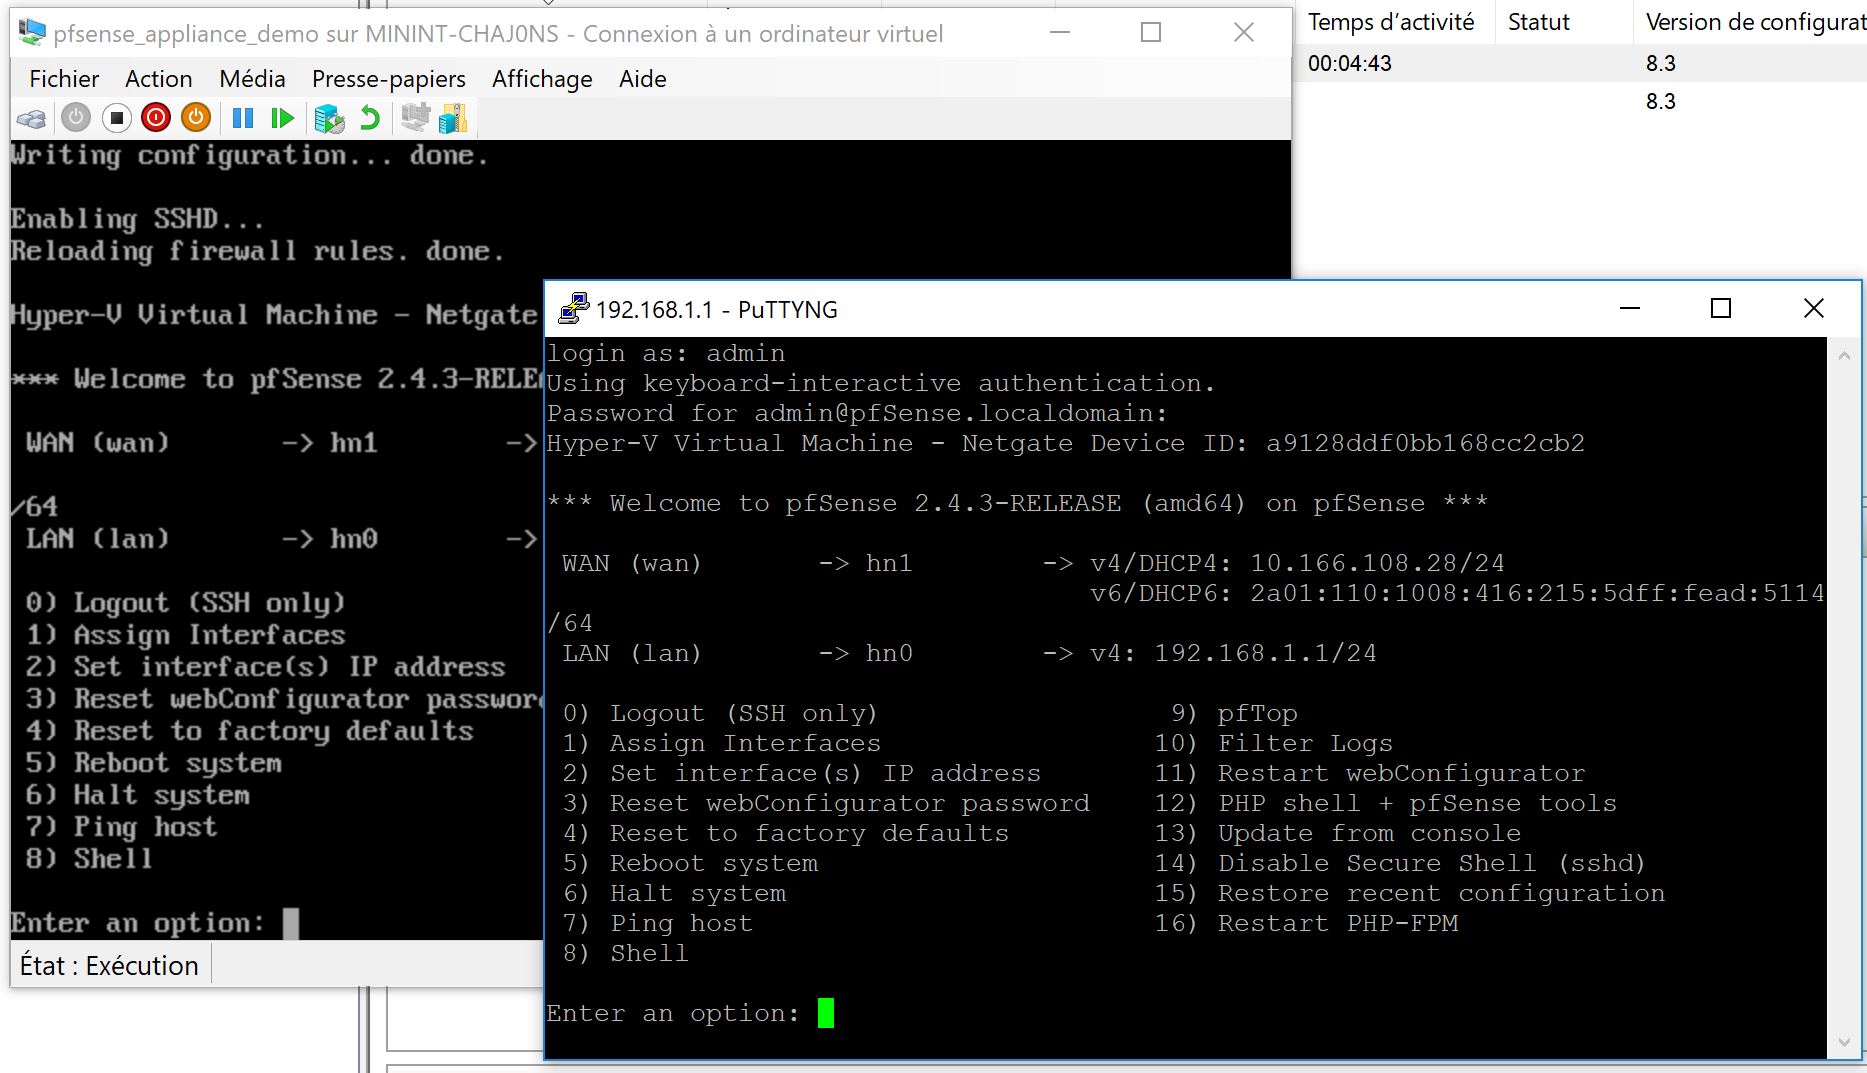
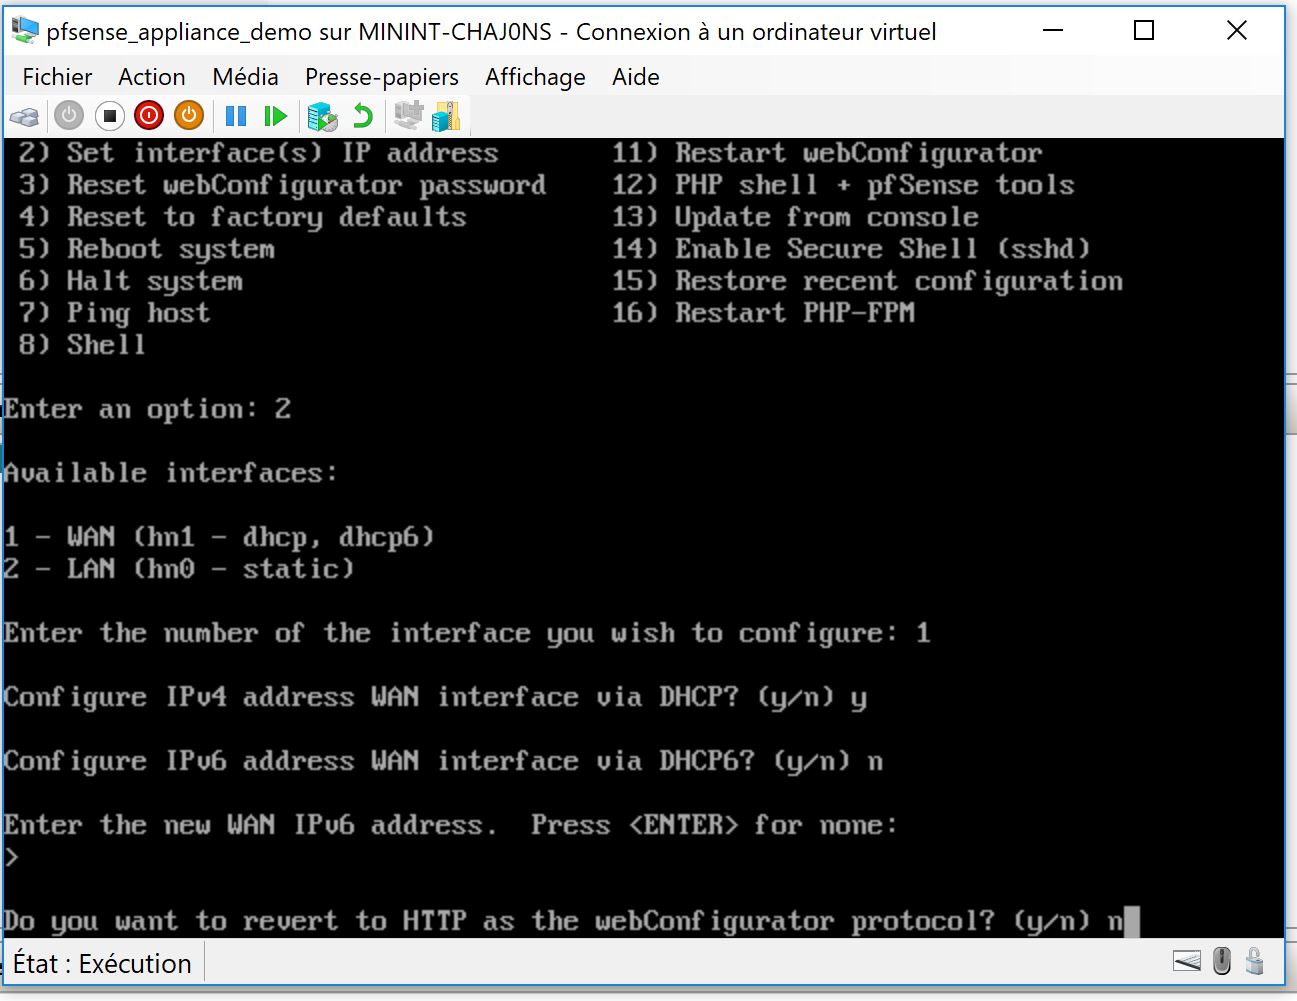
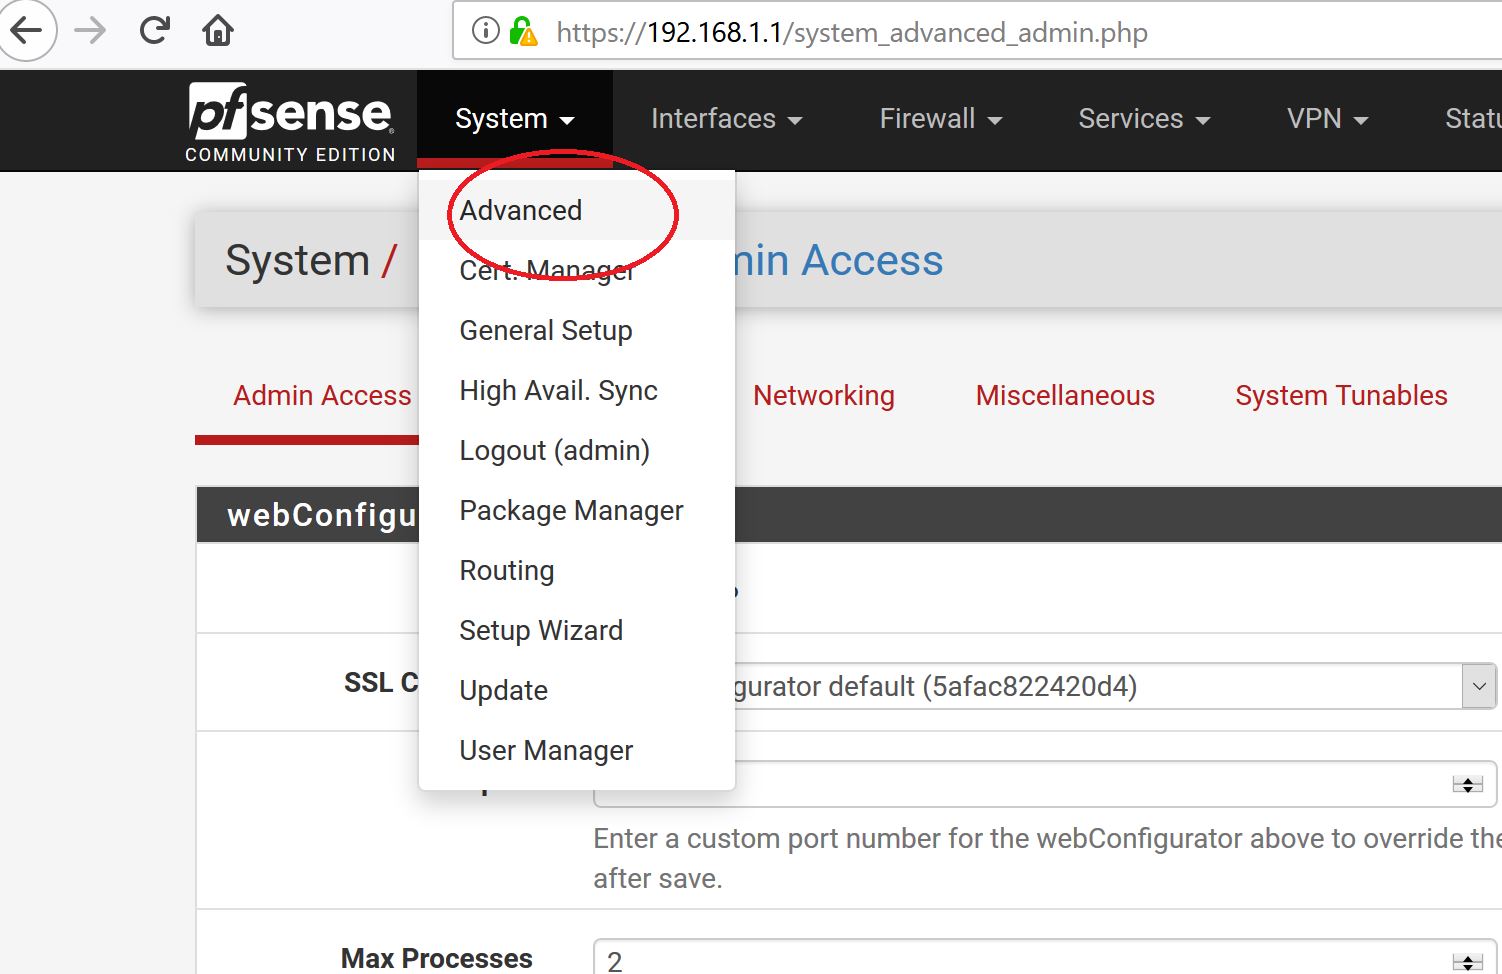
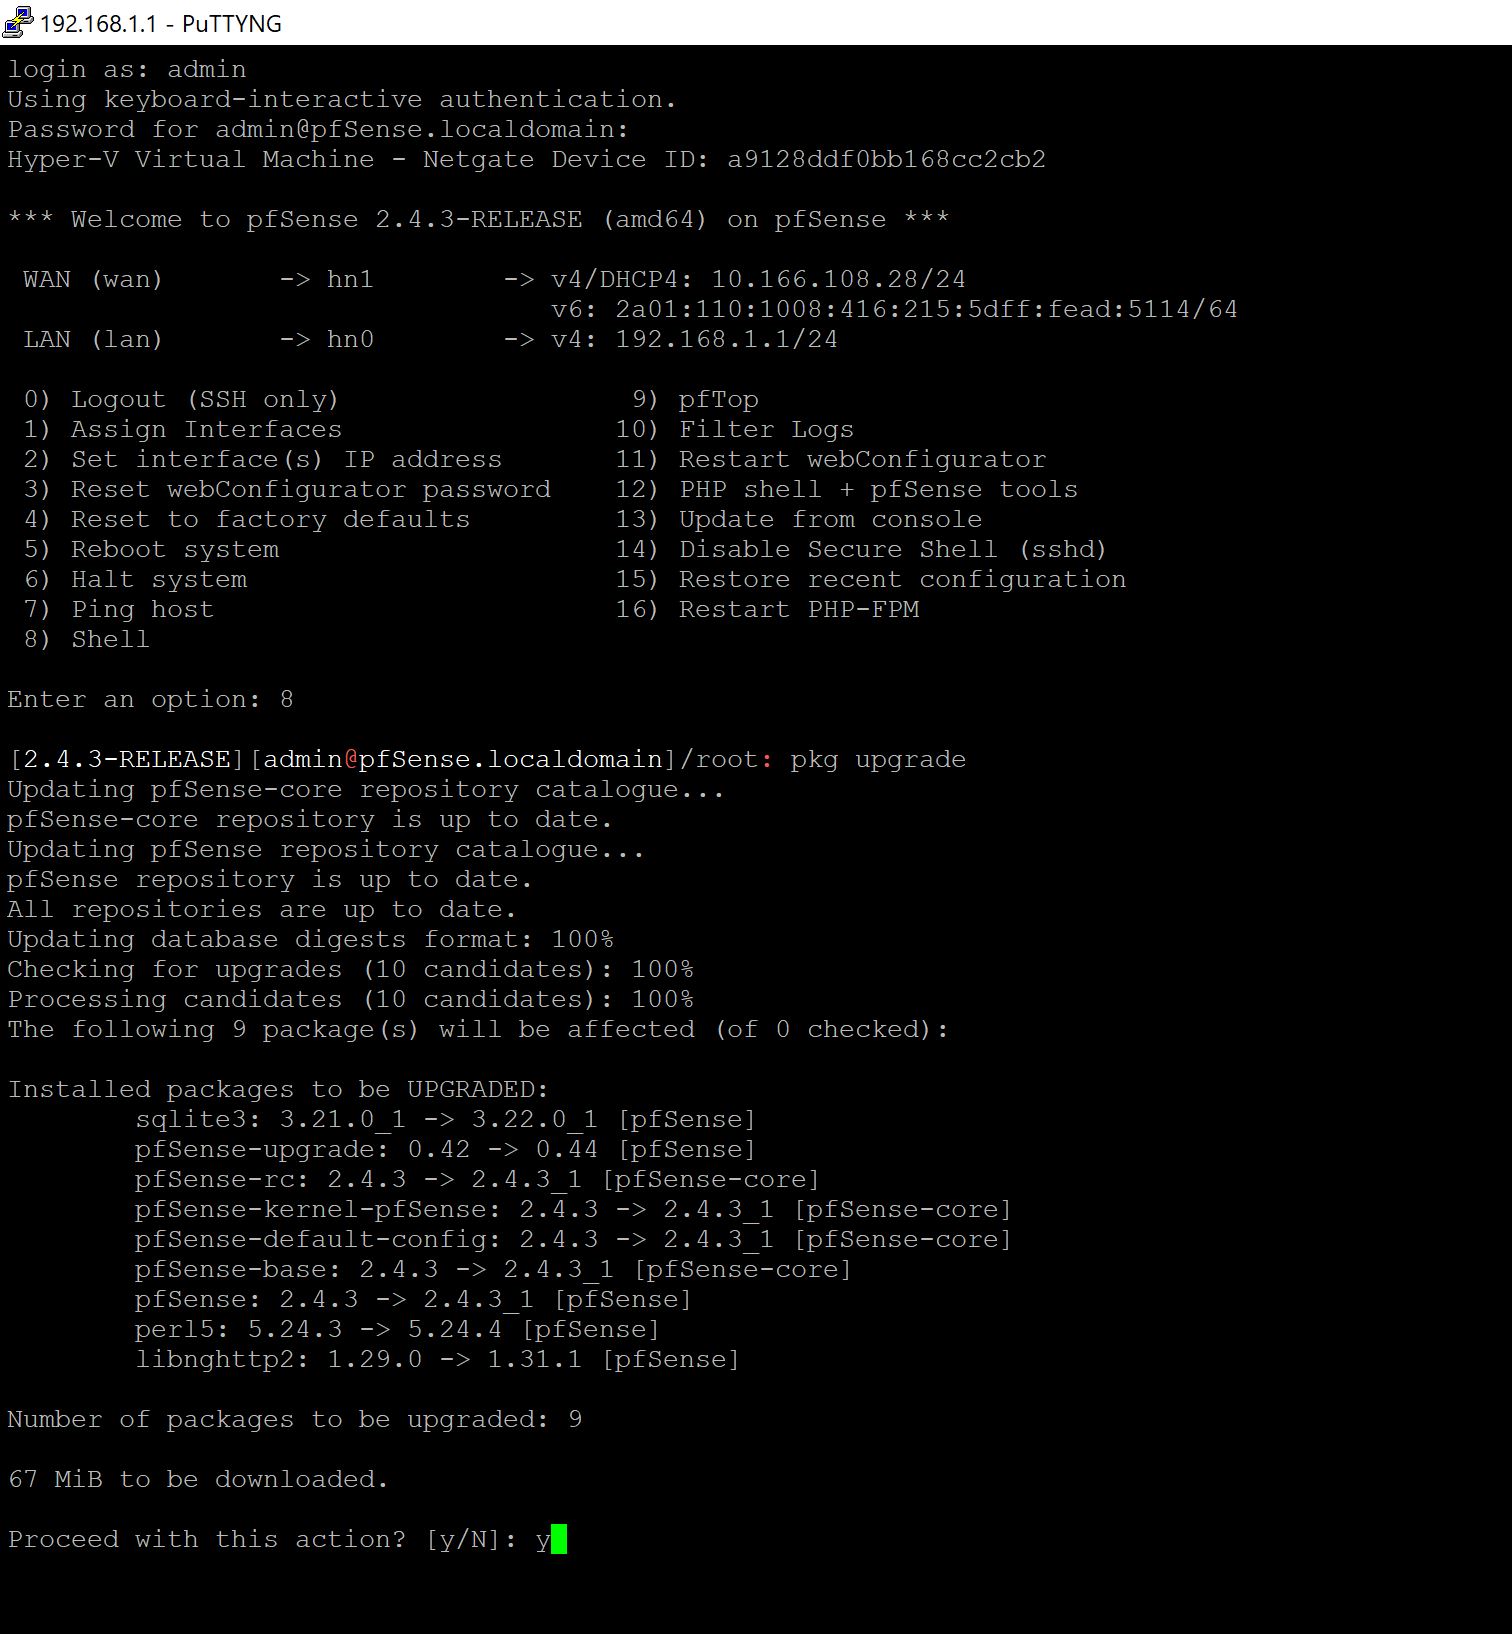
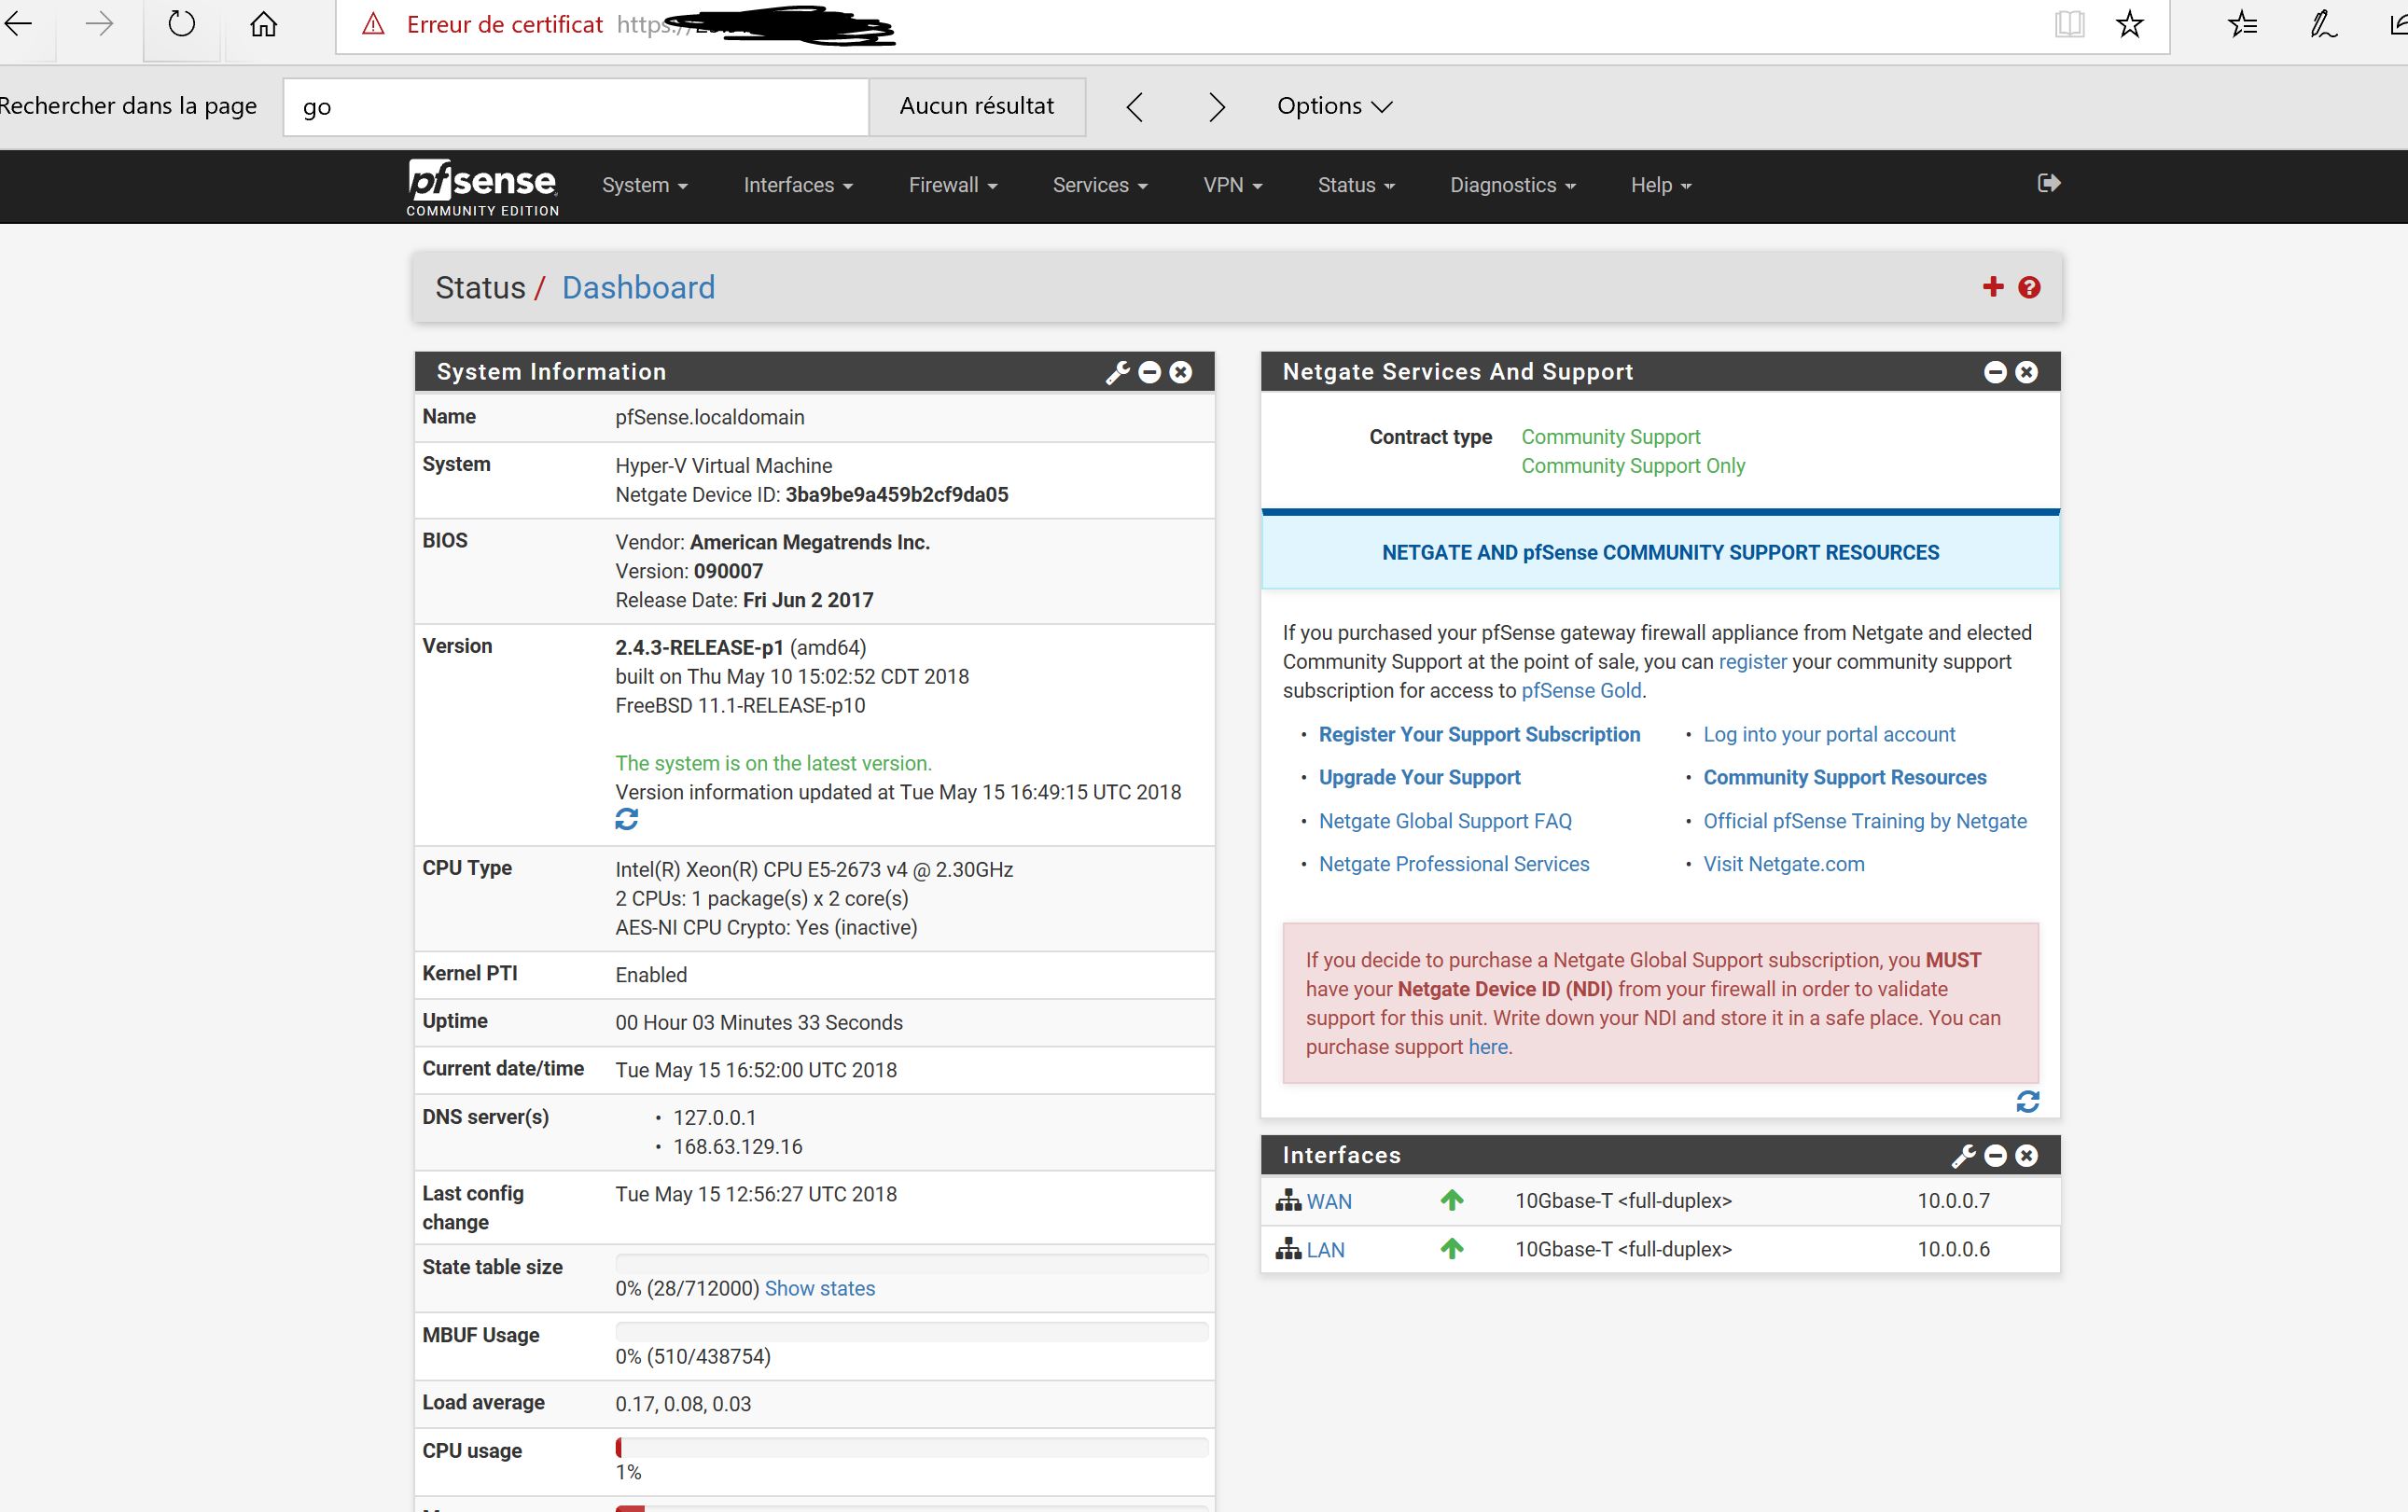
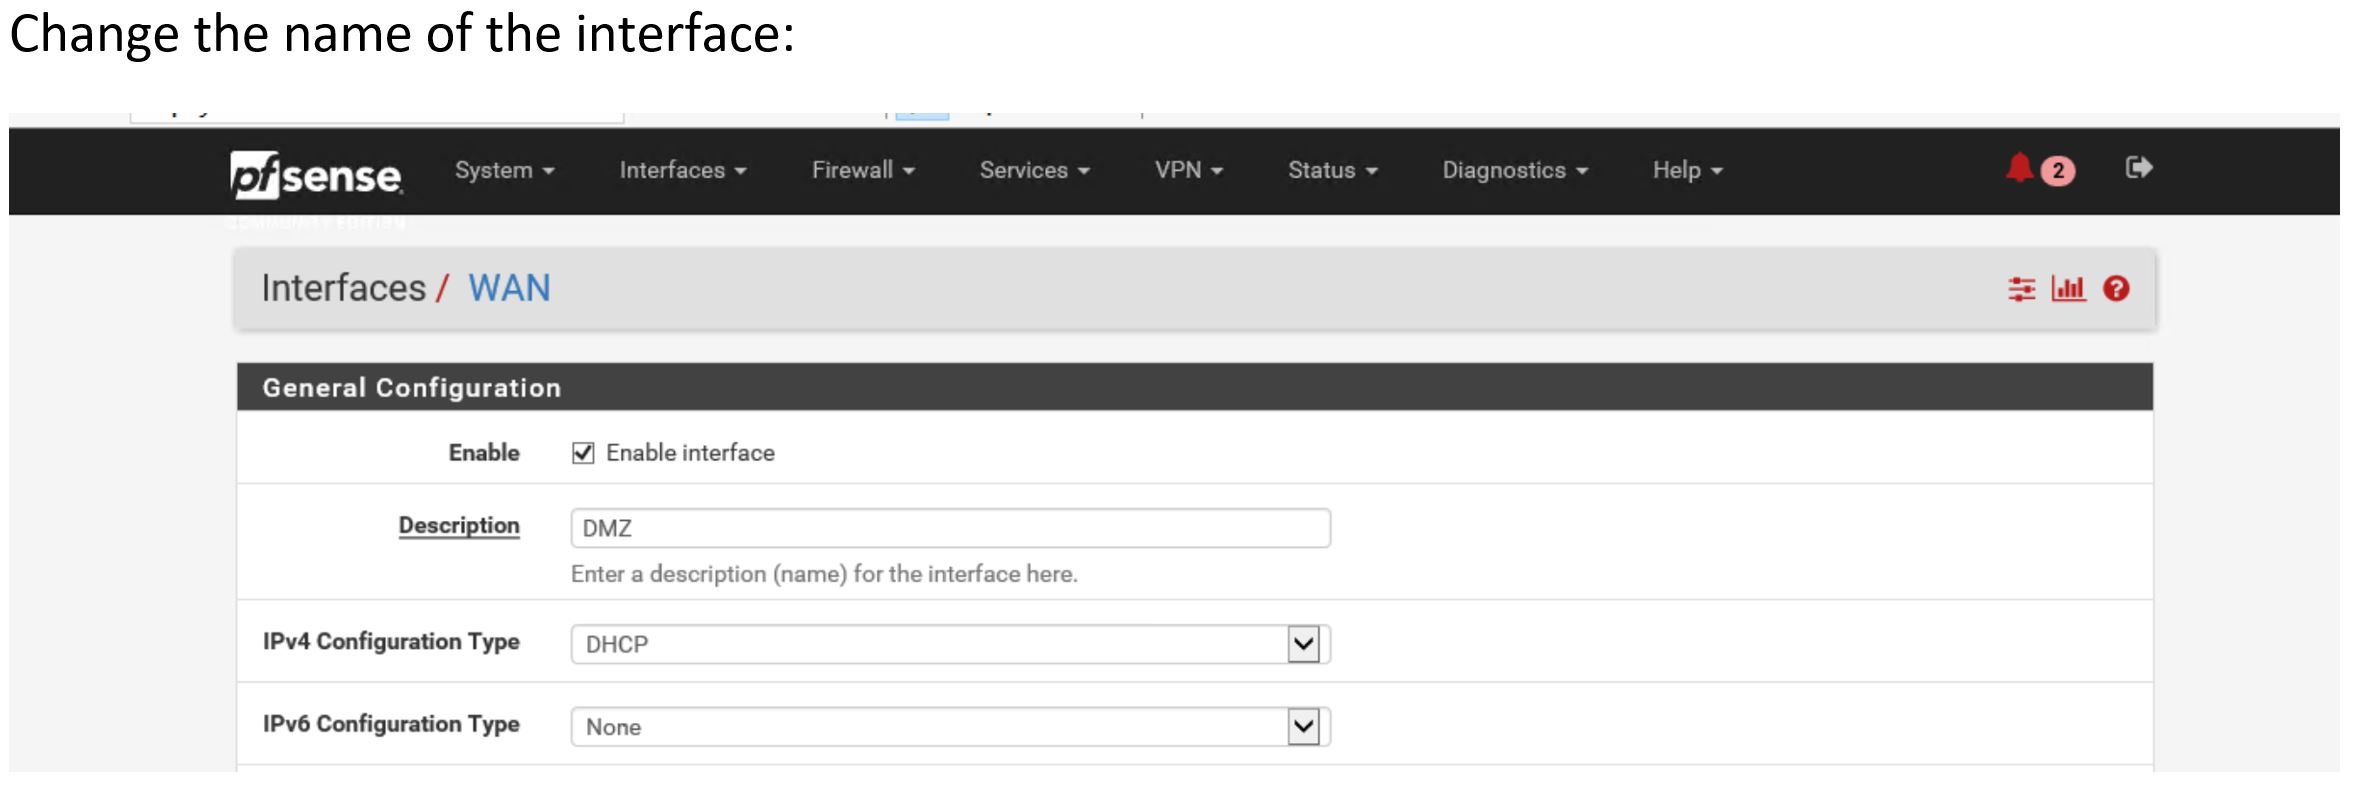
so now you go do a remote desktop to 10.1.1.52 which should the address of the Maintenance server and start configuring the pfsense which is accessible thru 10.1.1.53 and configure it like this :
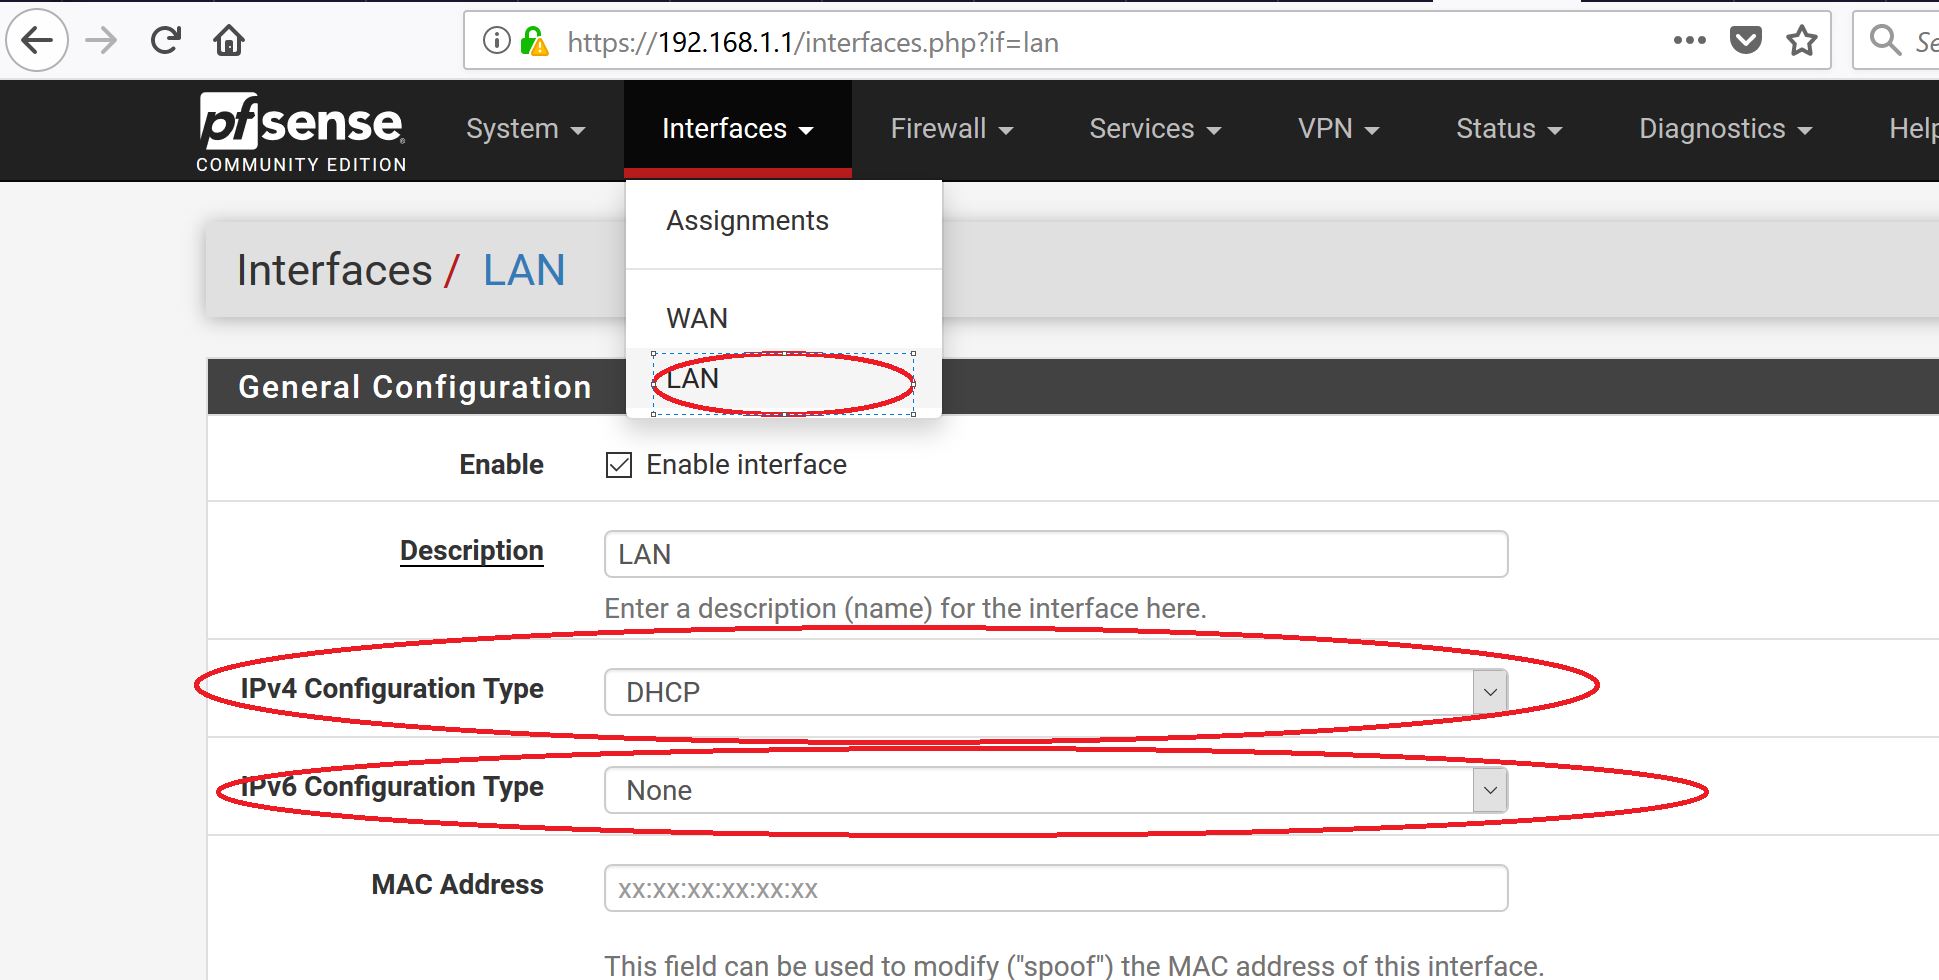
Change the Name of the interface ( it is called WAN by default, call it DMZ) .
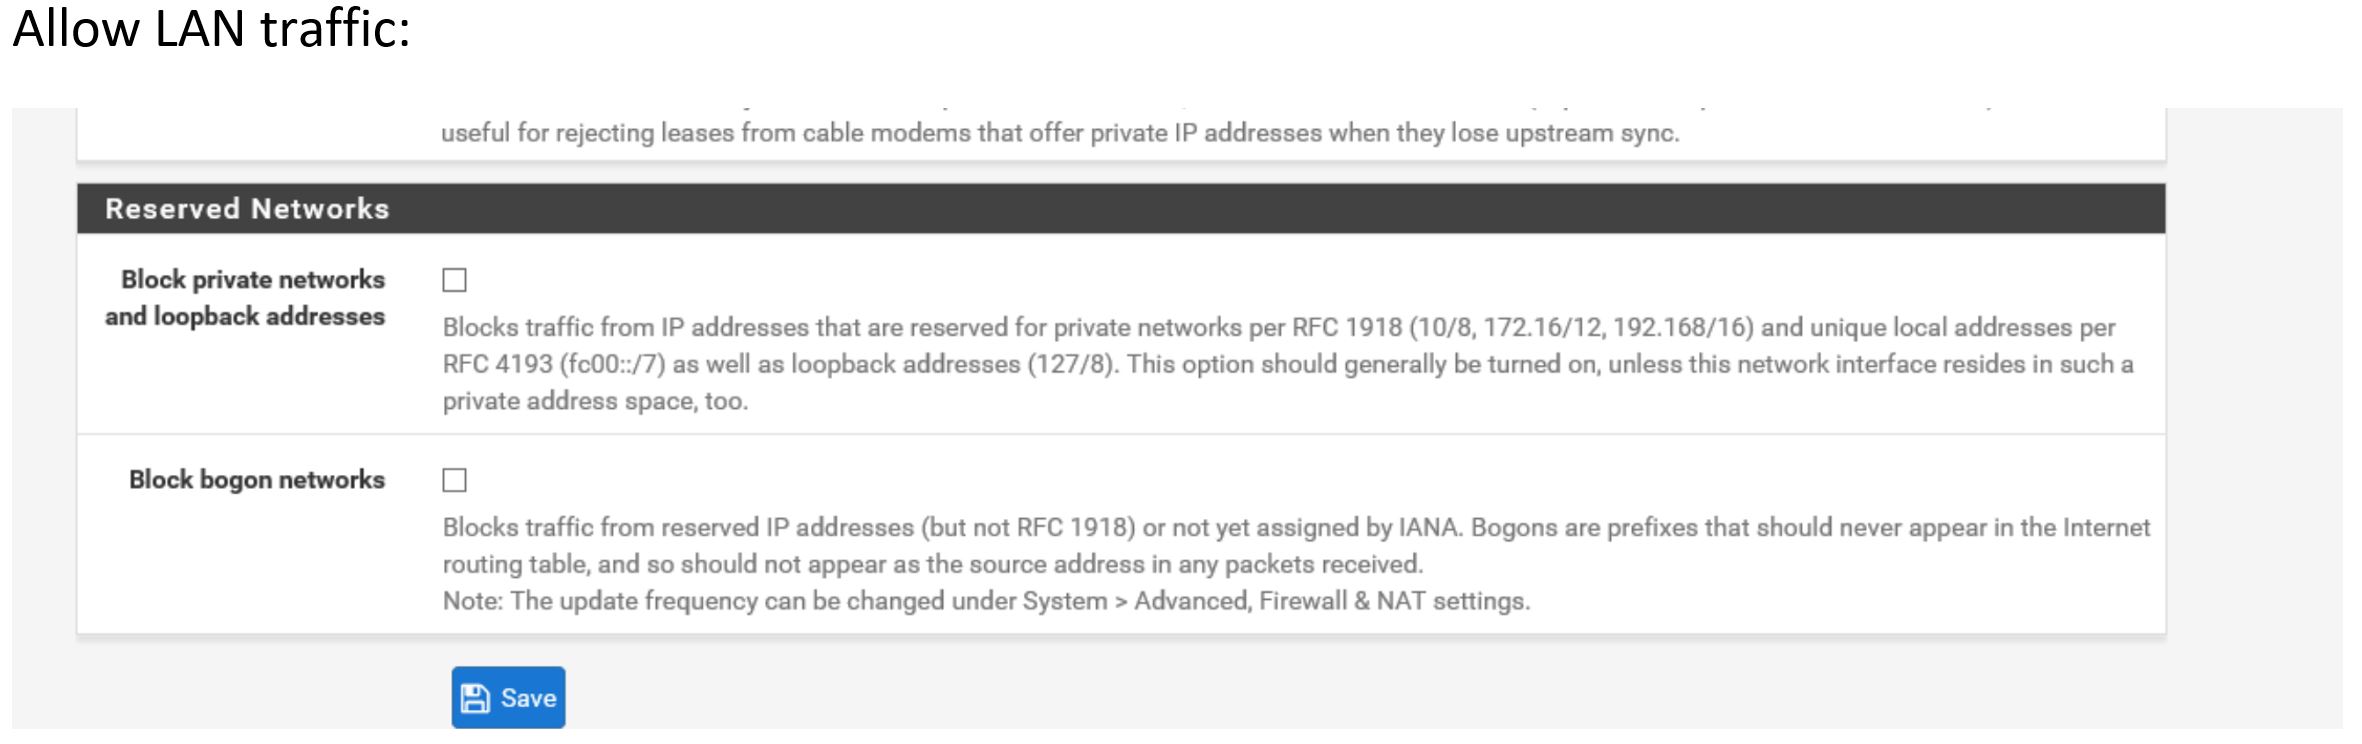
Also allow LAN traffic on same page :
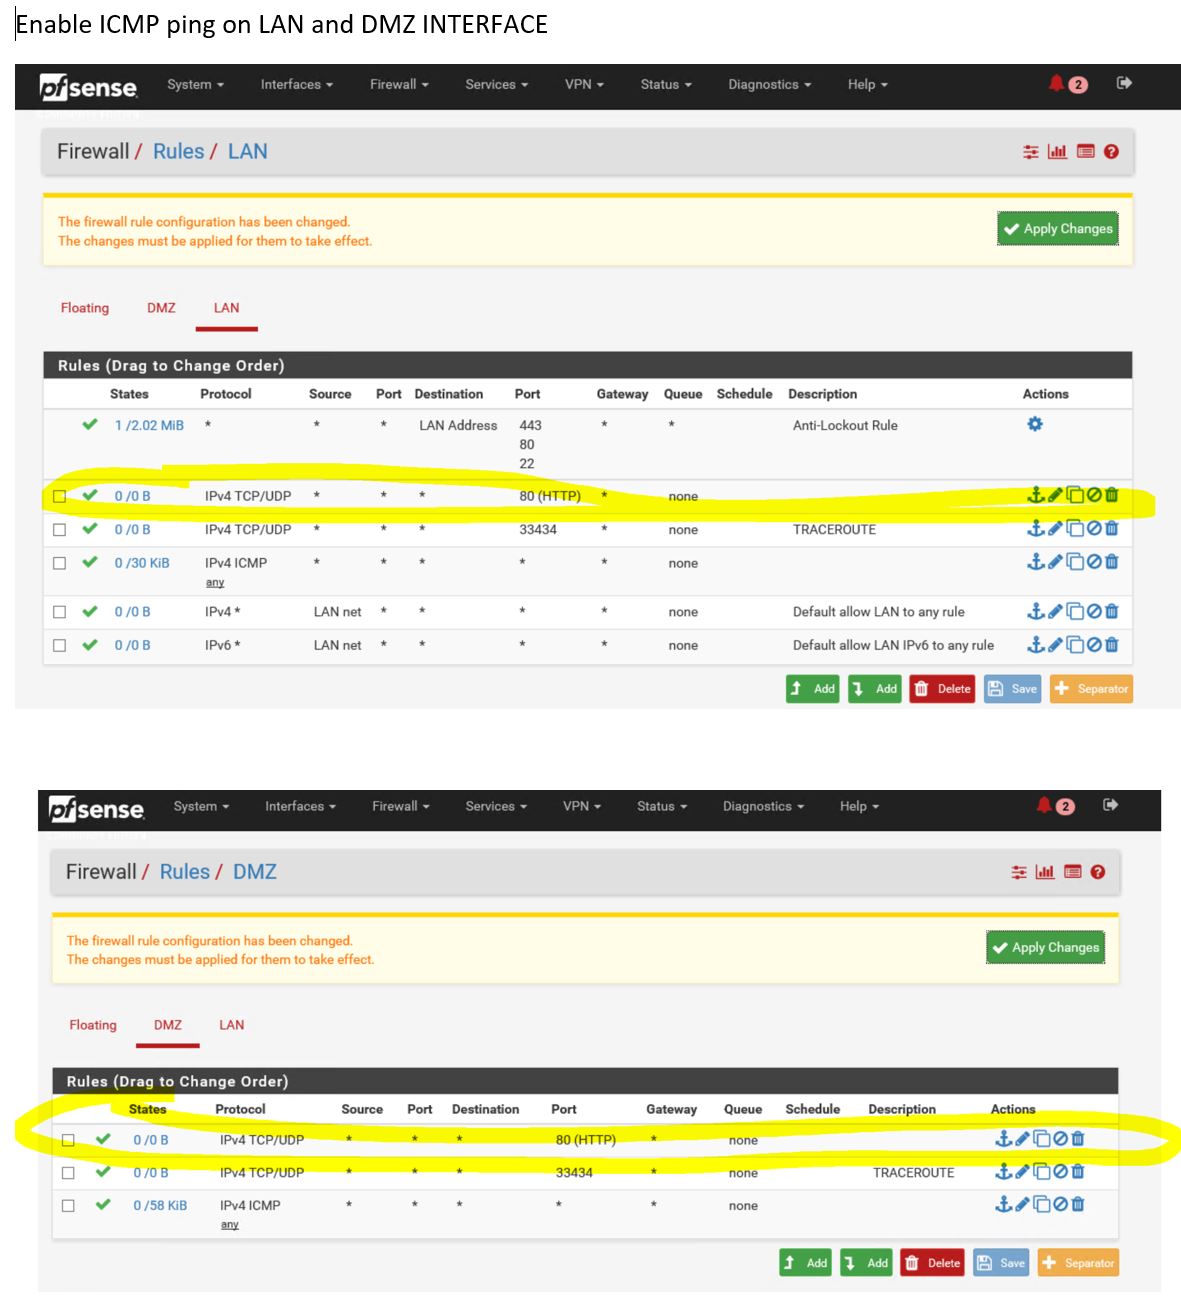
Best Troubleshooting tool ever… PING ! so allow it ! ( on both interface) :

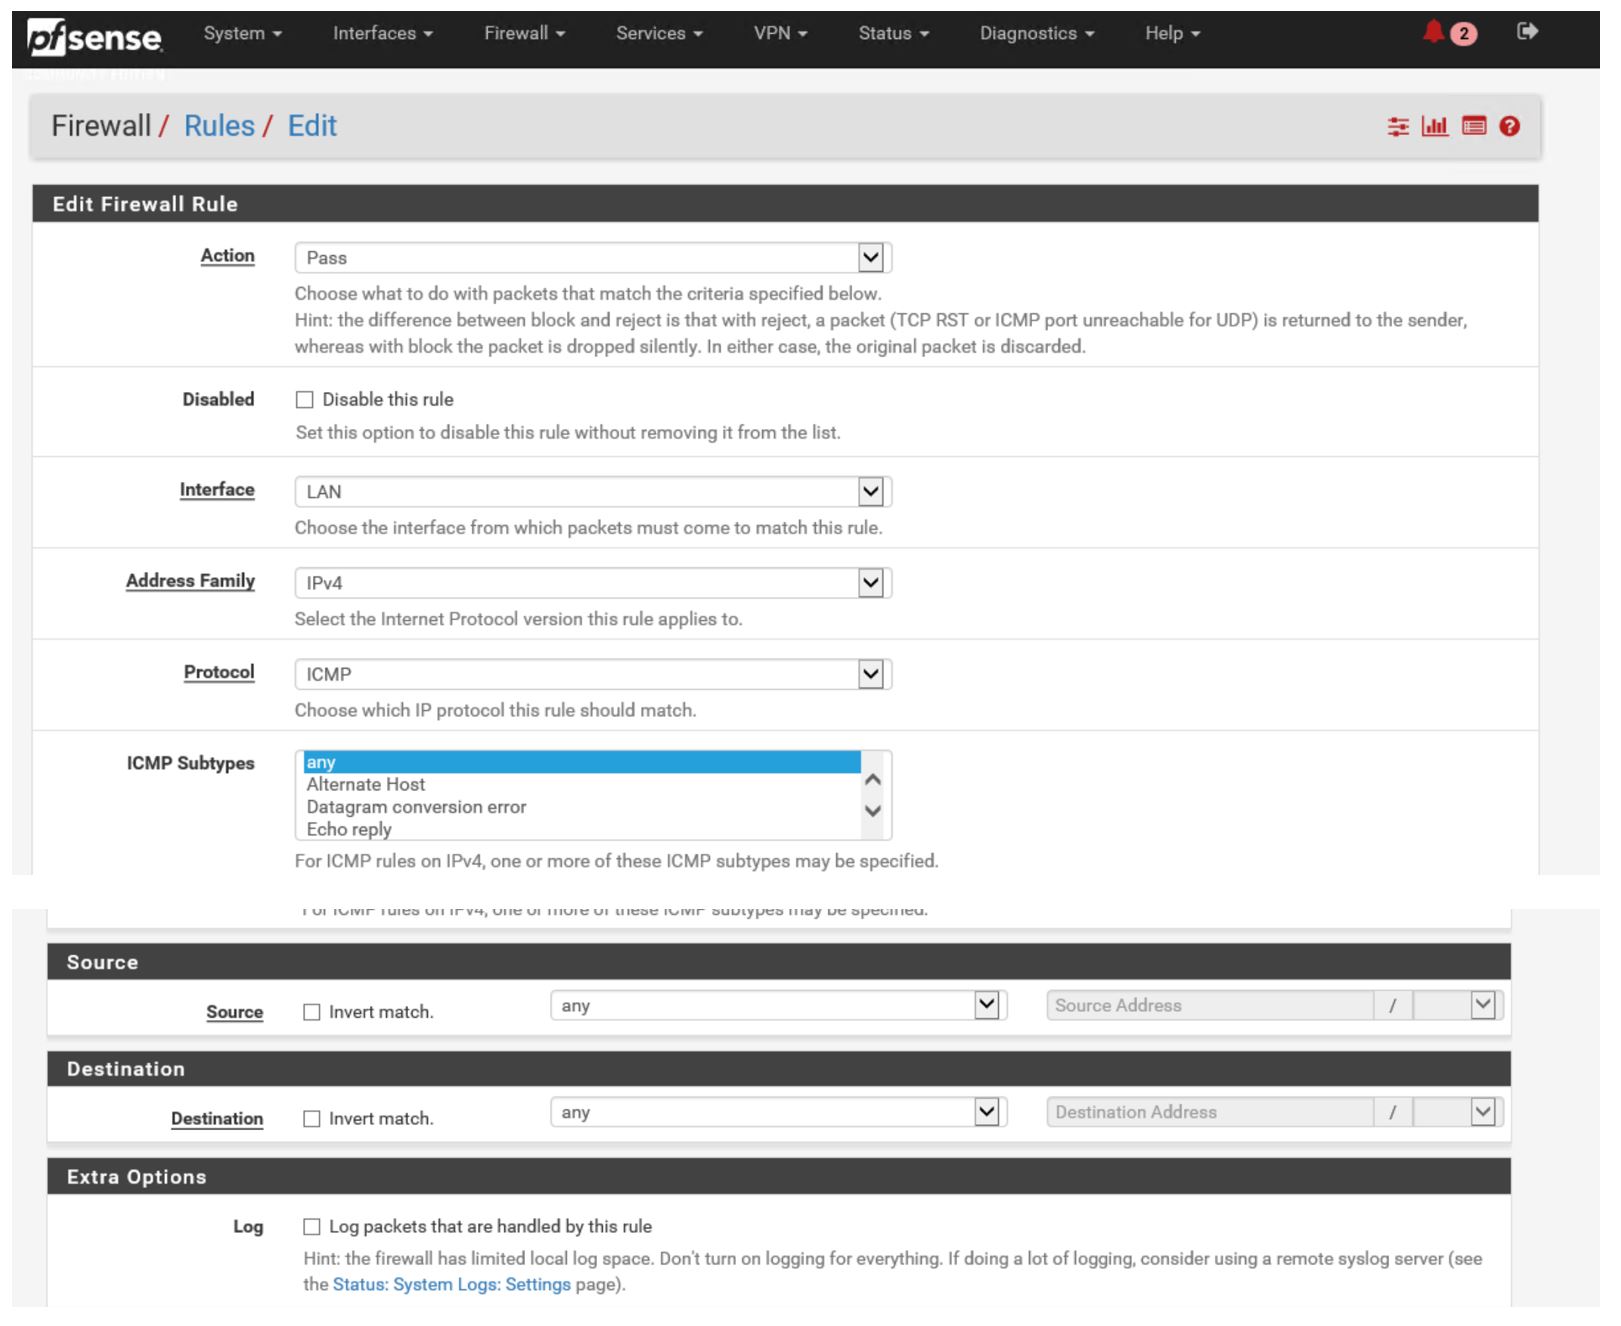
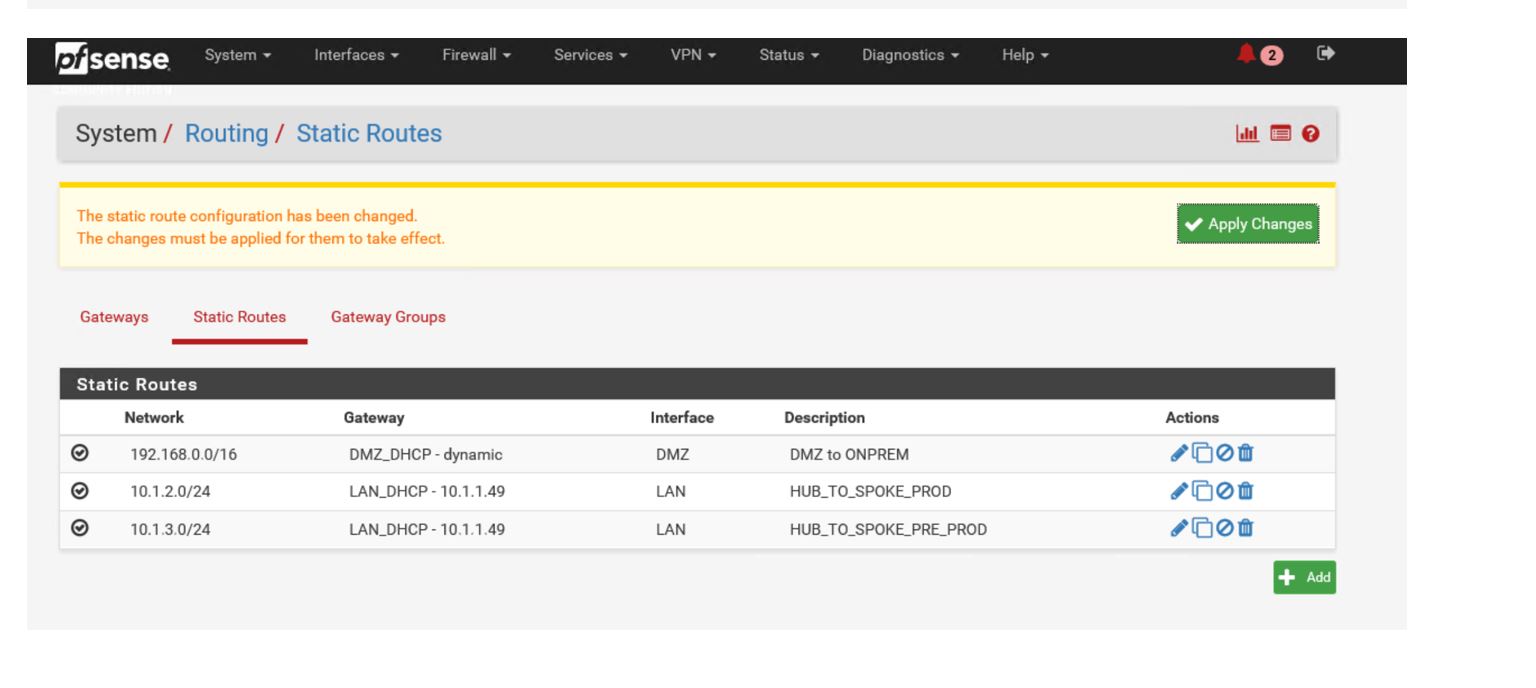
Create a route :
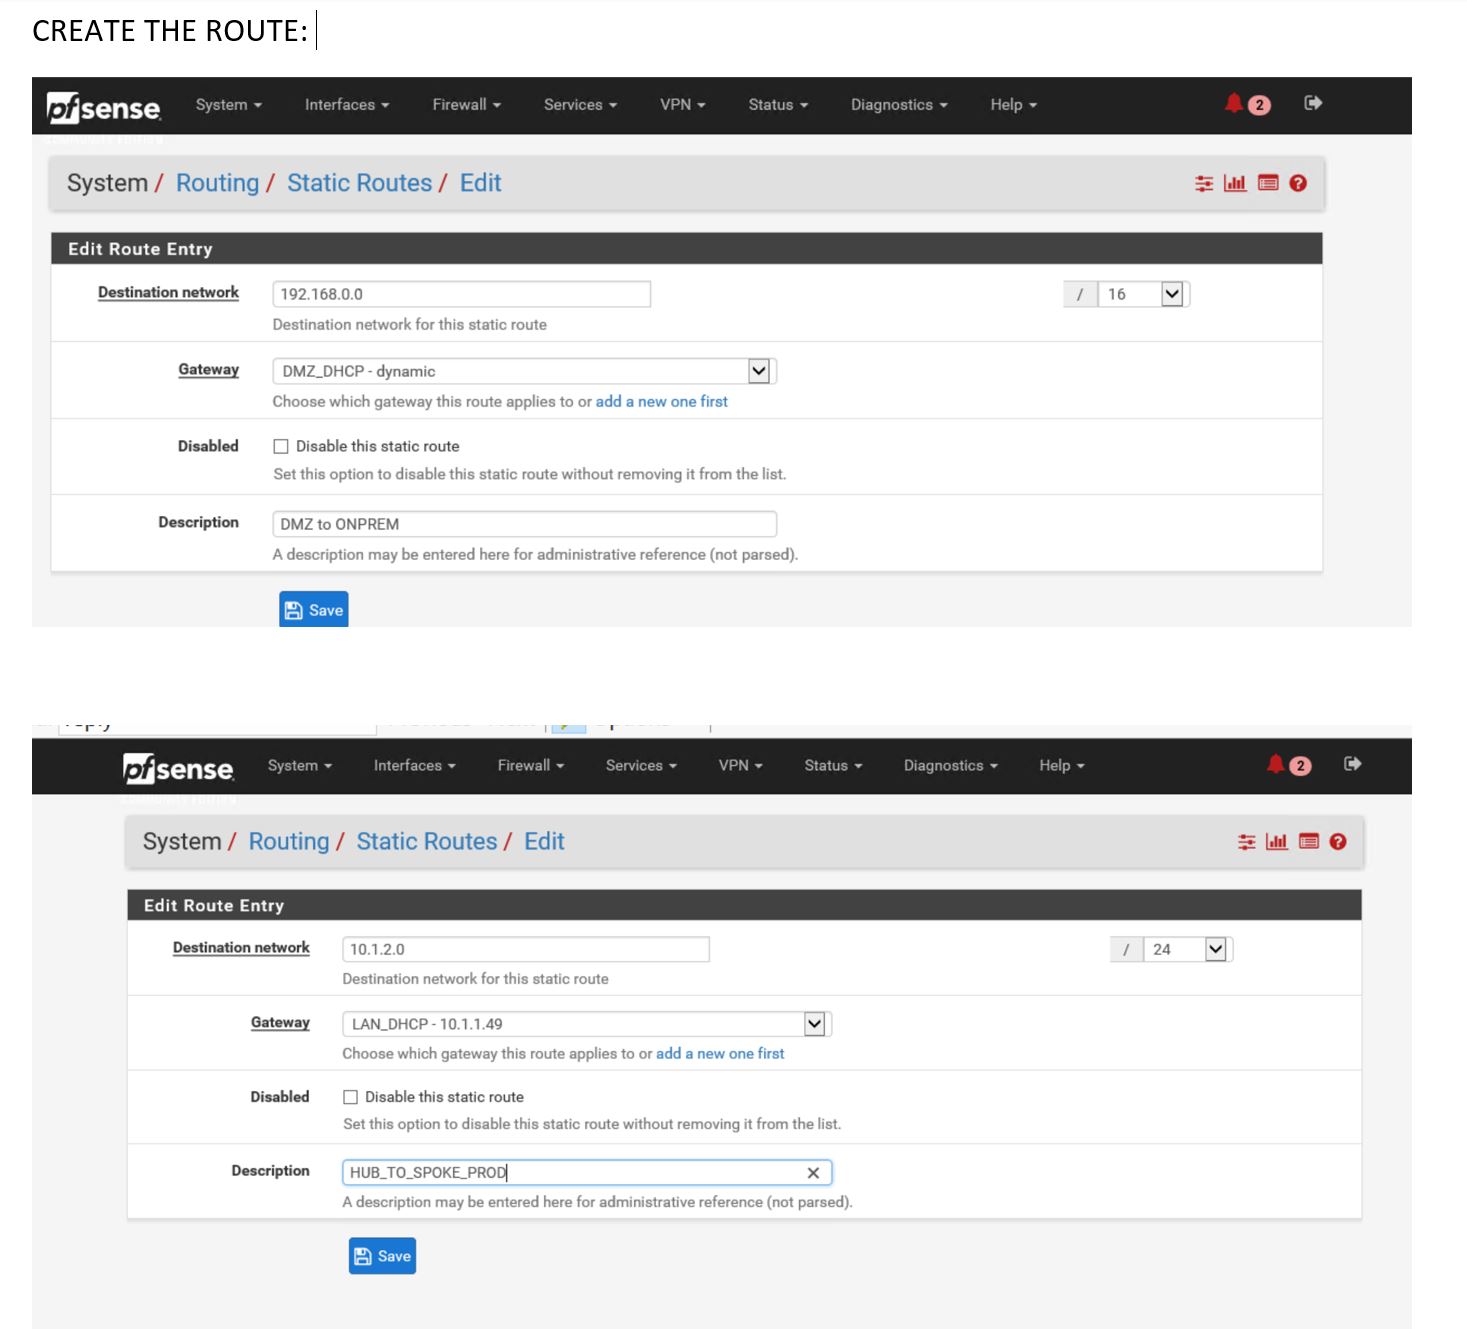
Apply changes
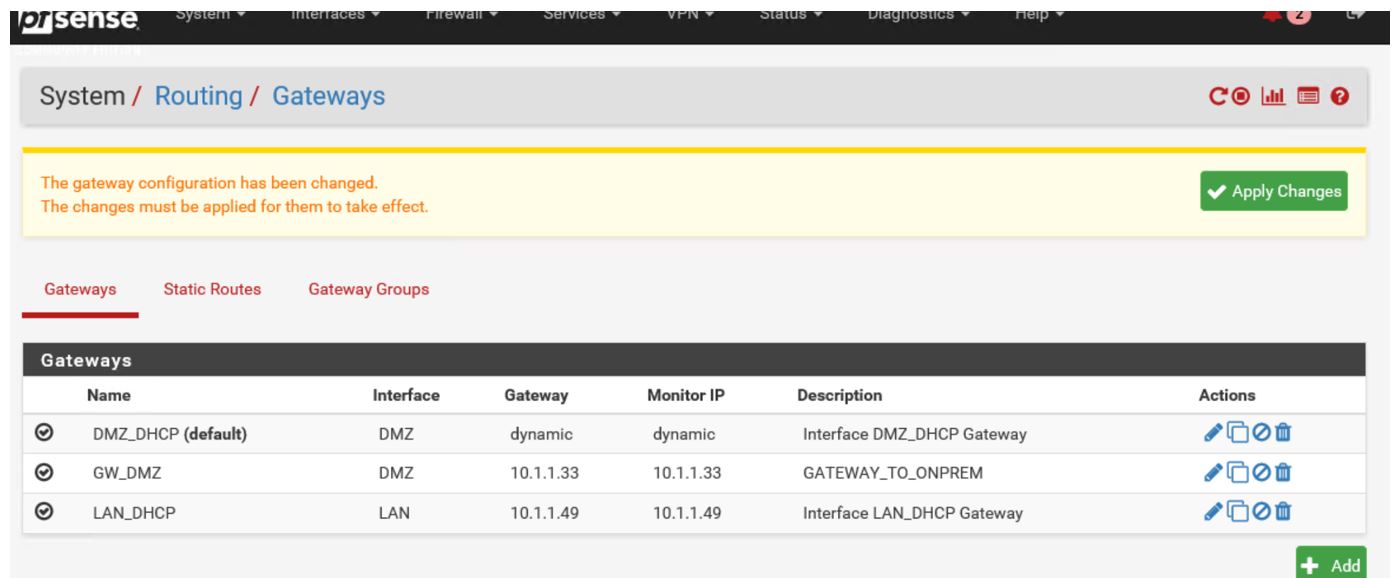
Add Gateway ( 10.1.1.33 is the 32+1 Ip that is provided as a GW by Azure )
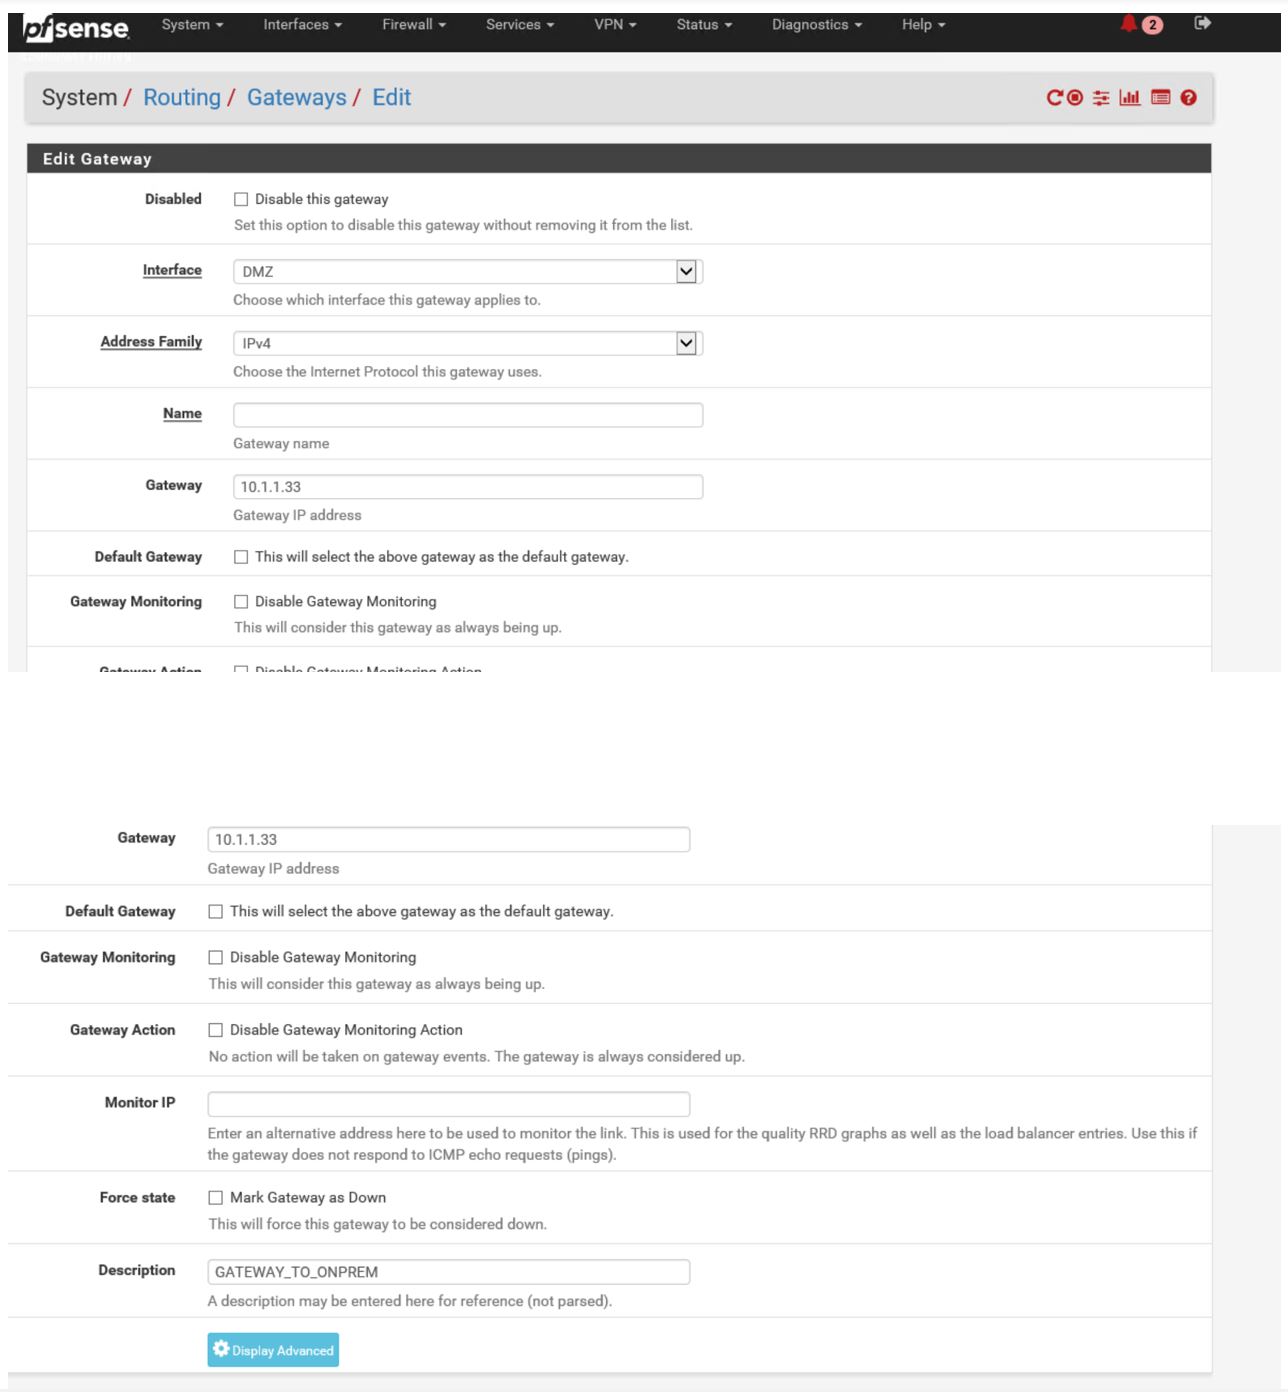
Apply again … :
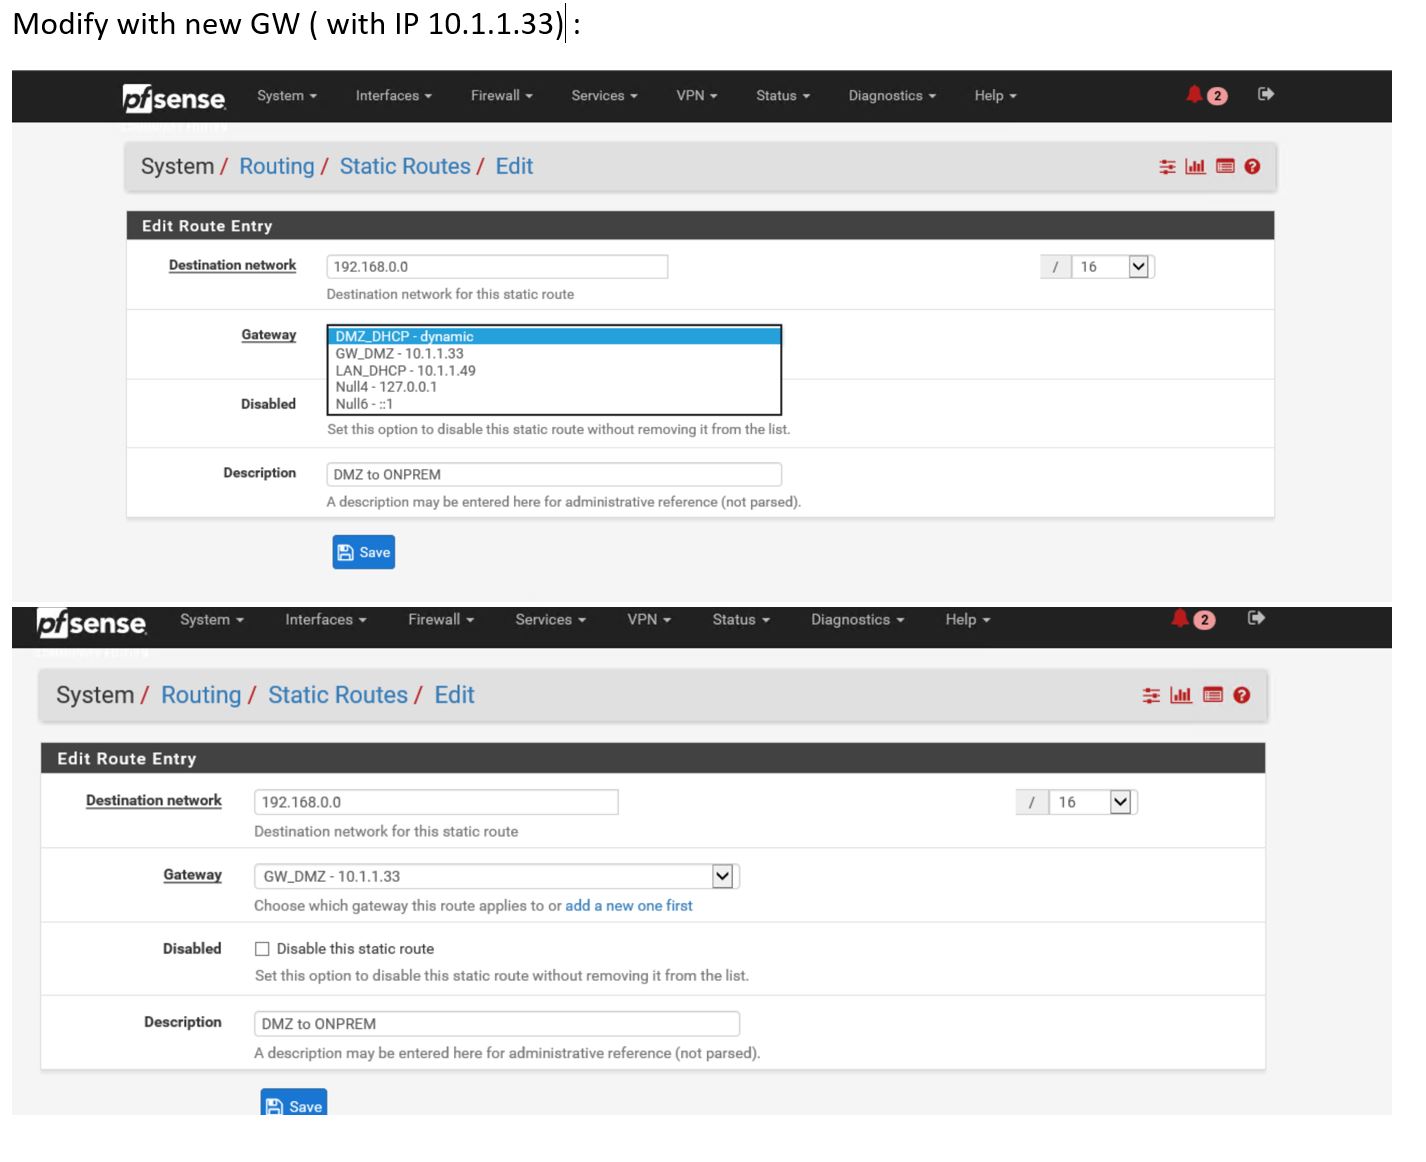
Now modify roue to reflect new created gateway :
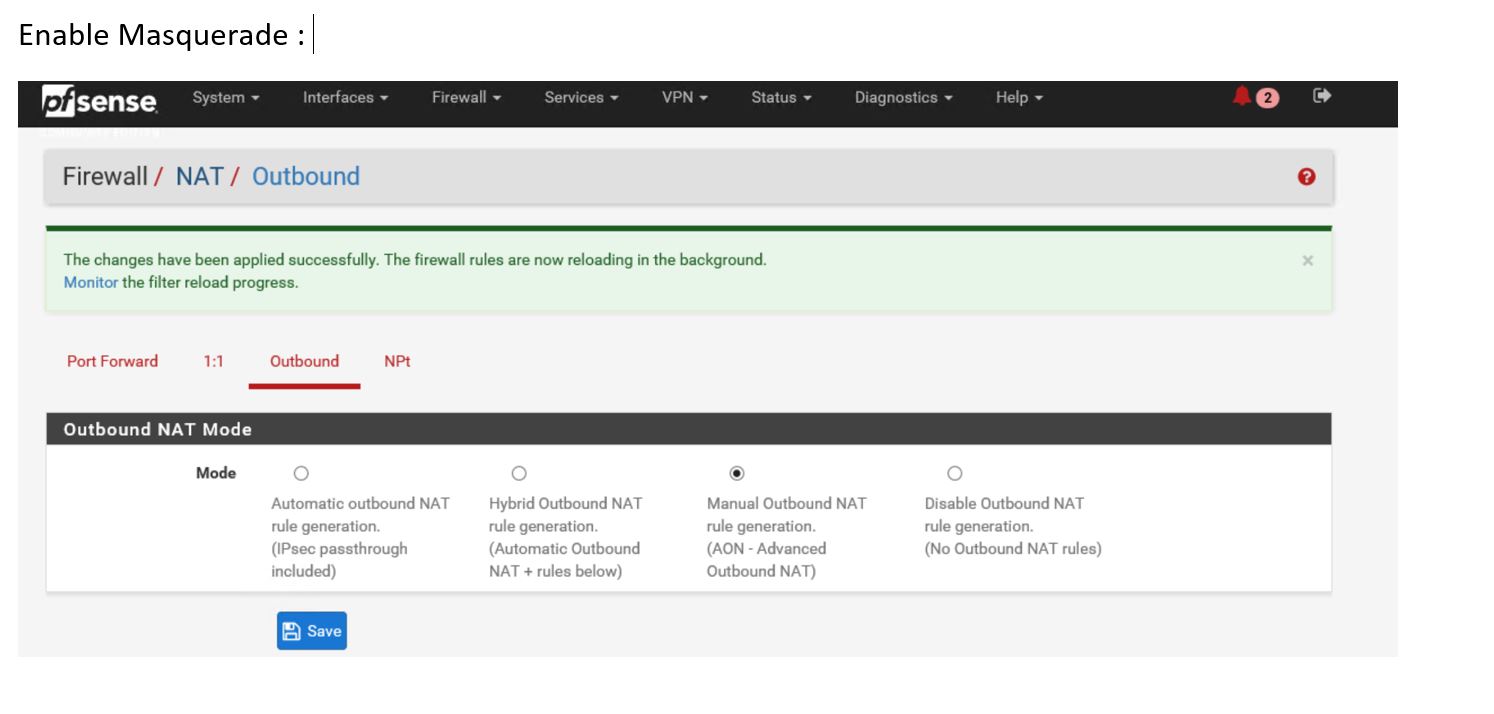
Enable Masquerade :
(Bad copy and paste… ) Still not working, because Port 80 is not allowed.. :

Allow Port 80 on both interface ( Very very bad copy-paste.. sorry it was late …)
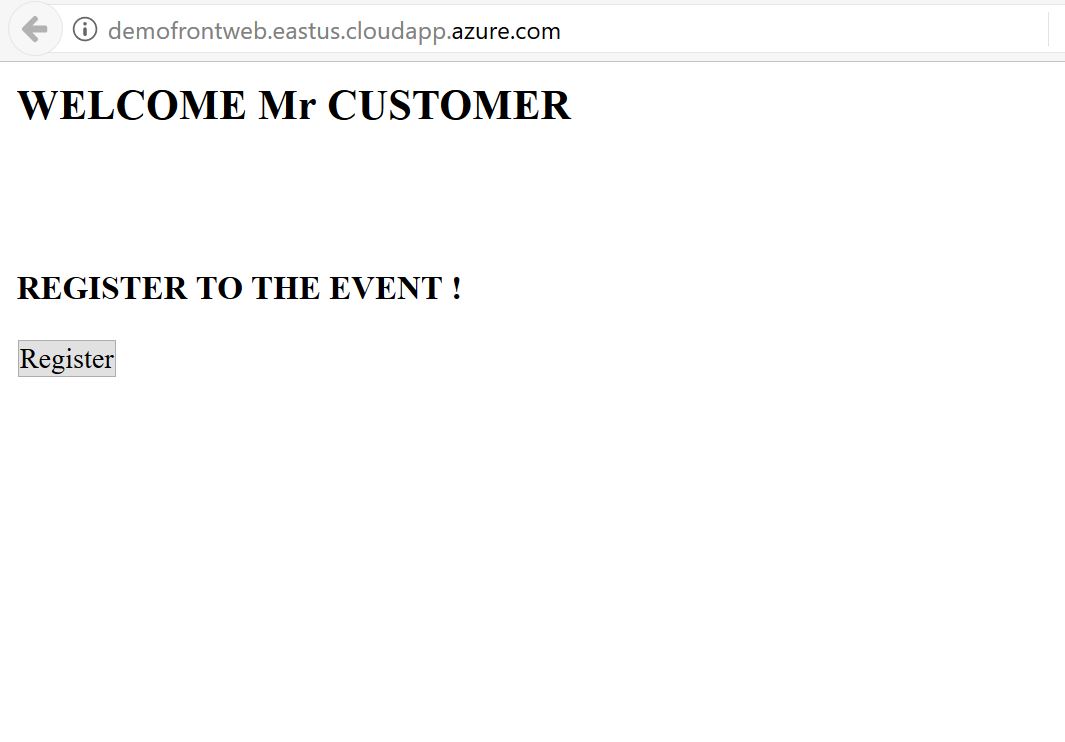
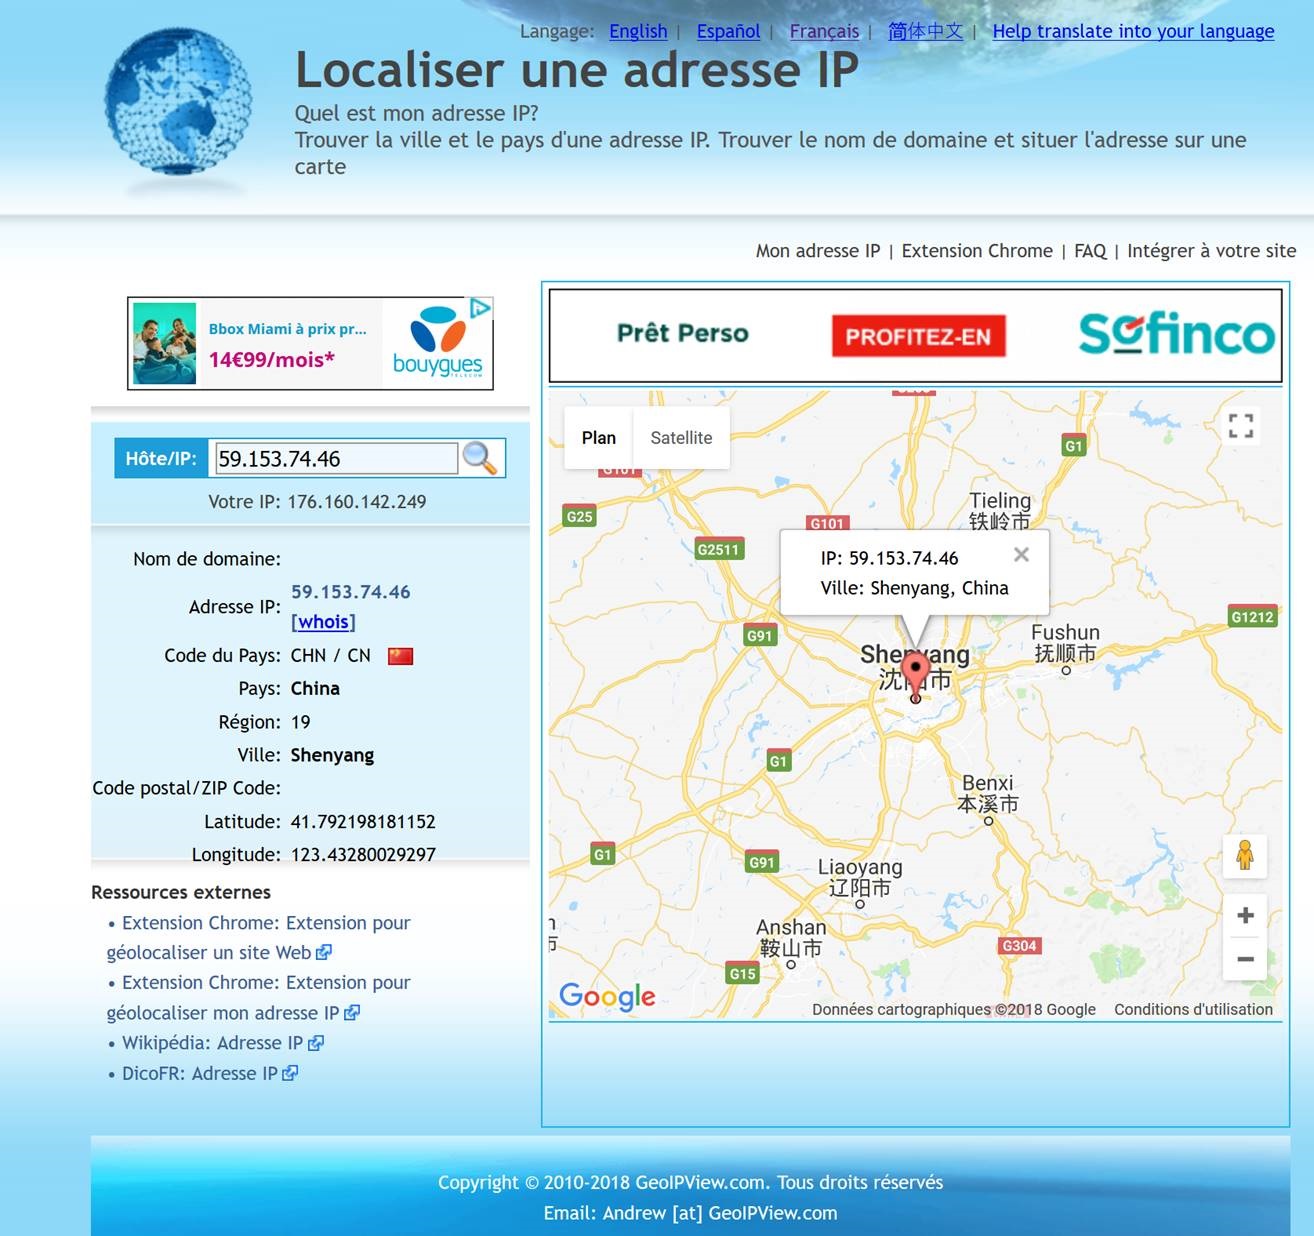
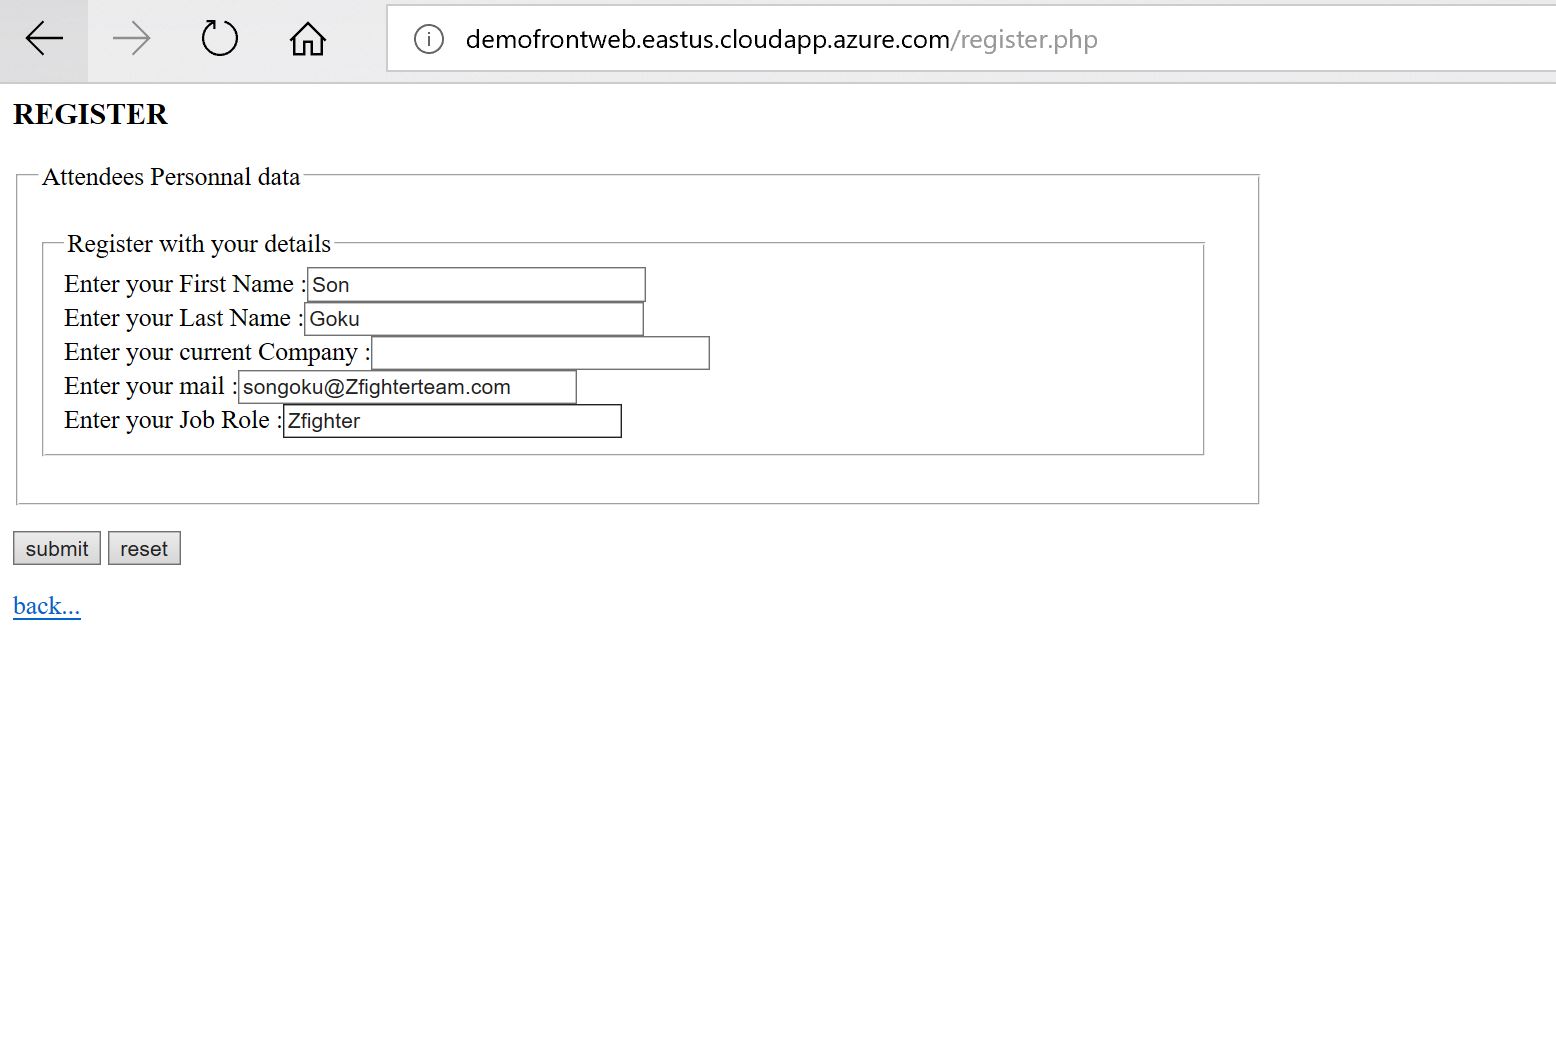
Hurray !! from my home raspberry test It works all the way thru the spoke !!